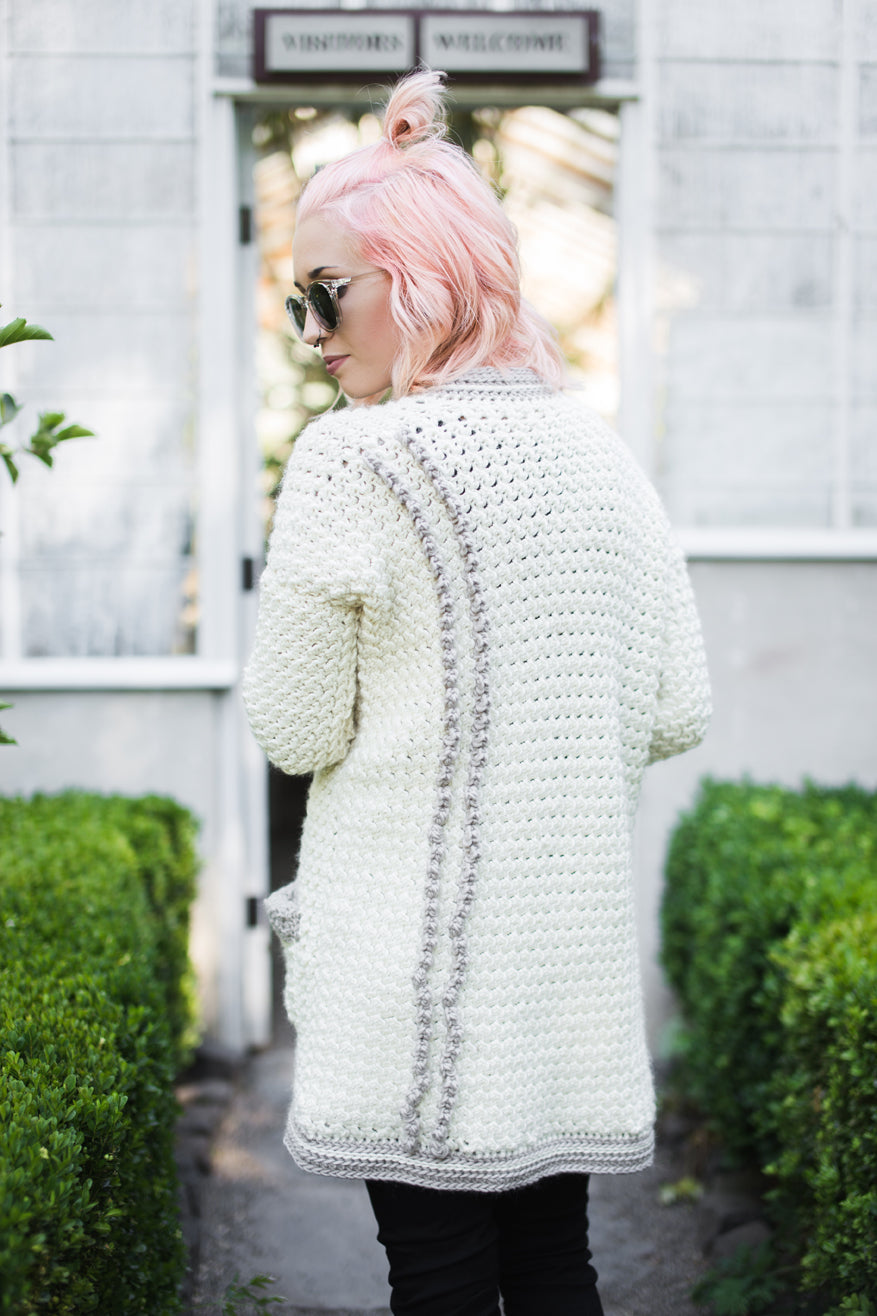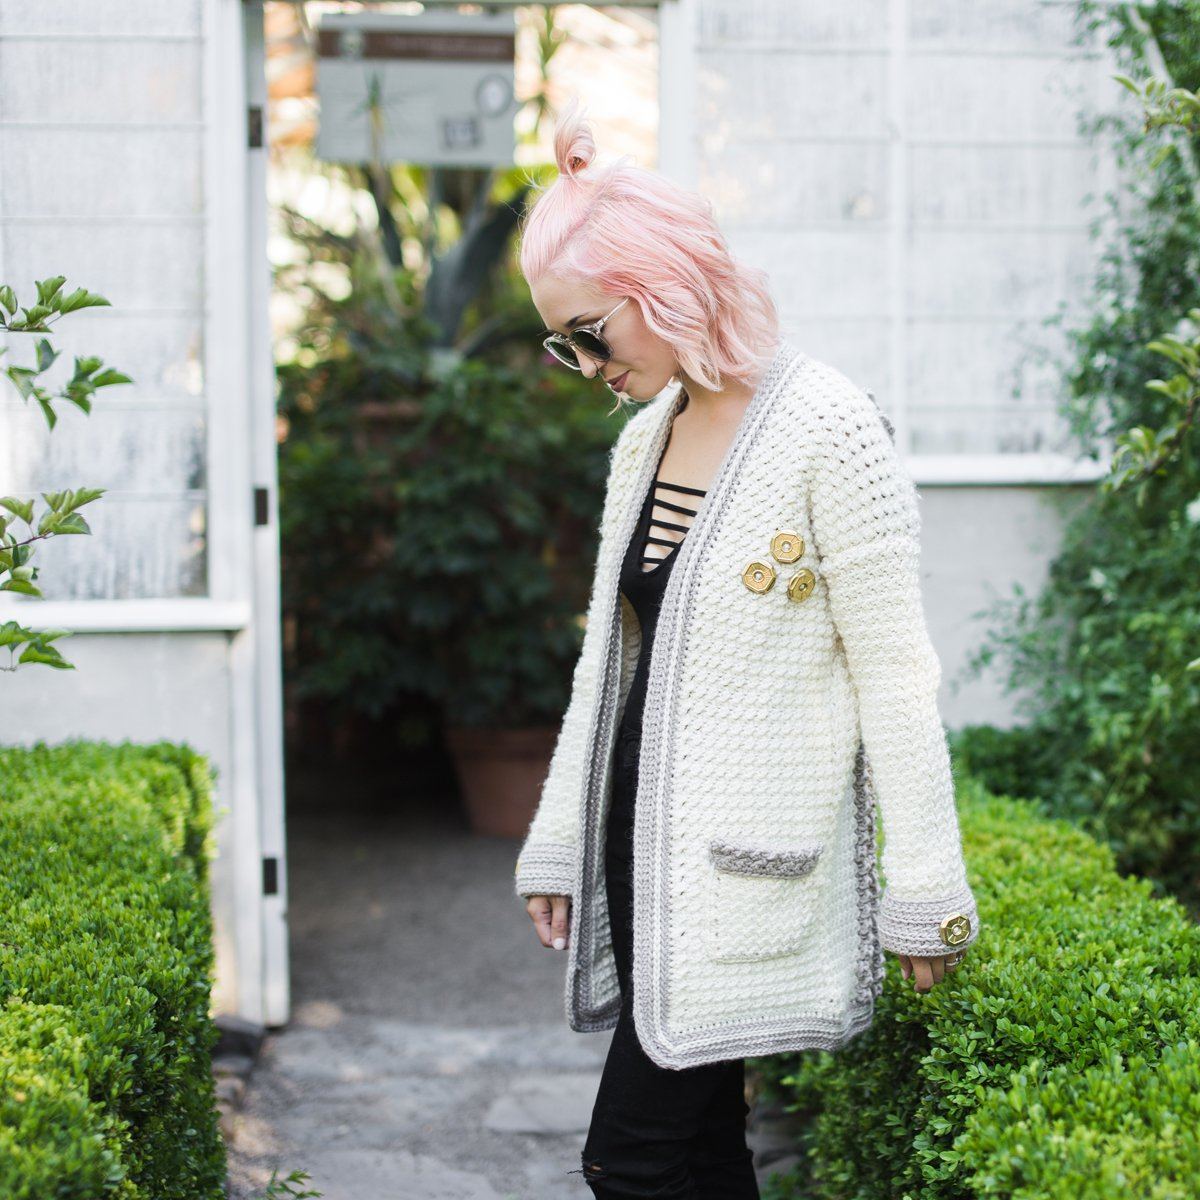
The Evangeline Cardigan is a cozy looking cardigan that will wrap you up comfortably and snuggly on those cool spring, fall, and winter days.
ABOUT OUR DESIGNER

Hey everyone! Jessica here from The Hook Nook!!! I am BEYOND thrilled to be hosting this CAL with Furls Crochet. If there is anything I love more than crochet, it’s feeling fancy while doing it! Between these beautiful hooks, quality yarn AND a pretty impressive cardigan we will be making, this is sure to be one of my favorite things I’ve been part of. Ever.
For those that may be “meeting” me for the first time, I am a self-taught crochet designer and truly love designing and creating crochet clothing. I have been a crochet designer for the past few years and love sharing my work on my Instagram page. For this CAL, I really wanted to make something special that we can all make either for ourselves or for our friends and loved ones for this upcoming holiday season. I mean, who doesn’t want a cozy, handmade cardigan to wrap themselves up in during those chilly days, or even just because! 
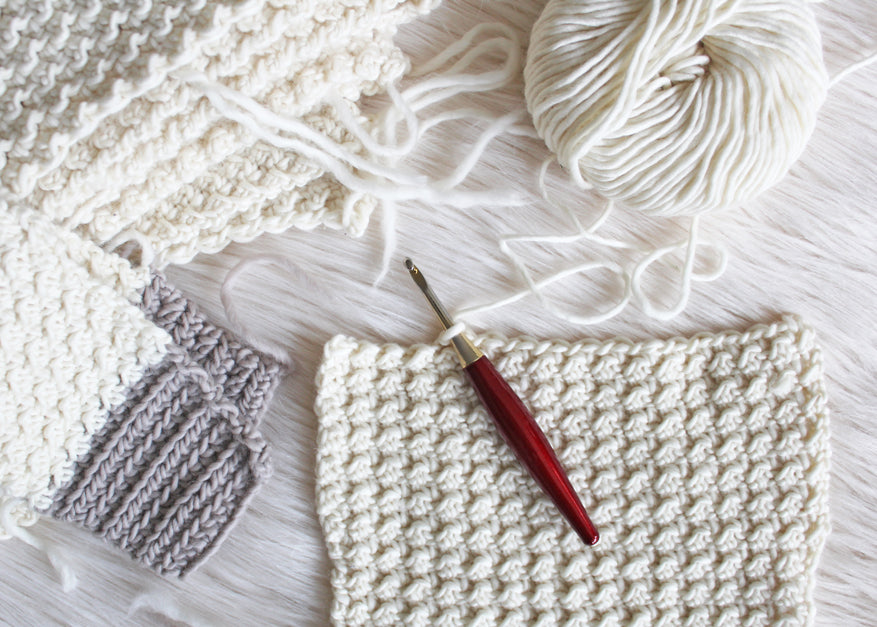
SUPPLIES
For this CAL, I decided to use We Are Knitters Meriwool solely because of how soft and beautiful this particular fiber is. When worn, it’s uber cozy, warm and seriously stunning. Don’t forget that you can get 15% off your purchase from their website when you use code: CAL_NOOK. Need help during the CAL? I’ll also be dropping in and providing some assistance in the Furls Facebook CAL group, Fun with Furls but there will also be others there following along with CAL that can help as well.
Here’s what you will need for this CAL:
MATERIALS:
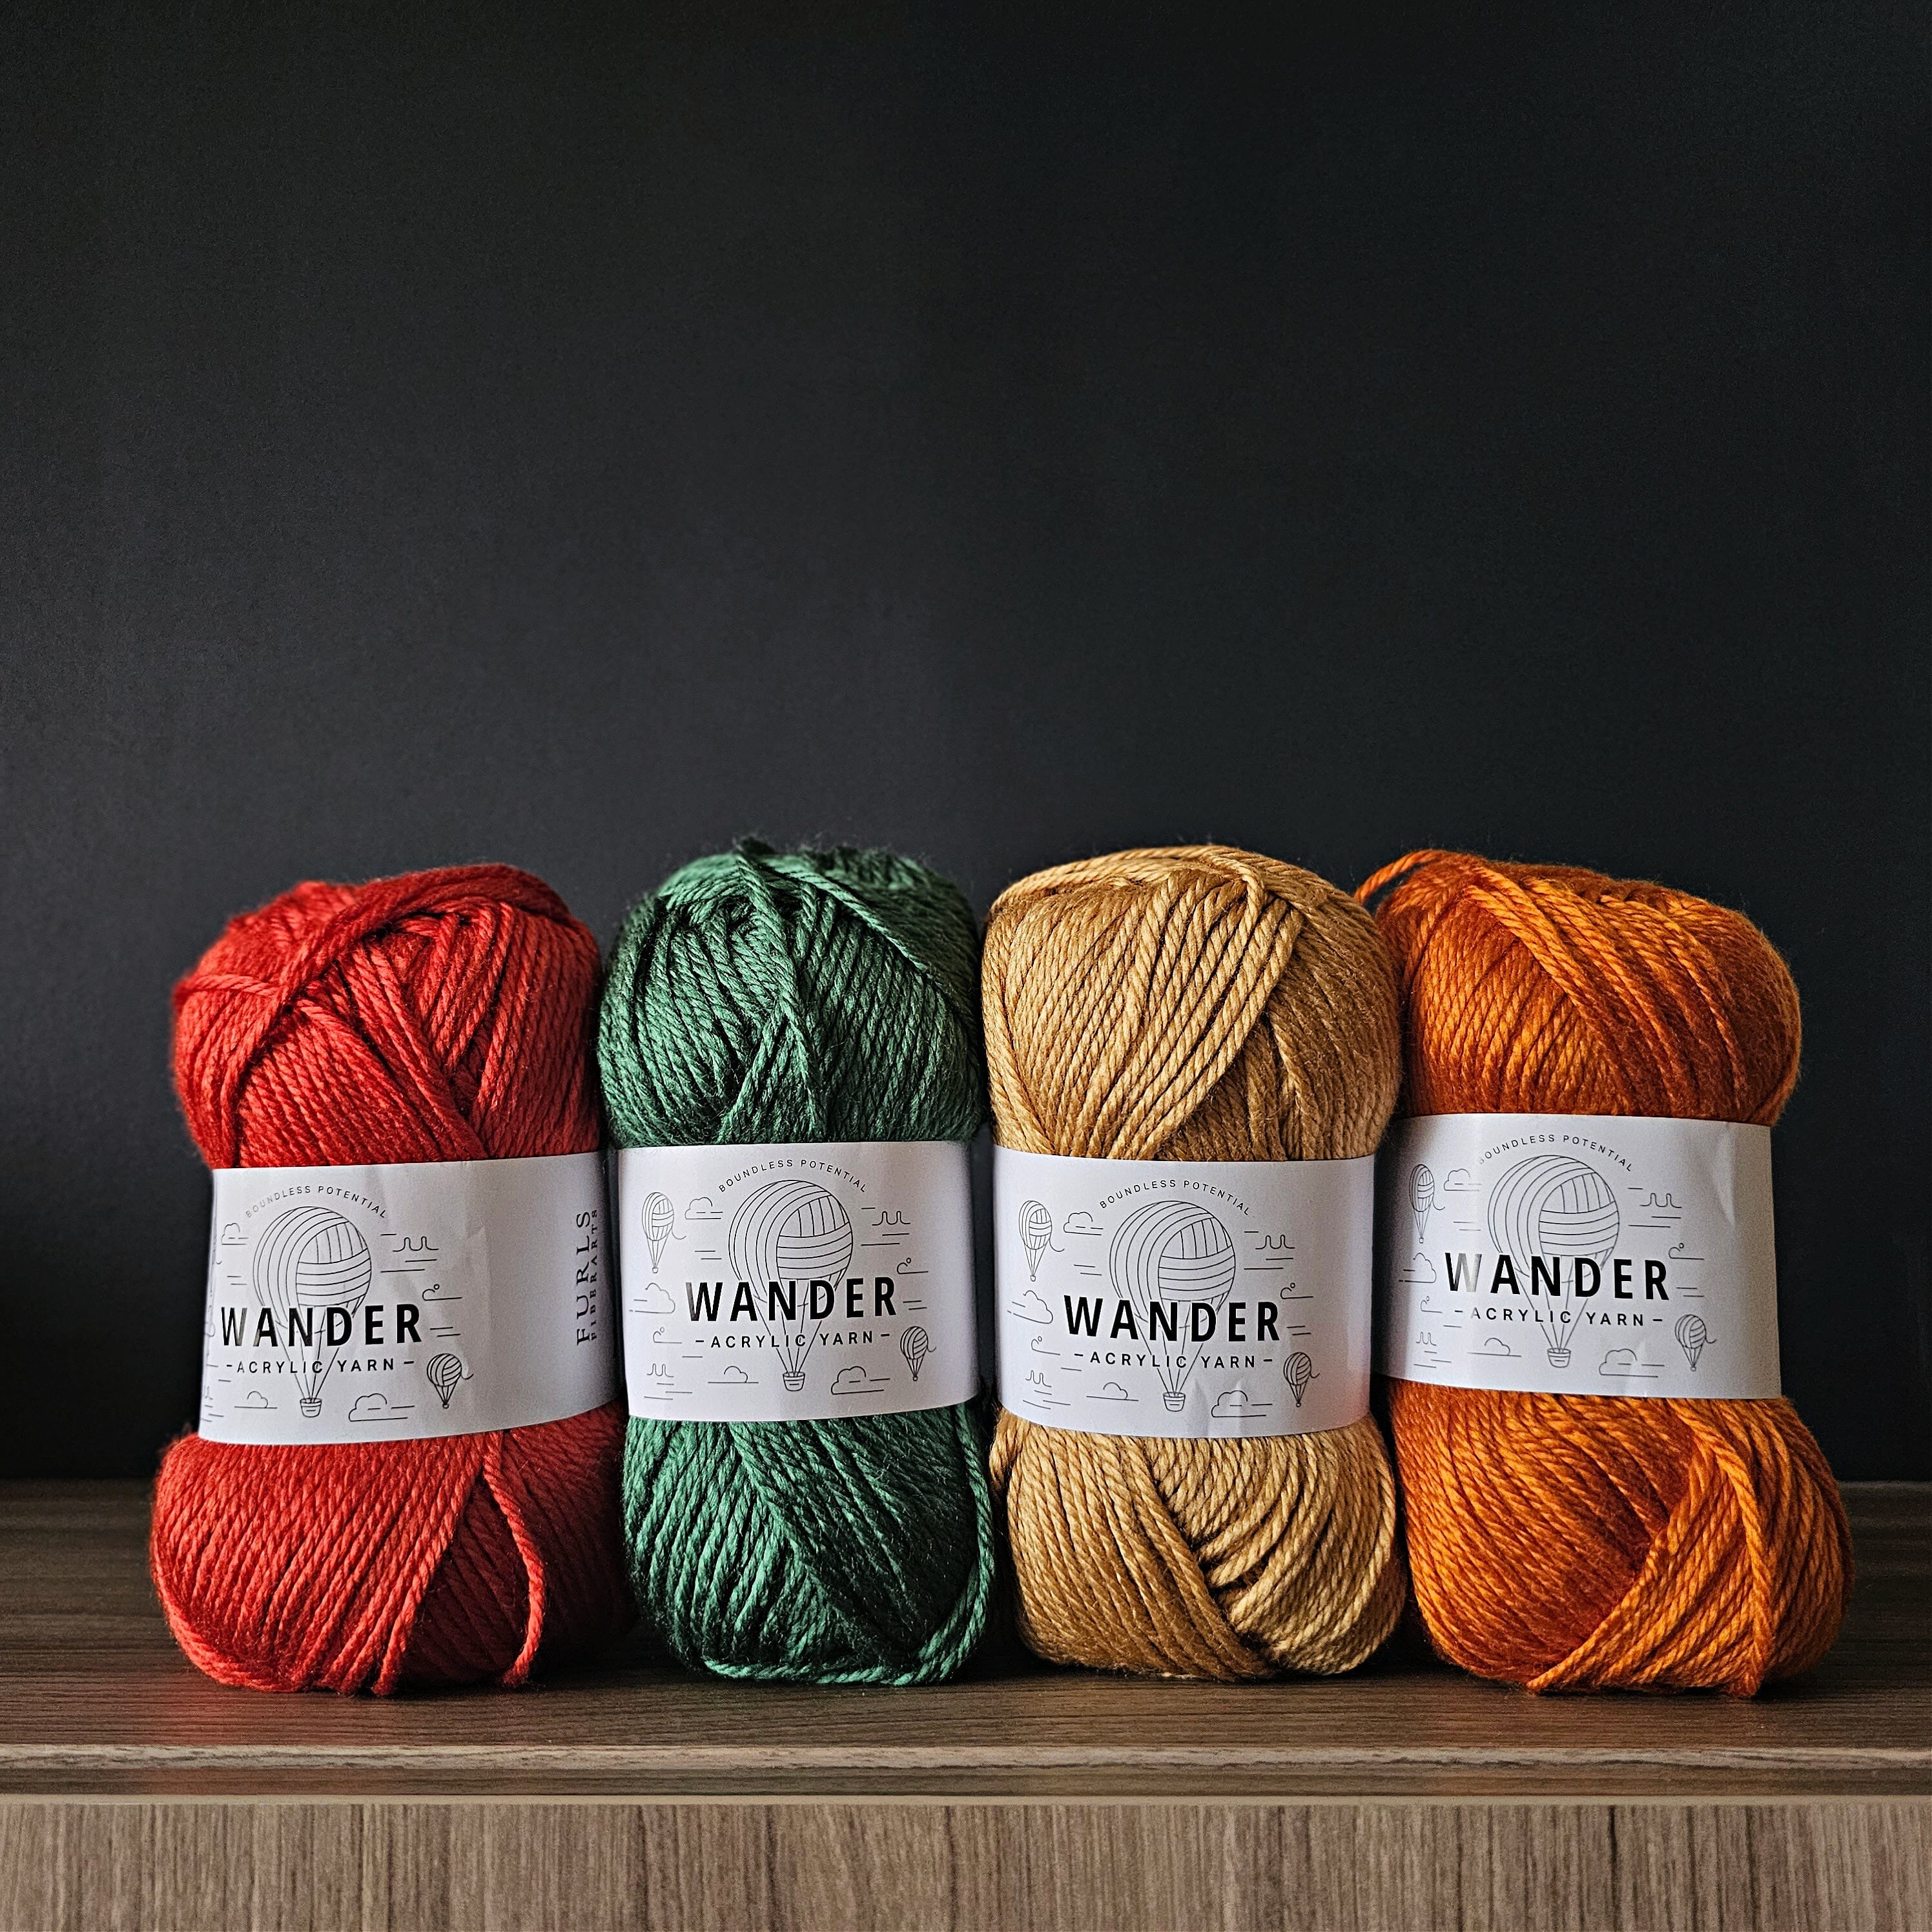
• Main Color: 11 (12, 13, 15, 16, 18) balls (1639, 1788, 1937, 2235, 2384, 2533 yards) We Are Knitters Meri Wool (or an equivalent worsted weight yarn with 9 wpi)
• Contrast Colour: 1 ball (1, 1, 1, 2, 2) ball (153, 153, 153, 306, 306 yards) We Are Knitters Petite Wool in Color B (or an equivalent bulky weight yarn with 7 wpi)
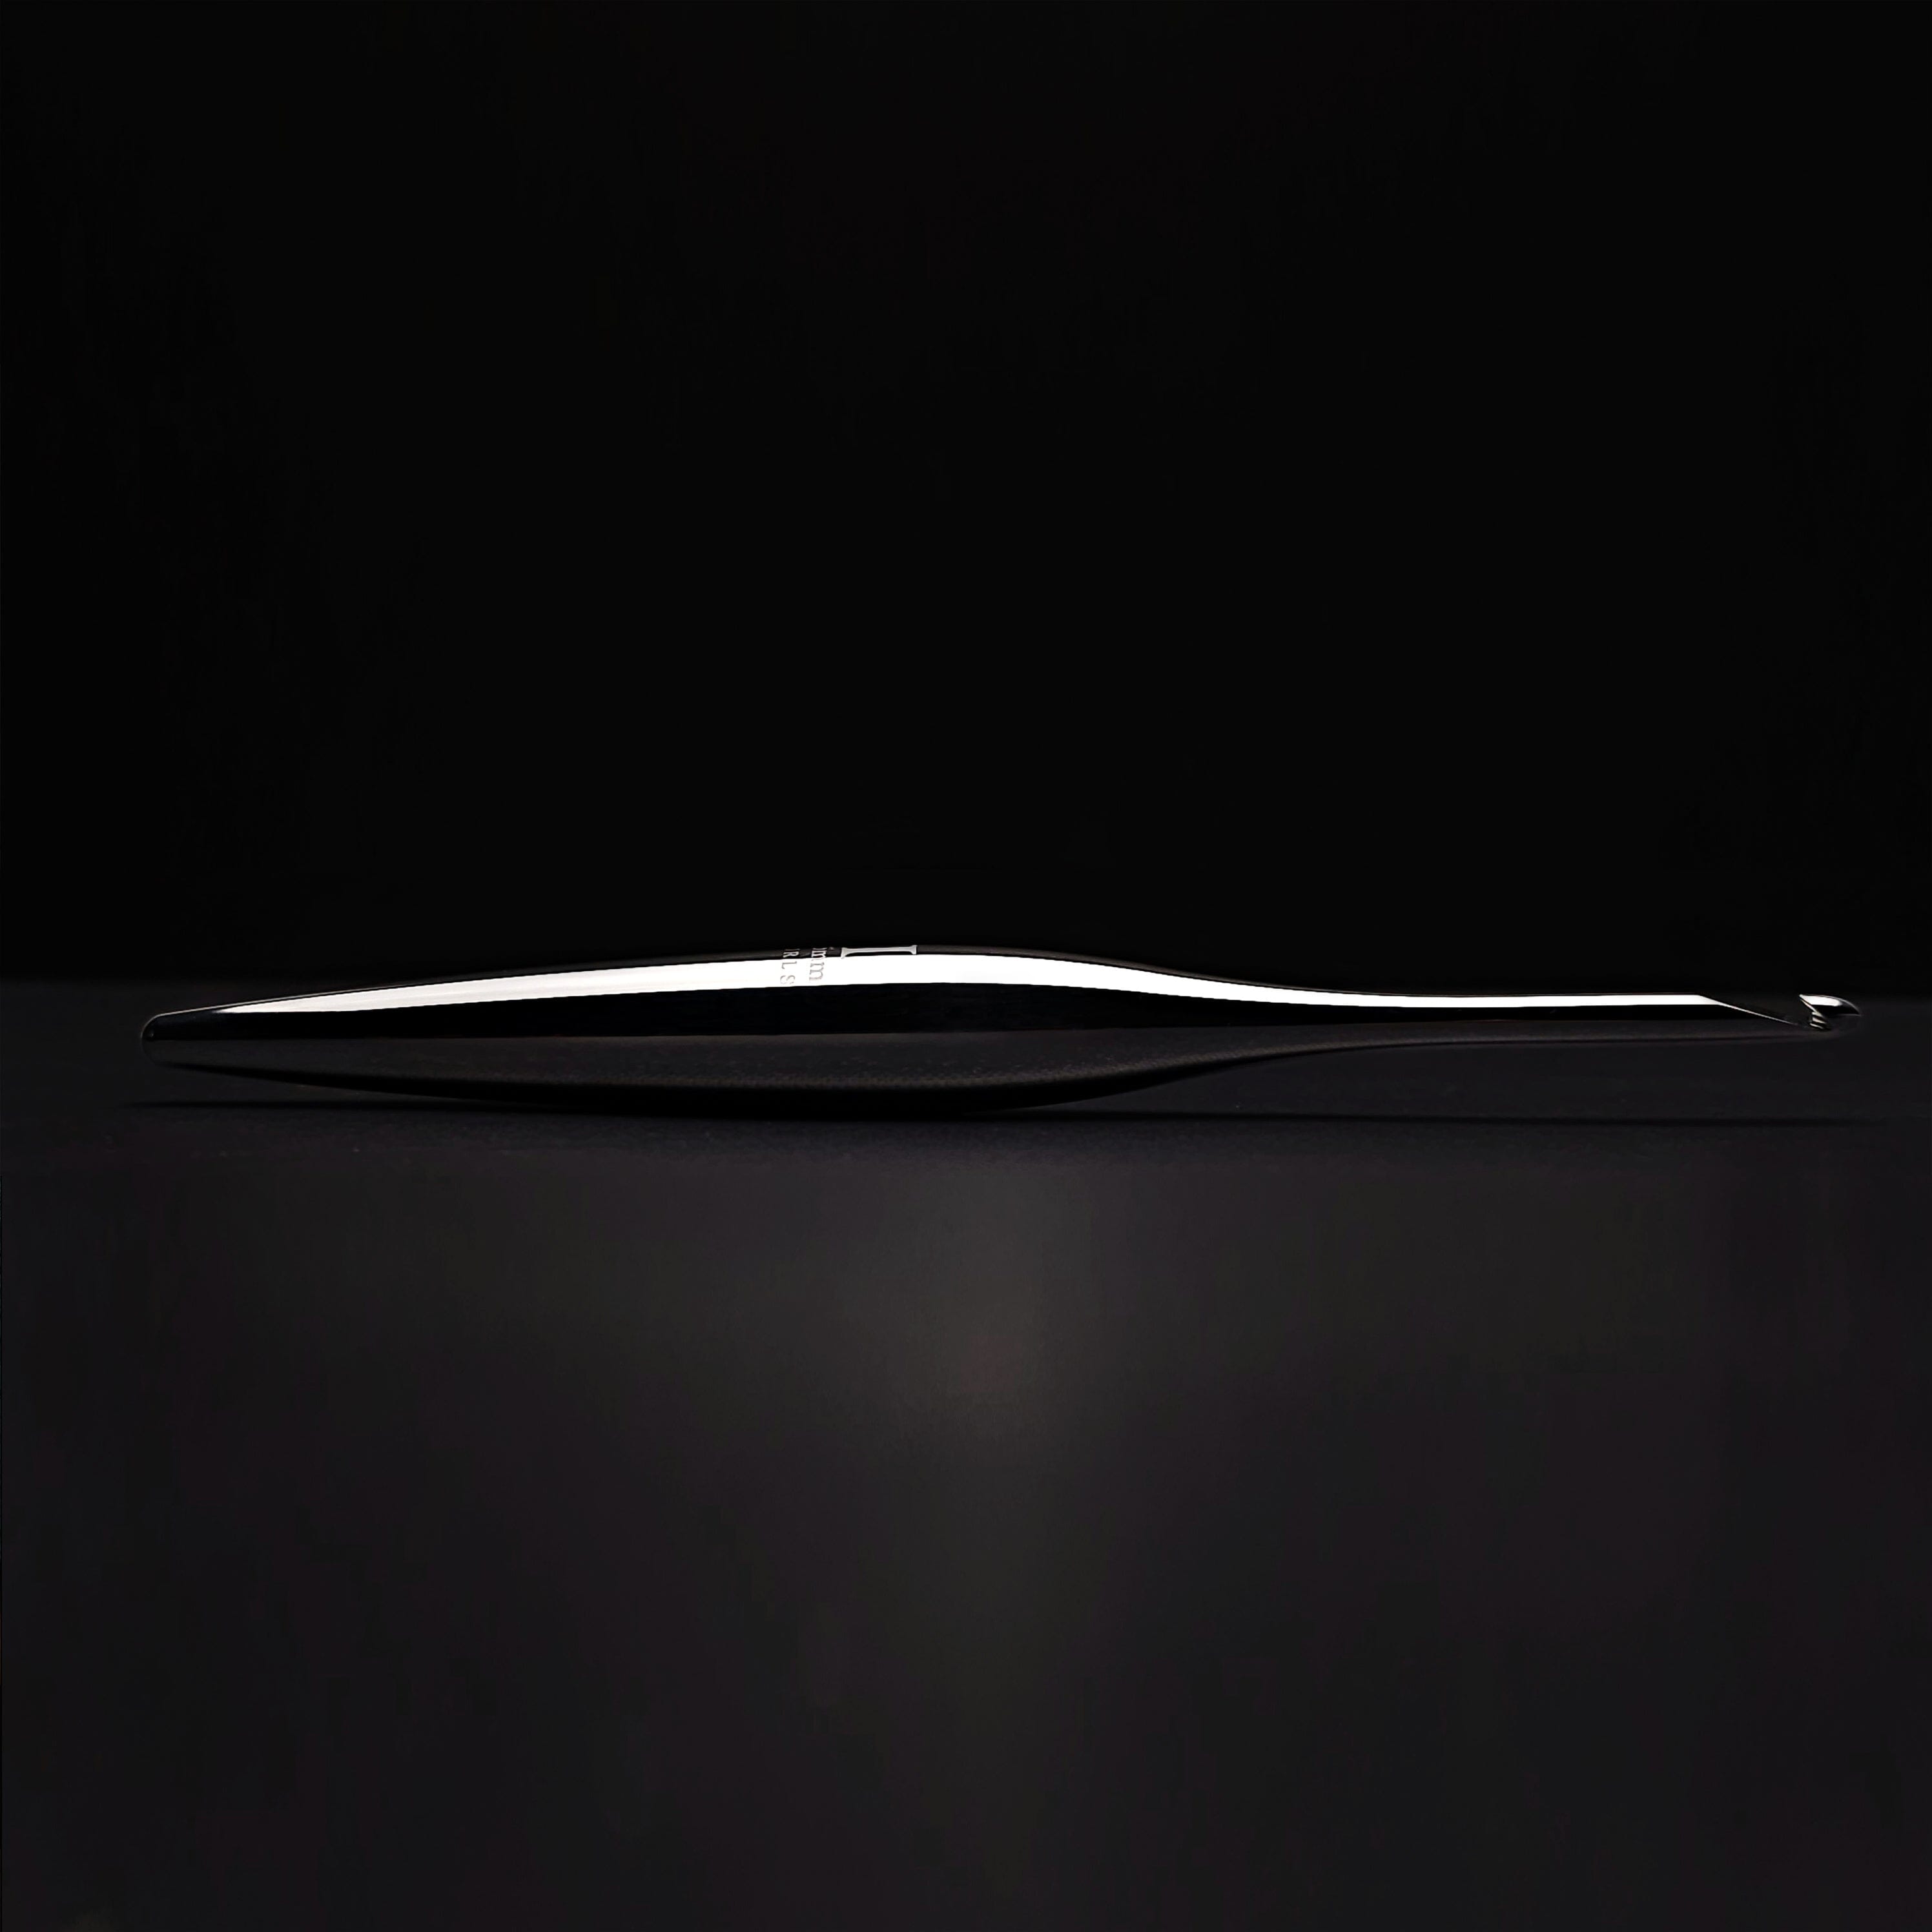
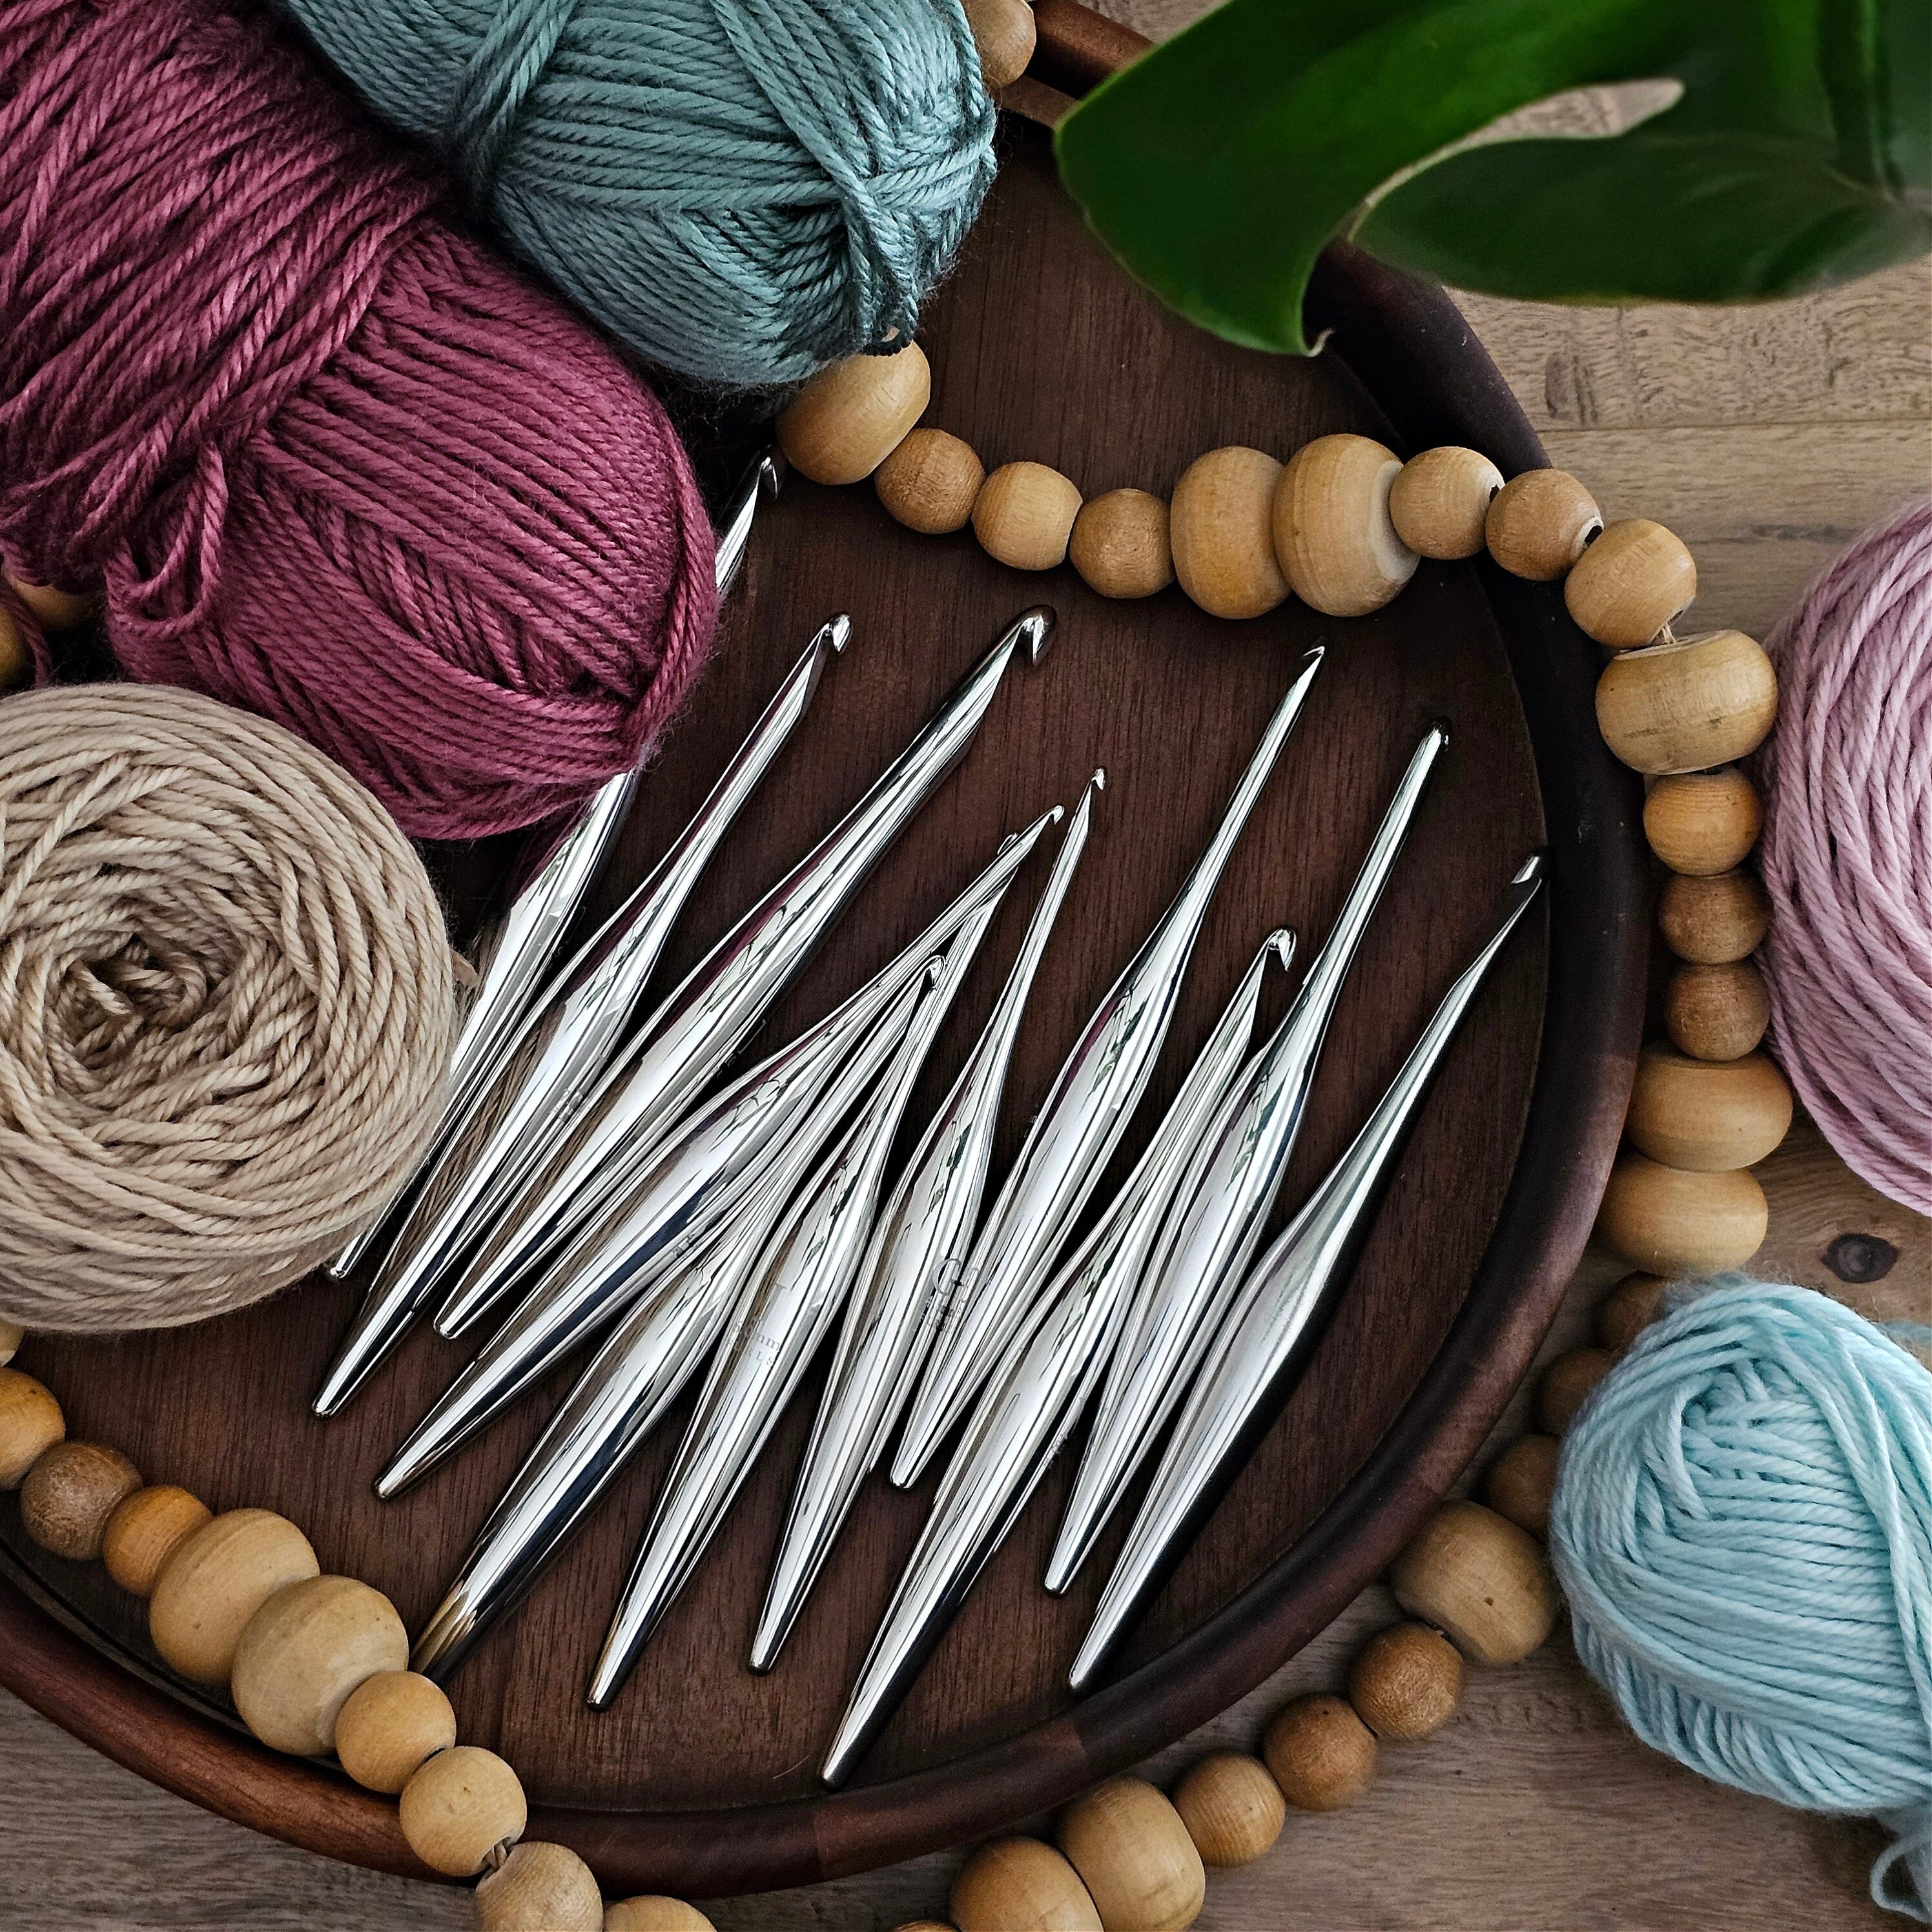
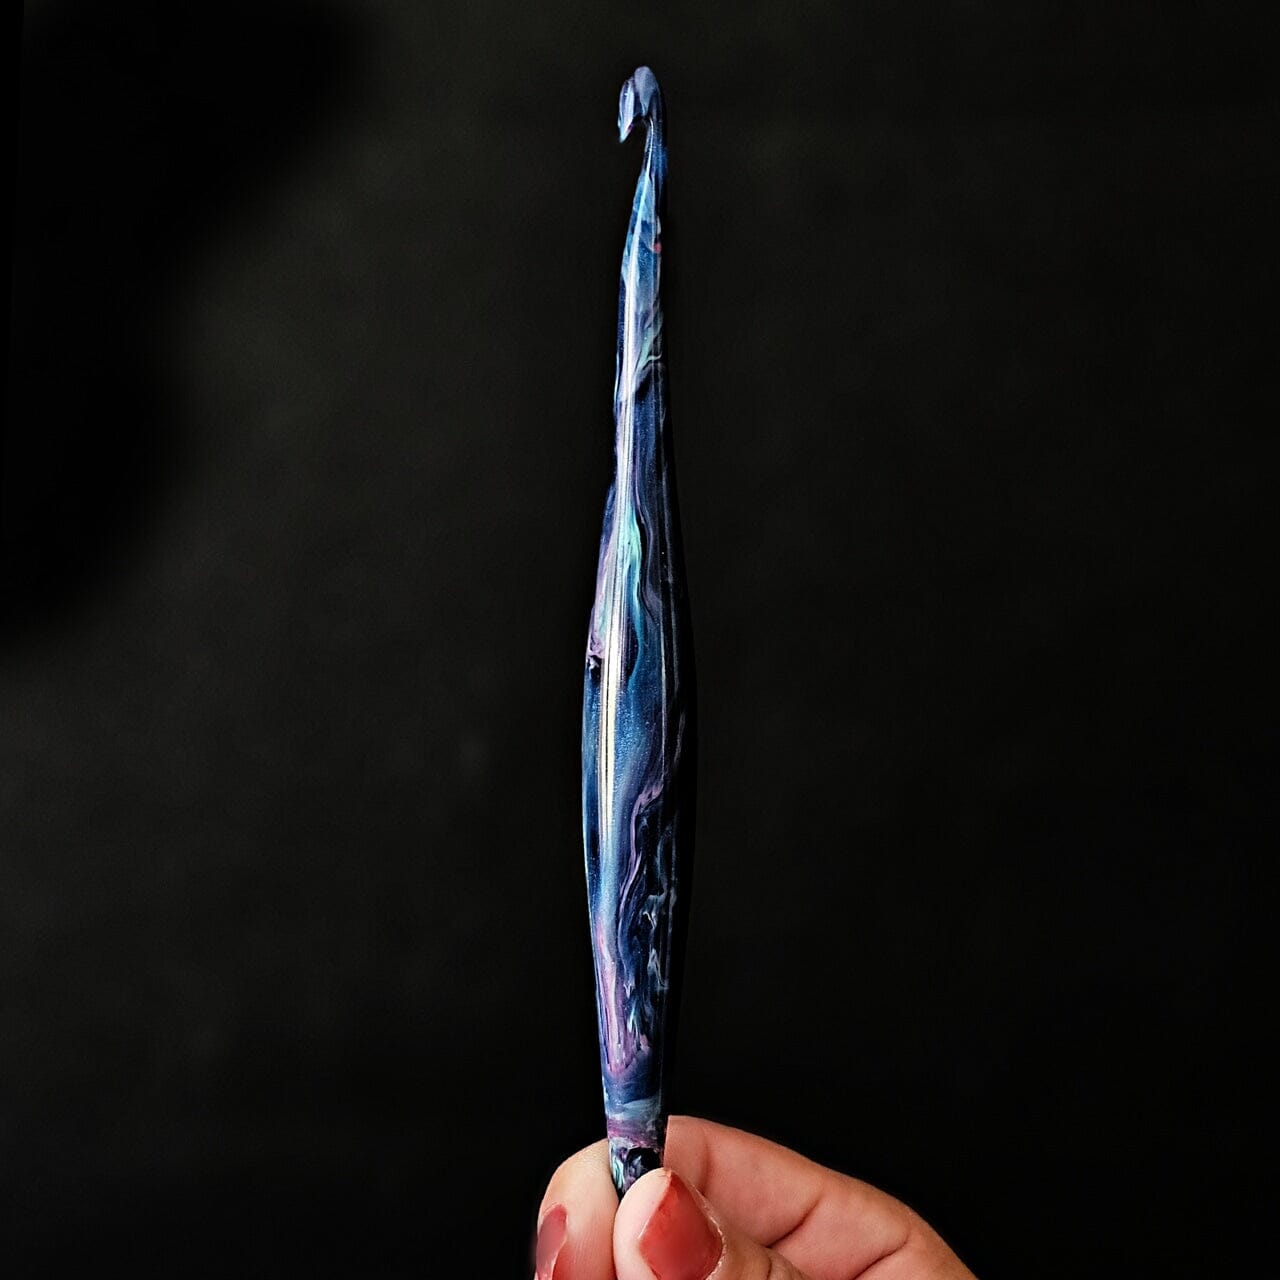
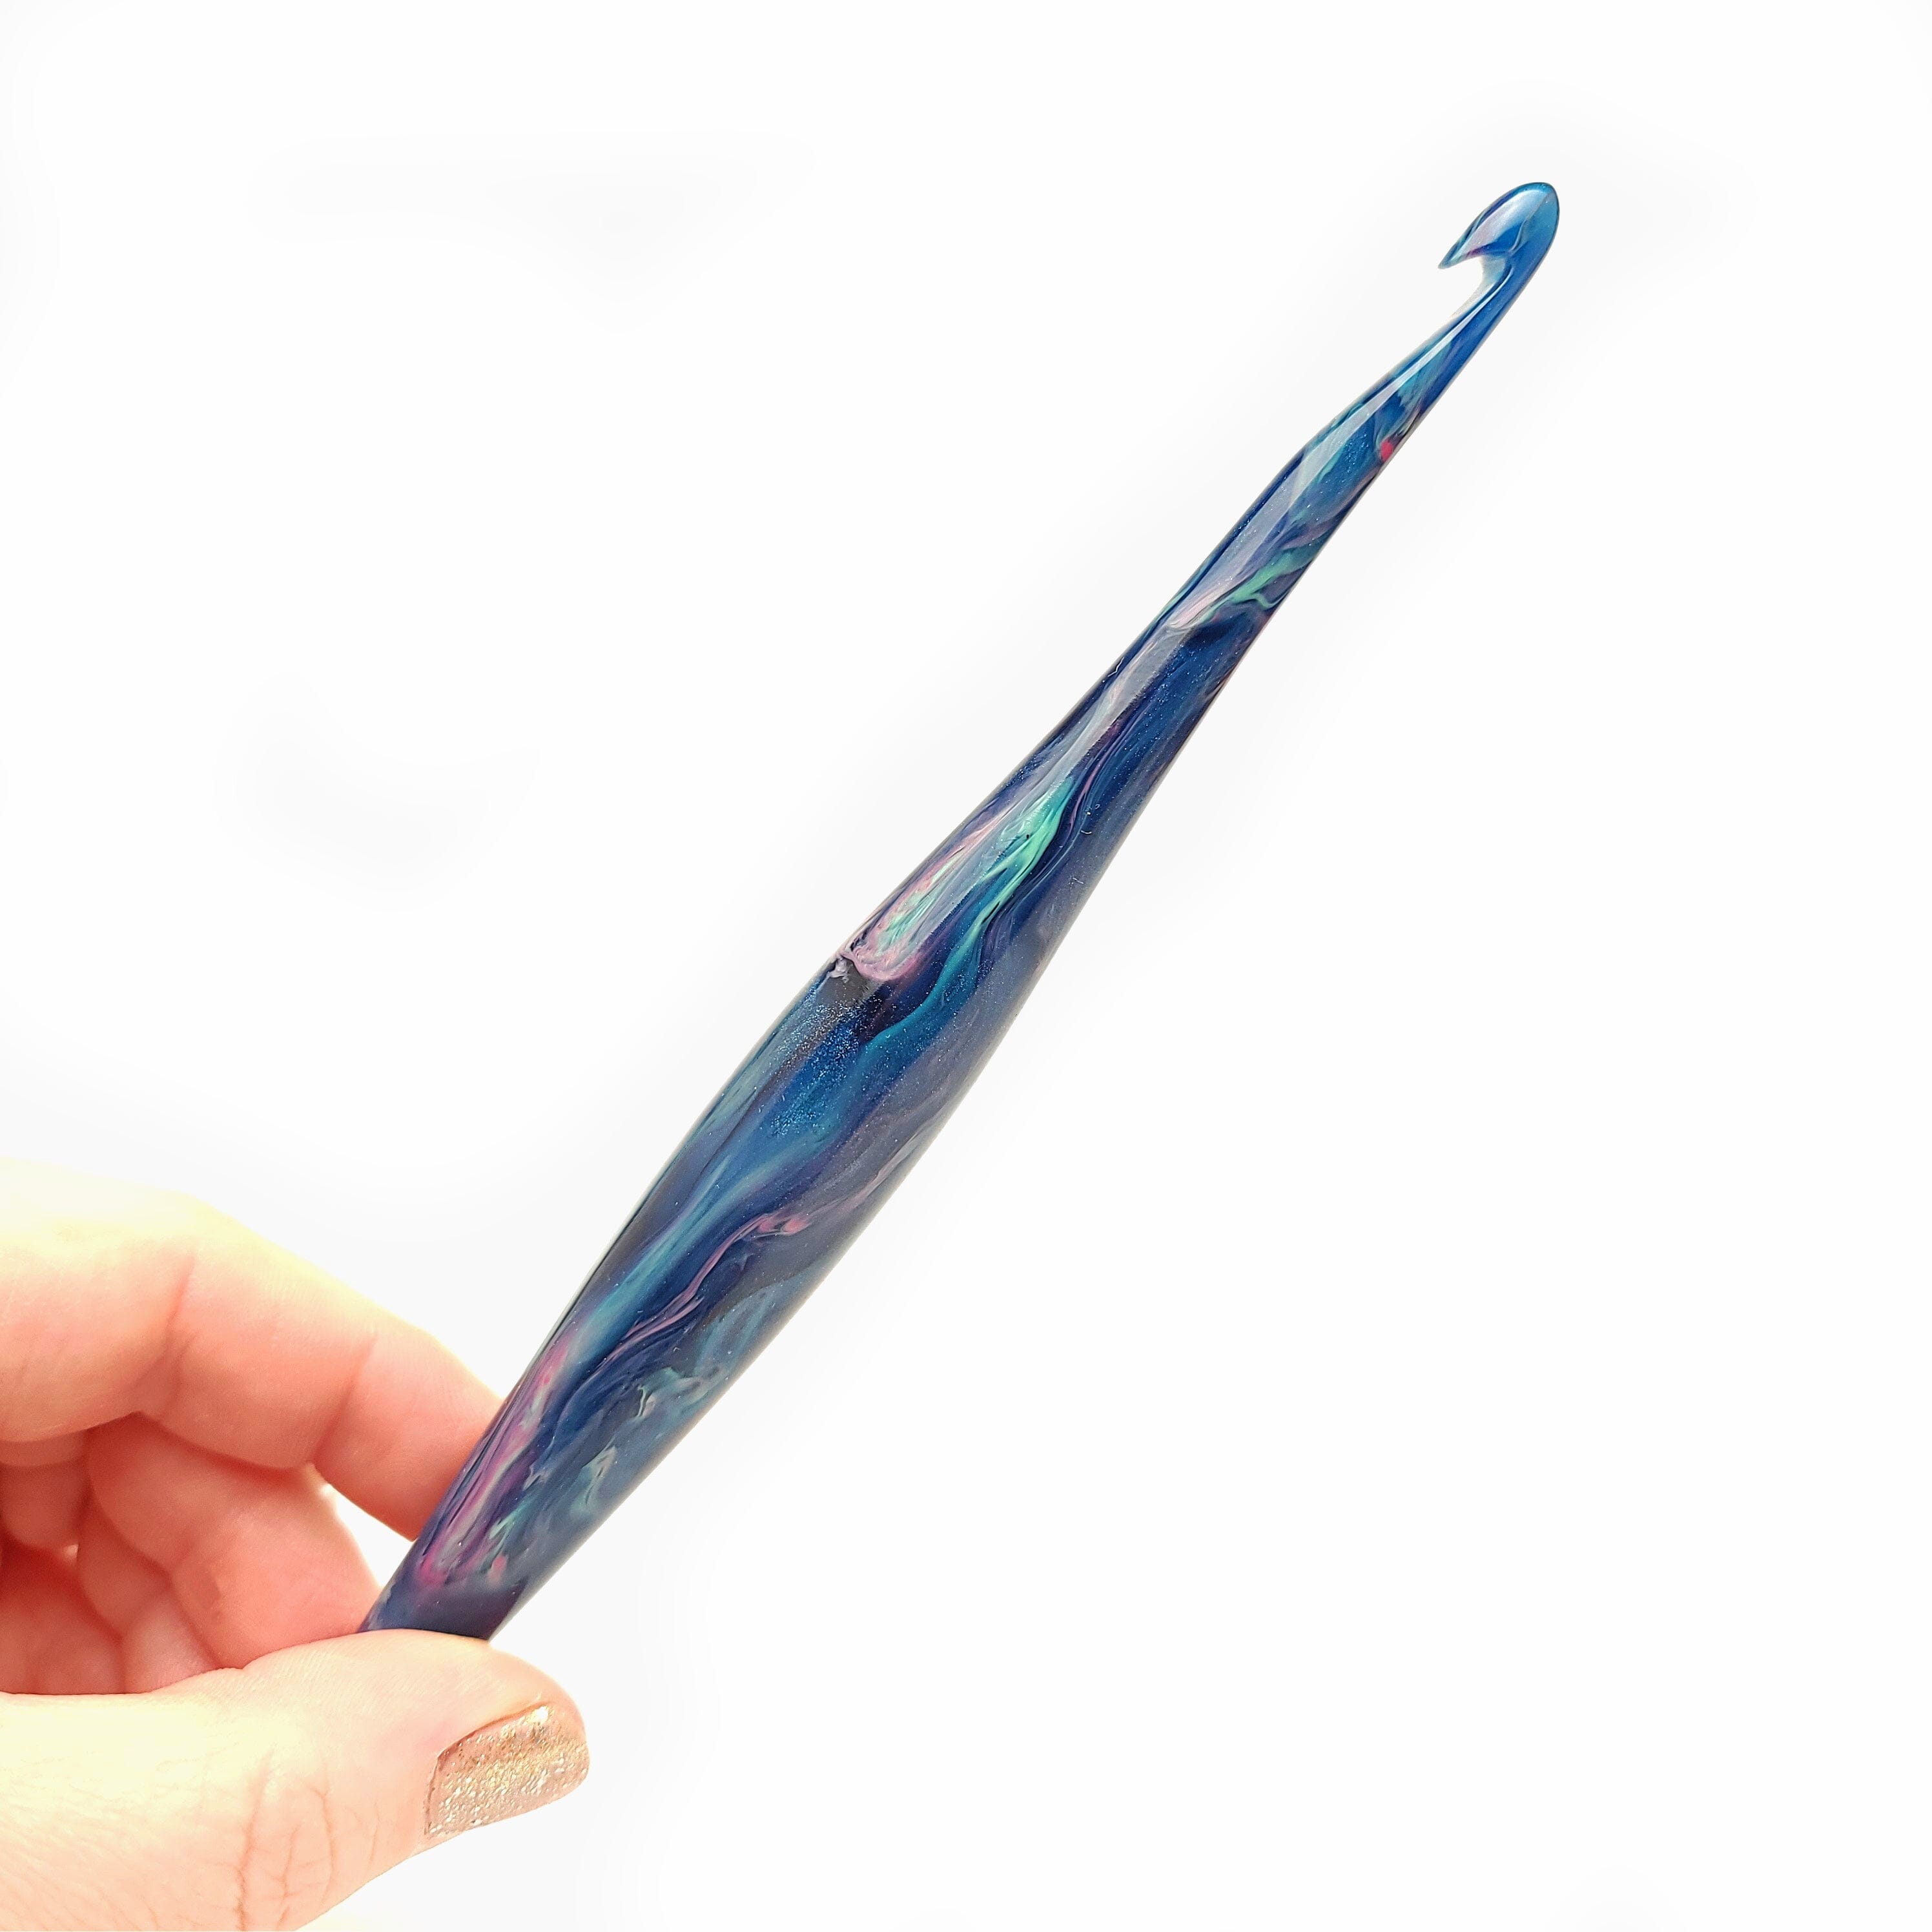
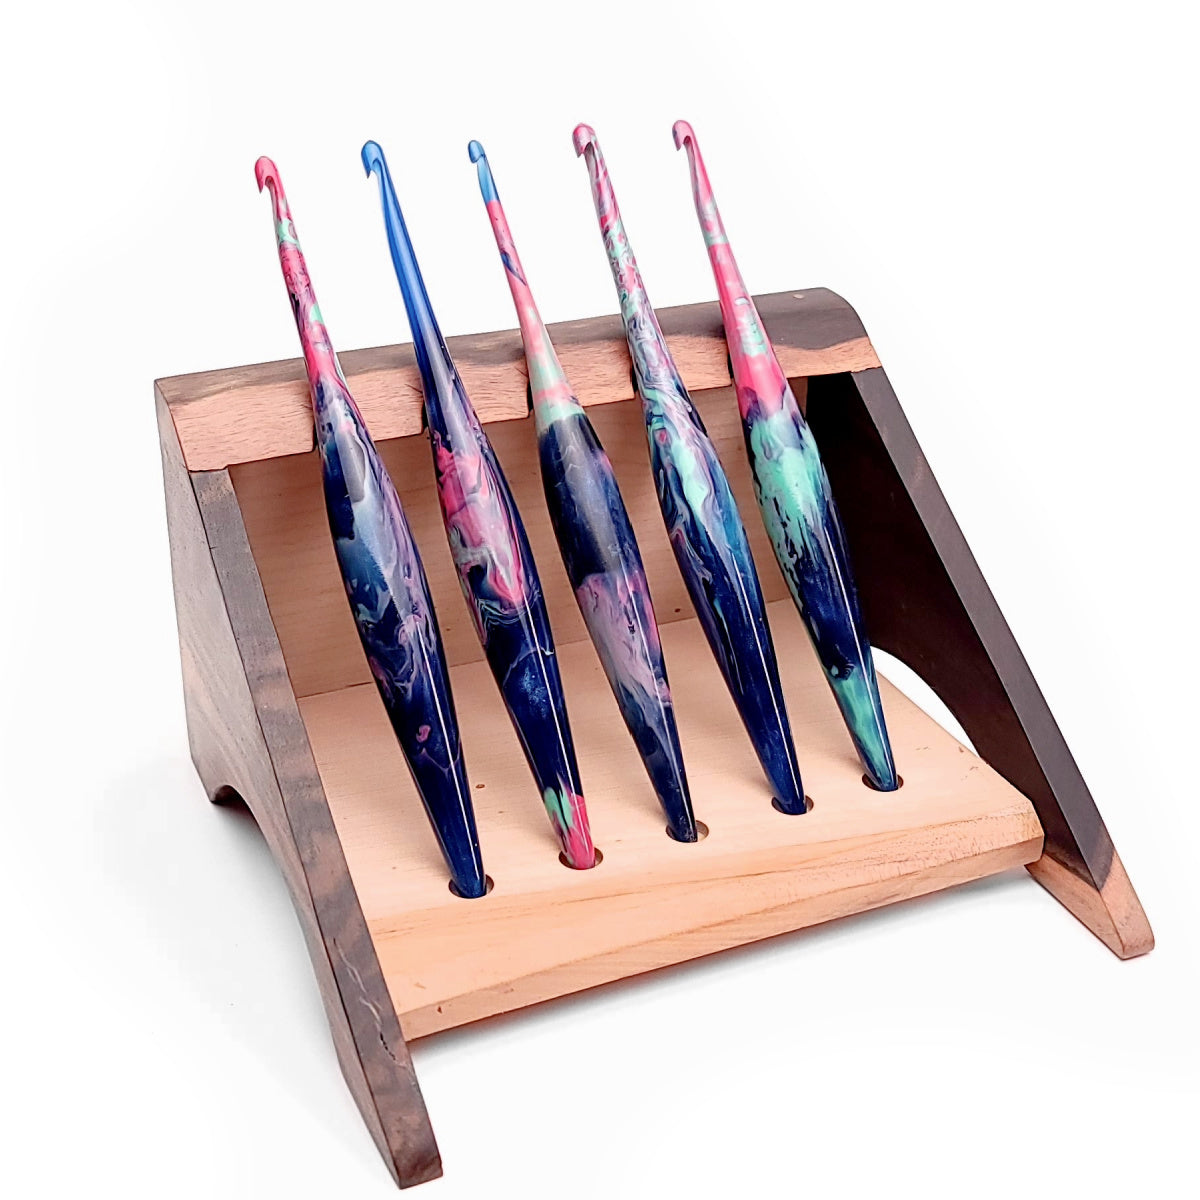
• I/5.5mm Furls Crochet Odyssey Gold Crochet Hook
• Stitch marker
• Tapestry needle
• OPTIONAL: Five 38mm buttons
PATTERN DETAILS
KEY: instructions are written in US terminology, and the UK equivalents are provided below for your reference
CH: Chain
Sl St: Slip Stitch
SC: Single Crochet (UK: Double Crochet)
HDC: Half Double Crochet (UK: Half Treble Crochet)
HDC INC: Half Double Increase (UK: Half Treble Crochet increase)
DC: Double Crochet (UK: Treble Crochet)
DC INC: Double Crochet Increase (UK: Treble Crochet increase)
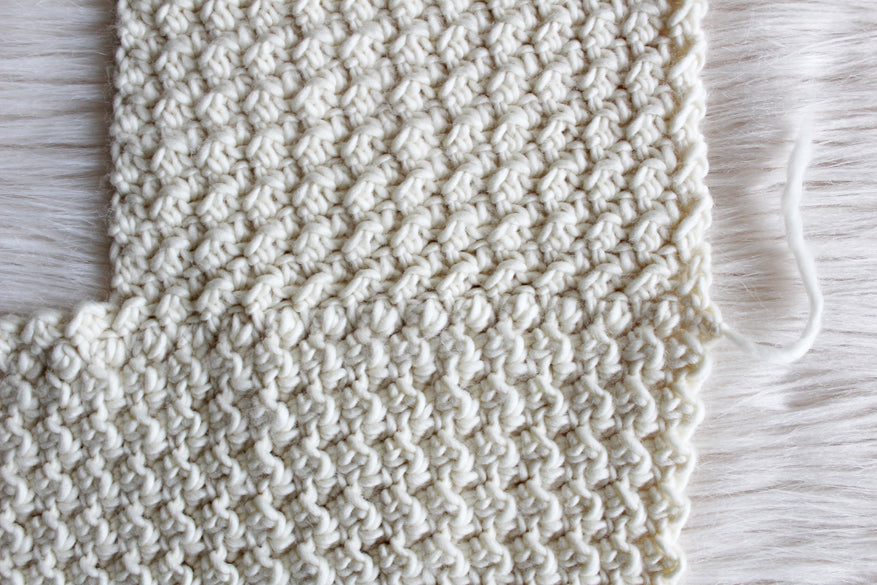
MS: Moss Stitch (see below)
st: Stitch
sts: Stitches
BLO: Back Loop Only
FLO: Front Loop Only
YO: Yarn Over
MC: Main Color
CC: Contrast Color
GAUGE:
6 MS clusters x 8 rows = 4”x4” in Moss Stitch (see below)
Errata: We have discovered an error in the gauge originally written in pattern. The correct gauge is 6 MS clusters (12sts) x 15 rows = 4”x4” in Moss Stitch. We apologize for any inconvenience this may cause. If you have already finished the back and front panels, then continue as you are and we will help you to make any adjustments needed for the sleeves. You may have to add additional rows.
NOTES:
We will be working this cardigan in multiple pieces. We will first work on the back panel. Once complete, we will turn our work and create the front panels on both sides of the back panel (the wider sides). We will then create and seam up our sleeves. Once we have assembled the full sweater, we will create the collar/trim by crocheting around the entire exterior of the piece, in seamed rounds.
Evangeline is designed to be a standard fit, with approximately 2-4” of positive ease at the bust.
MOSS STITCH:
For this pattern, we will be using this stitch sequence as the Moss Stitch (MS) : [Sl St, DC] Repeat [ ] across. Do not place both Sl St and DC in same st, they are to be placed in separate sts. In subsequent rows, make sure to work the DC into the Sl St of the previous row. Each MS cluster is counted as two stitches.
MEASUREMENTS:
This pattern includes instructions for four sizes. When the instructions between each size differ, the instructions are given for the smallest size first, then medium, large and the largest size (e.g. small (medium, large, extra large)
PART ONE
For this first week, we will be making the back panel of the Evangeline Cardigan using the moss stitch. The majority of the piece will be done using this stitch sequence and please feel free to work up a swatch to check your gauge as well as get into the rhythm of the moss stitch.Let’s get started!

EVANGELINE CARDIGAN - BACK PANEL

Using MC, CH 81 (81, 83, 83, 85, 85)
Row 1. (Beginning the back panel) Starting in 2nd CH from hook, MS across. (80, 80, 82, 82, 84, 84 sts)
Row 2-16. CH 1, turn. MS across. (80, 80, 82, 82, 84, 84 sts)
Row 17. Using CC, CH 1, turn. MS in FLO across. (80, 80, 82, 82, 84, 84 sts)
Row 18-22. Using MC, CH 1, turn. MS across. (80, 80, 82, 82, 84, 84 sts)
Row 23. Using CC, Repeat Row 17. (80, 80, 82, 82, 84, 84 sts)
Row 24. Using MC, CH 1, turn. MS across. (80, 80, 82, 82, 84, 84 sts)
Repeat Row 24- 44 (48, 52, 54, 58, 62) times more, or until your work measures 18 (19, 20, 21, 22, 23)".
Fasten off, leaving a 6" tail.
PART TWO
Heyyy!!! Jessica here again from The Hook Nook! Ready for part two of our crochet along making the Evangeline Cardigan with Furls Crochet?! Let's go!The back panel (along with this week’s directions) are great, mindless crocheting. Working on the “bones” of cardigans and garments are always my favorite because I love to design them so that they aren’t exceptionally difficult and you don't have to keep too much attention on each stitch you're placing. Makes for some fun, relaxing quiet time!
This week we will be working on both front panels. To do this, we will actually be turning our back panel rectangle on its side. Instead of continuing on with the front panels beginning on the wide side of the panel, we will be turning it to put the panels on a narrow end. I chose to do this to just give minor interest in the way the Moss Stitch lays when comparing the front and back panels. Simple decor choice!
Note: When placing your first row of new stitches on the narrow side of the back panel, be sure to keep them evenly spaced. You don’t want your stitches too stretched nor too close together. If you are unfamiliar with where to place your stitches, allow yourself the patience needed if you need to frog it a time or two before finding your sweet spot. Practice is the only way you’ll find all the little tips and tricks!
Let’s get started!

FRONT PANELS:

You will now work the front panel sections separately, crocheting from the shoulder line of the back panel piece that you have already worked.Turn work sideways so short side now becomes working side. Join the MC yarn to the corner using a Sl St. (The row counts are now started from Row 1 from this point forward)
Row 1. (Now creating the front panels of cardigan) Using MC, MS across, keeping your sts evenly spaced. (68, 72, 76, 78, 82, 86 sts)
Row 2. CH 1, turn. MS across. (68, 72, 76, 78, 82, 86 sts)
Row 3. CH 1, turn. MS across for (22, 24, 26, 28, 30, 32 sts)
Repeat Row 3- 101 (101, 104, 104, 114,114) times more, or until your work measures 27 ( 27, 27 ¾, 27 ¾, 30 ½, 30 ½ )” from the beginning of the front panel section (the front panel will be ½" longer than the back panel).
Fasten off, leaving a 6" tail
You will now work the second front panel section. Join the MC yarn to the corner using a Sl St.
Repeat Row 3- 101 (101, 104, 104, 114,114) times more on this side, or until your work measures 27 ( 27, 27 ¾, 27 ¾, 30 ½, 30 ½ )” from the beginning of the front panel section (the front panel will be ½" longer than the back panel).
Fasten off, leaving a 6" tail
PART THREE
Hey everyone! Jessica from The Hook Nook again and I’m excited to get started on part THREE of our crochet along making my Evangeline Cardigan pattern over here on the Furls Crochet blog! You guys haven’t given up yet, have you?! We now get to begin the sleeves and pockets!
Note: We will be working the sleeves flat, starting at the cuff. You will begin with your contrast color for the creation of the cuffs before finishing off and attaching your main color for the remainder of the sleeve. Once the sleeve has been made, we will then seam them into a tube/sleeve shape using coordinating yarn to prevent any view of the seam on the outside. Along with the sleeves, we will be creating the pockets, which are made in two pieces. We will make the main color portion of the pocket which will be an easy square using the moss stitch. We will also make the contrast color portion of the pocket which will be an easy rectangle using the same stitch. When we assemble the pockets, we will be first attaching the contrast piece onto the main color square by folding it over the top of the square and sewing it into place using a yarn needle and coordinating yarn.

SLEEVES (MAKE TWO):
Using CC, CH 30 (31, 32, 33, 34, 35).
Row 1. Starting in 2nd CH from hook, HDC across. (29, 30, 31, 32, 33, 34 sts)
Row 2. CH 1, turn. HDC in FLO across. (29, 30, 31, 32, 33, 34 sts)
Row 3. CH 1, turn. HDC in BLO across. (29, 30, 31, 32, 33, 34 sts)
Row 4. Repeat Row 2.
Row 5. CH 1, turn. HDC INC BLO in first st. [HDC in BLO] across, until you have one stitch remaining. HDC INC BLO in last st. (31, 32, 33, 34, 35, 36 sts)
Row 6. CH 1, turn. HDC in FLO across. (31, 32, 33, 34, 35, 36 sts)
Row 7. CH 1, turn. HDC in BLO across. (31, 32, 33, 34, 35, 36 sts)
Row 8. Using MC, join yarn with Sl St to last st created. CH 1. MS across. (31, 32, 33, 34, 35, 36 sts)
Row 9. CH 1, turn. MS across. (31, 32, 33, 34, 35, 36 sts)
Row 10-16. Repeat Row 9- 7 times more.
Row 17. CH 1, turn. 2 DC in first st. [MS] across, until you have one stitch remaining. 2 DC in last st. (33, 34, 35, 36, 37, 38 sts)
Row 18-33. CH 1, turn. Beginning with a DC in the first stitch, MS across. (33, 34, 35, 36, 37, 38 sts)
Row 34. CH 1, turn. DC INC in first st. [MS] across, until you have one stitch remaining. DC INC in last st. (35, 36, 37, 38, 39, 40 sts)
Row 35-38. CH 1, turn. Beginning with a DC in the first stitch, MS across. (35, 36, 37, 38, 39, 40 sts)
Row 39. CH 1, turn. DC INC in first st. [MS] across, until you have one stitch remaining. DC INC in last st. (37, 38, 39, 40, 41, 42 sts)
Row 40-53. CH 1, turn. Beginning with a DC in the first stitch, MS across. (37, 38, 39, 40, 41, 42 sts)
Row 54. CH 1, turn. DC INC in first st. [MS] across, until you have one stitch remaining. DC INC in last st. (39, 40, 41, 42, 43, 44 sts)
Sizes Small and Medium only:
Row 55-73. CH 1, turn. Beginning with a DC, MS across. (39, 40 sts)
Sizes Large and Extra Large only:
Row 55-75. CH 1, turn. Beginning with a DC, MS across. (41, 42 sts)
Sizes 2XL and 3XL only:
Row 55-77. CH 1, turn. Beginning with a DC, MS across. (43, 44 sts)
Fasten off, leaving a 6" tail.
POCKET - PART ONE (MAKE TWO):
Using MC, CH 17.
Row 1. Starting in 2nd CH from hook, MS across. (16)
Row 2-16. CH 1, turn. MS across. (16)
CH 1, turn. SC in each st across. CH 2, skip over corner. SC evenly down side of square. CH 2, skip over corner. SC in each CH across. CH 2, skip over corner. SC evenly up side of square. CH 2, skip over corner. Sl St to first SC. Fasten off leaving approximately 24”/60cm. We will use this tail to sew CC rectangle onto MC square. We will use this tail to sew the pocket to the cardigan.
POCKET - PART TWO (MAKE TWO):
Using CC, CH 17.
Row 1. Starting in 2nd CH from hook, MS across. (16)
Row 2-7. CH 1, turn. MS across. (16)
CH 1, turn. SC in each st across. CH 2, skip over corner. SC evenly down side of rectangle. CH 2, skip over corner. SC in each CH across. CH 2, skip over corner. SC evenly up side of rectangle. CH 2, skip over corner. Sl St to first SC. Fasten off leaving approximately 24”/60cm. We will use this tail to sew CC rectangle onto MC square.
POCKET ASSEMBLY:
Wrap CC rectangle onto top of MC square. Using tapestry needle and the CC yarn tail of your CC pocket piece, sew pieces together. Using the MC yarn tail of your MC pocket piece, sew pocket onto cardigan in desired place. You may reference final photos for my placement.
PART FOUR
Eeeeep!! Jessica here from The Hook Nook for the LAST part of our CAL with Furls Crochet making the Evangeline Cardigan! Get ready for the BEST part of the four because we are finally putting everything together, adding the last of the details and putting that sucker on.WOOT.
This week we will be:
-Assembling pieces
-Creating collar/neckline and detail
-Crocheting back panel ruffle detail
-Optional: Adding buttons
I don’t know about you, but the little details are just what makes garments so special. That extra thought, that extra effort.. It is always worth it. Ready? Let’s do this.

ASSEMBLY:
1. Lay cardigan flat with front panels on top of back panel. Line up sleeves to proper position on cardigan. Place stitch markers where the armpit of your cardigan (bottom of sleeve) will be.
2. Using MC, attach yarn with Sl St to bottom corner of cardigan, through both front and back panels together. [CH 1, Sl St] Repeat [ ] up the side of the cardigan until you reach your stitch marker. Finish off. Repeat for other side of cardigan.
3. For sleeves, fold them in half with textured side of cuff exposed. Texture side of cuff should be the same as seamed side - we will be flipping the cuff to show the detail correctly. Attach CC to wrist of sleeve with Sl St. [CH 1, Sl St] Repeat [ ] across CC cuff. Finish off. 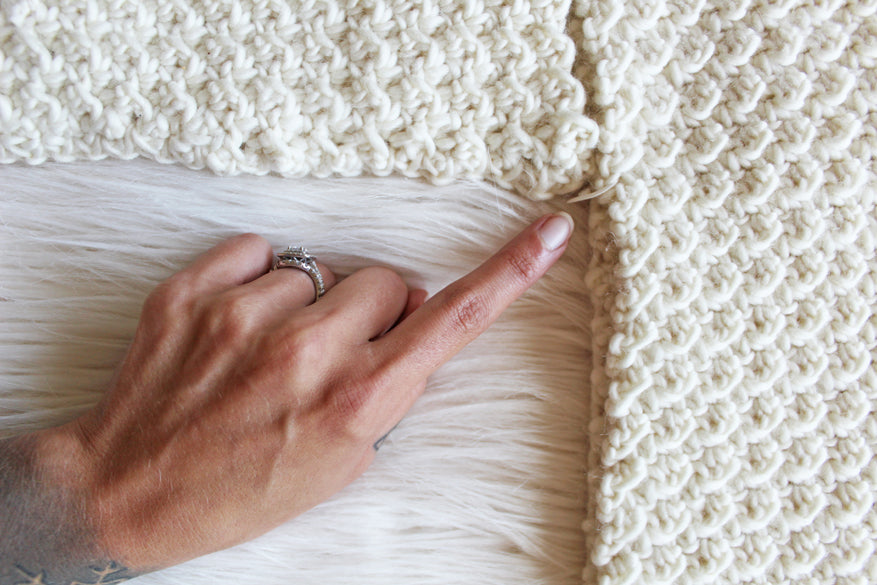
4. Attach MC to sleeve seam with Sl St. [CH 1, Sl St] Repeat [ ] across MC sleeve. Finish off, weave in ends.
5. Turn cardigan and sleeves inside out so seams are visible. Using your tapestry needle and MC, securely sew sleeves evenly onto body of cardigan. Be sure keep a medium tension as not to “pull” sts as well as not to have shoulder seam be loose and visible after some use.

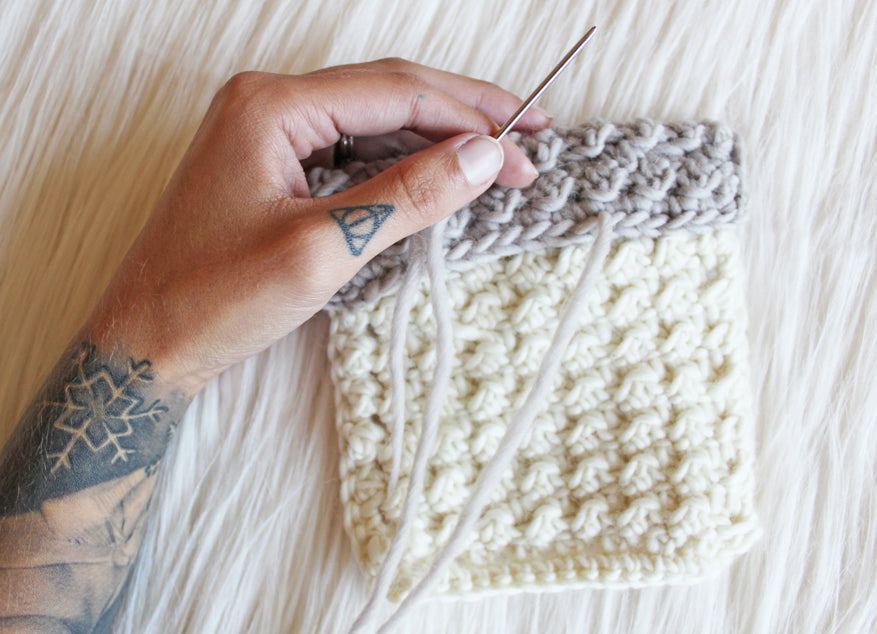
COLLAR/HEM:
Row 1. Join MC to bottom seam with a Sl St where front panel is connected with back panel. CH 1. HDC evenly around entire piece. Sl St to first HDC. Finish off.
Row 2. Join CC with Sl St to last st created. CH 1. HDC in each st around. Sl St to first HDC.
Row 3-5. CH 1. HDC BLO in each st around. Sl St to first HDC.
Row 6. CH 1. Sl St in each st around. Sl St to first Sl St. Finish off.


**OPTIONAL DETAILING** (We are using surface crochet to create simple detailing along collar). With cardigan right side out (seams on inside), insert hook into collar section, in the middle of HDC round. Using CC, place slip knot onto hook and pull hook out of st. Insert hook into middle of next HDC, YO, pull hook out of st. Sl St two loops on hook. Repeat surface crochet around entire collar section. Sl St to first Sl St sp. Finish off, weave in ends.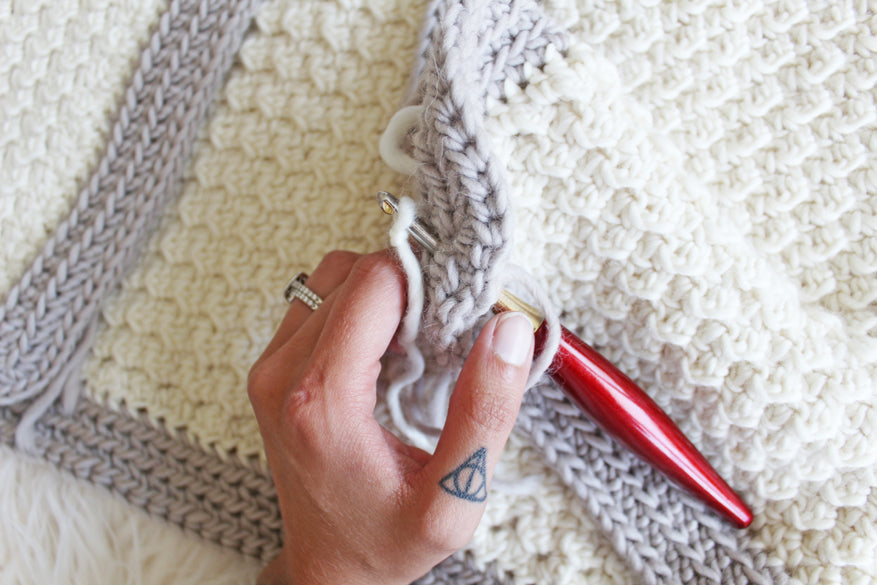

BACK PANEL RUFFLES:
In images below it shows ruffles being worked into the main color. As you changed color for these rows, you will be working into CC to do your ruffles.
Using CC, attach yarn to BLO row on back panel using Sl St.
Row 1. (CH 1. Sl St in same st. (Sl St, 3HDC, Sl St) in next st) Repeat ( ) across. Finish off.
Repeat Row 1 for second BLO row on back panel.


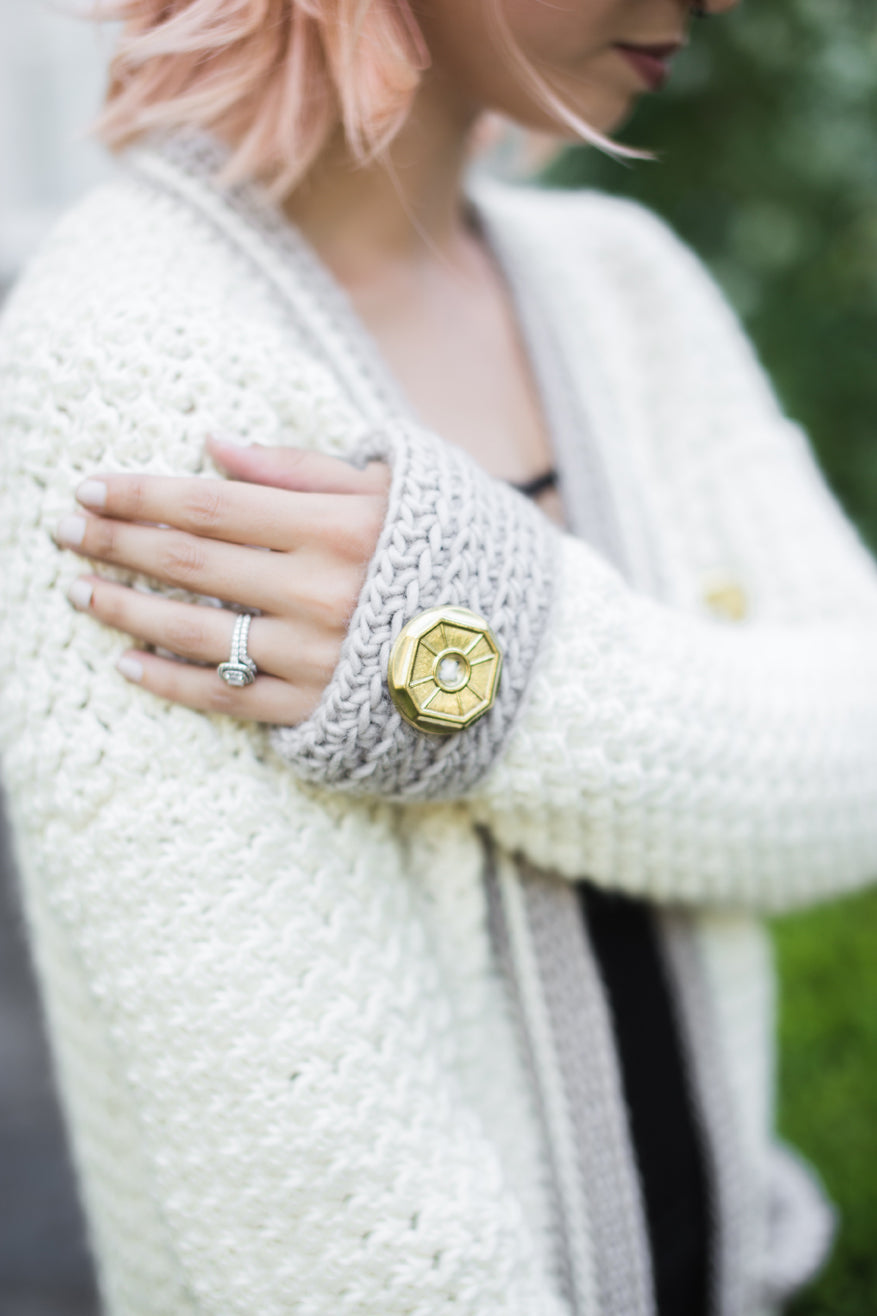
BUTTONS:
I chose to use my buttons as "decor" instead of functionality. You may choose to place your buttons down the front collar section if you’d like OR you may place them in any desired formation for detail. I placed three in a triangular shape to act as a brooch as well as one on each cuff. You may also choose to skip this detail.


**LAST NOTE: Weave in all ends (don’t hate me).
After I completed the cardigan, I felt that it needed one last detail to feel complete. I had these AMAZING buttons from Button Avenue and really loved the gold against the soft neutrals! They were big, bold and ultimately perfect to bring this lovely cardigan to life. Since the buttons are not used functionally, you may pass on this detail and still have one amazing piece of art. If you do choose to add buttons (or any other decal/applique), make sure you choose something that feels perfect for YOU. After all, YOU did make this cardigan.. It should feel just so personal and amazing. <3
I simply chose to add one button on the outside of each sleeve cuff as well as a small triangle formation on the breast. See photos for placement.
And boom goes the dynamite. You did it!!
Gosh, it has been such a blast these last four weeks working with you all as well as Furls Crochet on this project! It is by far my most favorite thing I’ve made so far and it’s so special to use it in such a fun way! Thank you to each of you for following along and creating with me. And thank you to Furls for giving me the platform to share my creativity with their audience. It’s been a blast! Don’t forget to follow along on my journey over on Instagram, Facebook, my blog and within my Facebook group, The Hook Nook Crochet Group!
Until next time,
xo,
Jessica