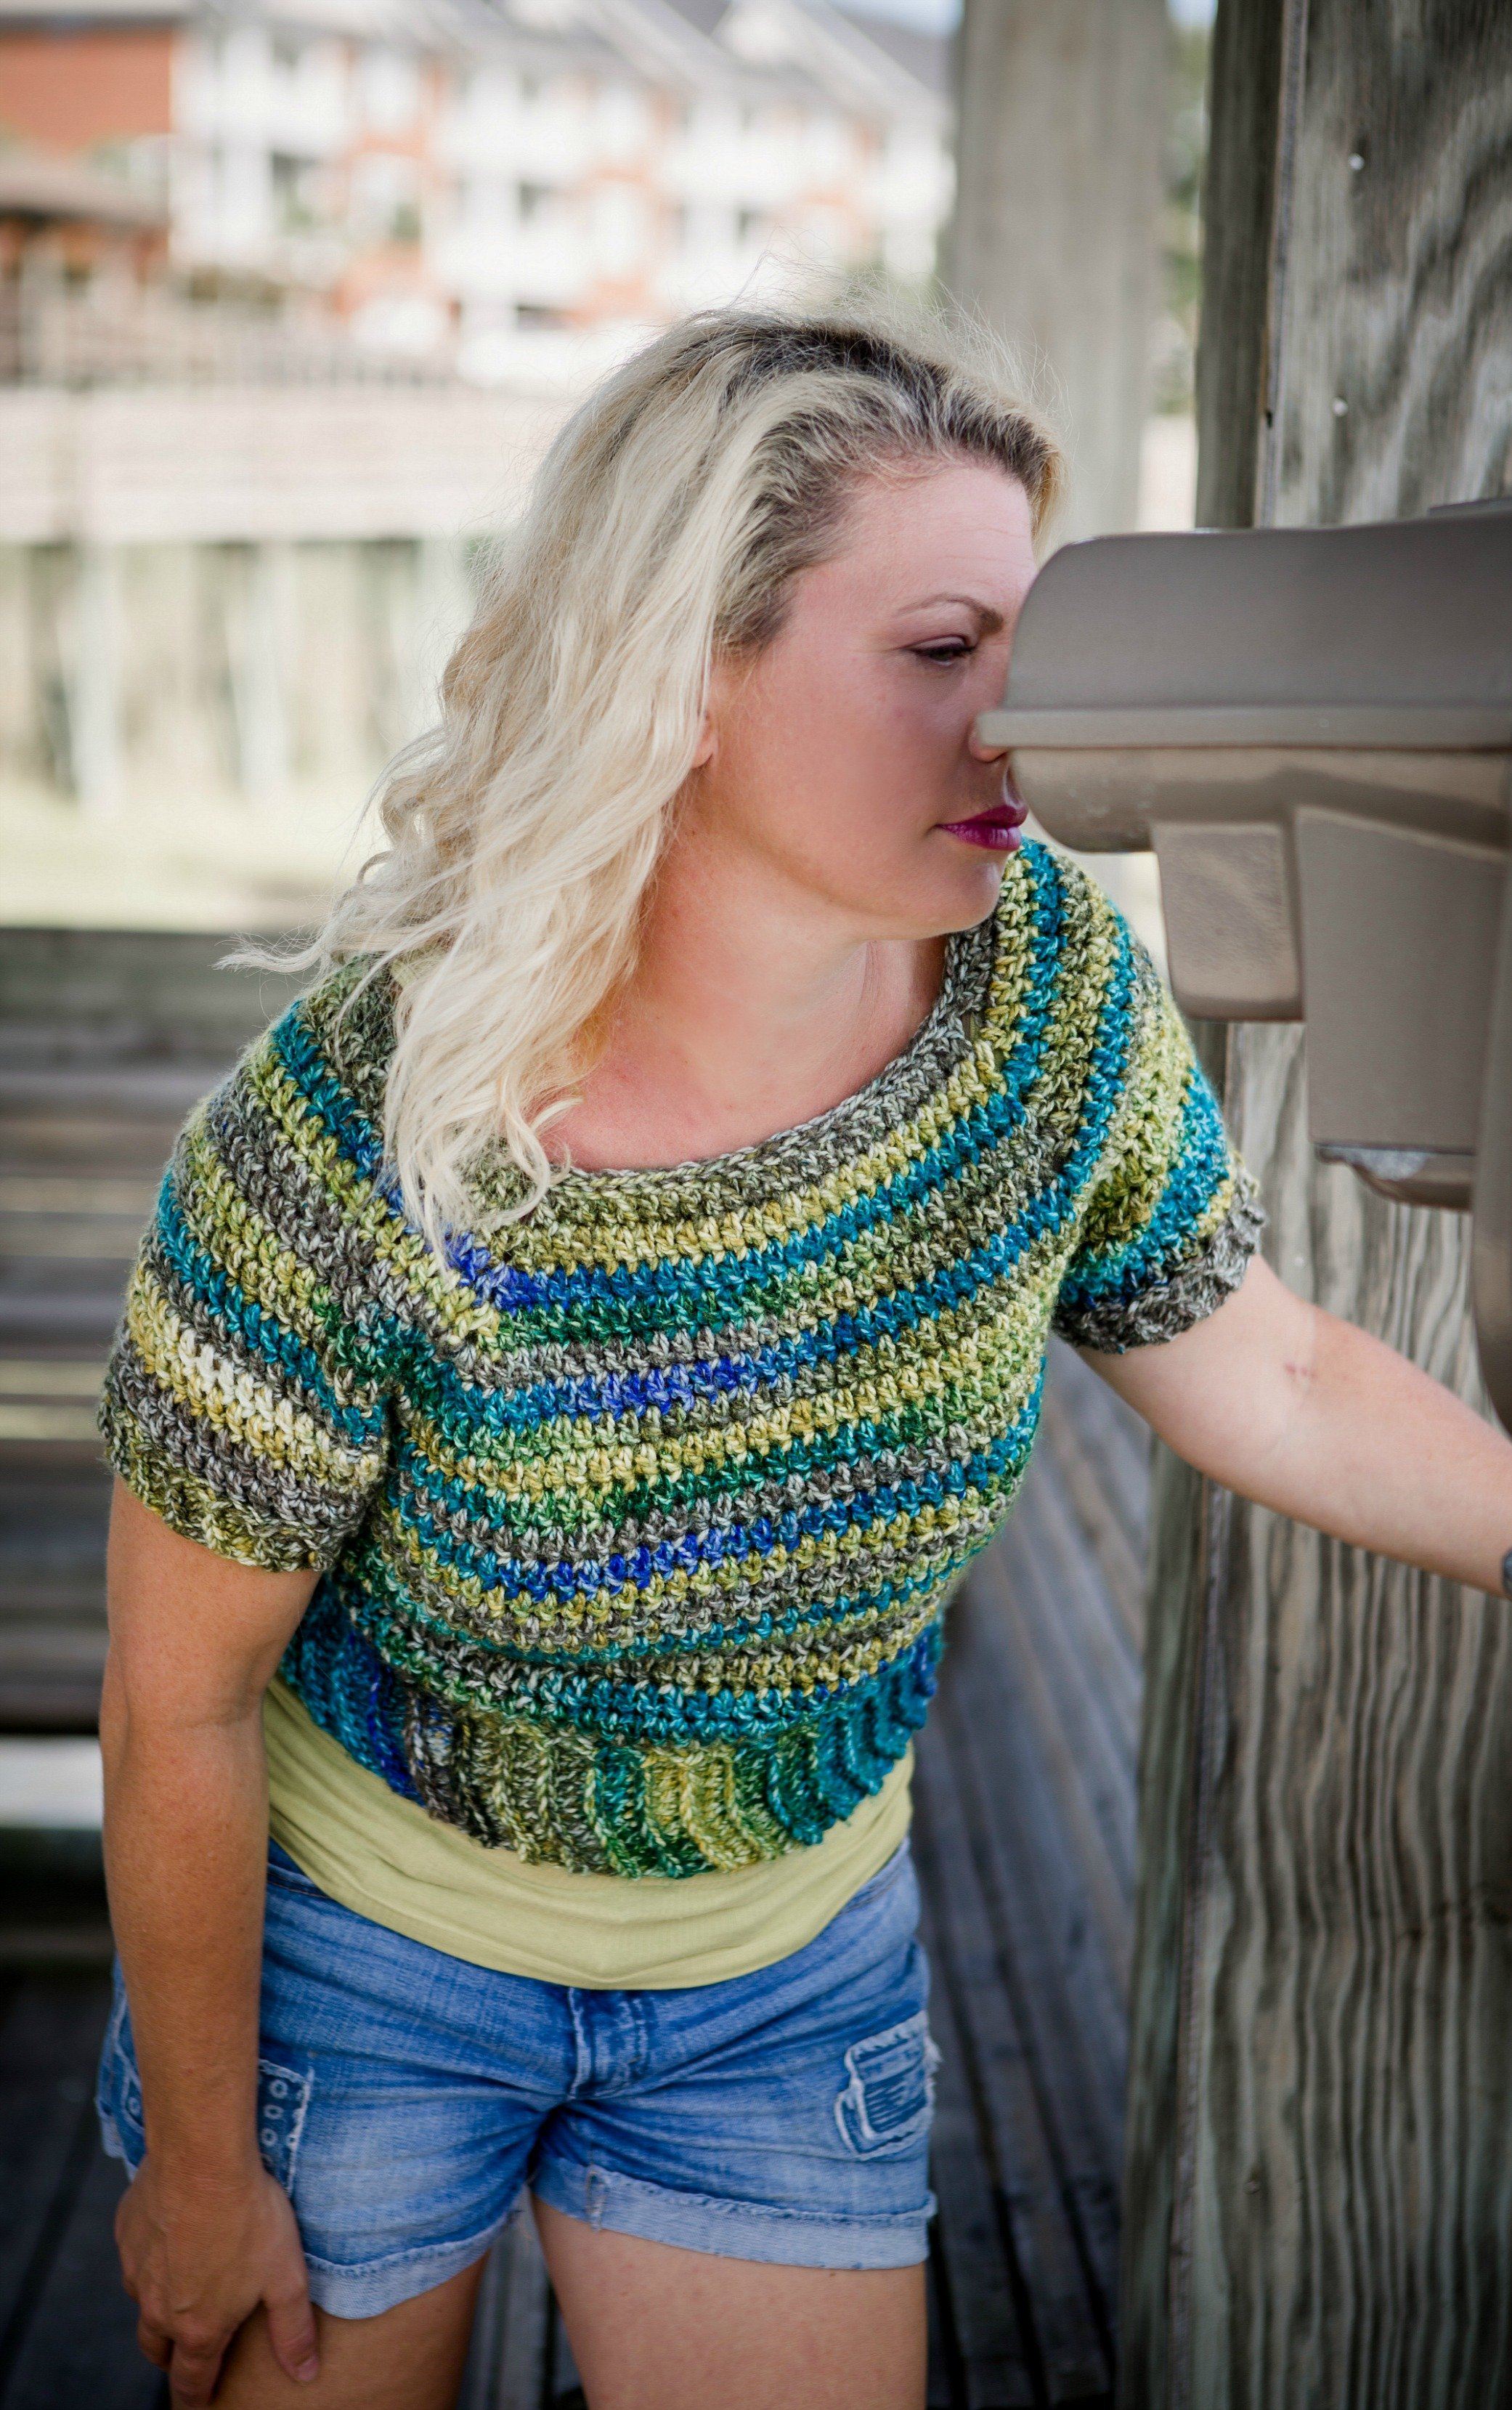
The Retro Cropped Cardi is a vintage-inspired little jacket, designed to keep you feeling warm and looking great! Made with Red Heart Hygge it’s fuzzy, cozy, and fast to crochet. In addition to using your favorite Furls hook, be sure to have good lighting to help you see your stitches!
And it’s simple too! Easy stitches and shaping make this a great pattern for beginner garment makers. The main stitch is the extended single crochet – and there is a video tutorial for the stitch included!
Prefer a longer, “non-cropped” sweater? Just add more rows to each piece – but remember to add the same number of rows to the back and both fronts! This pattern is just that easy. Just remember to add that extra length into your side seams, and purchase additional yarn if needed.

Follow along in our CAL group on Facebook | Add this pattern to Ravelry
ABOUT OUR DESIGNER

Tamara Kelly is the designer and blogger behind Moogly, where you'll find modern and original patterns, videos tutorials, giveaways, and more. Tamara lives in Iowa, along the Mississippi River, with her 3 kids, husband (aka Tech Guy/Mr. Moogly), dog, and a ridiculous amount of yarn. She is also the author of Quick Crochet for the Home, and instructor for four Craftsy Crochet Classes.
Follow Tamara
Blog | Facebook | Instagram
SUPPLIES
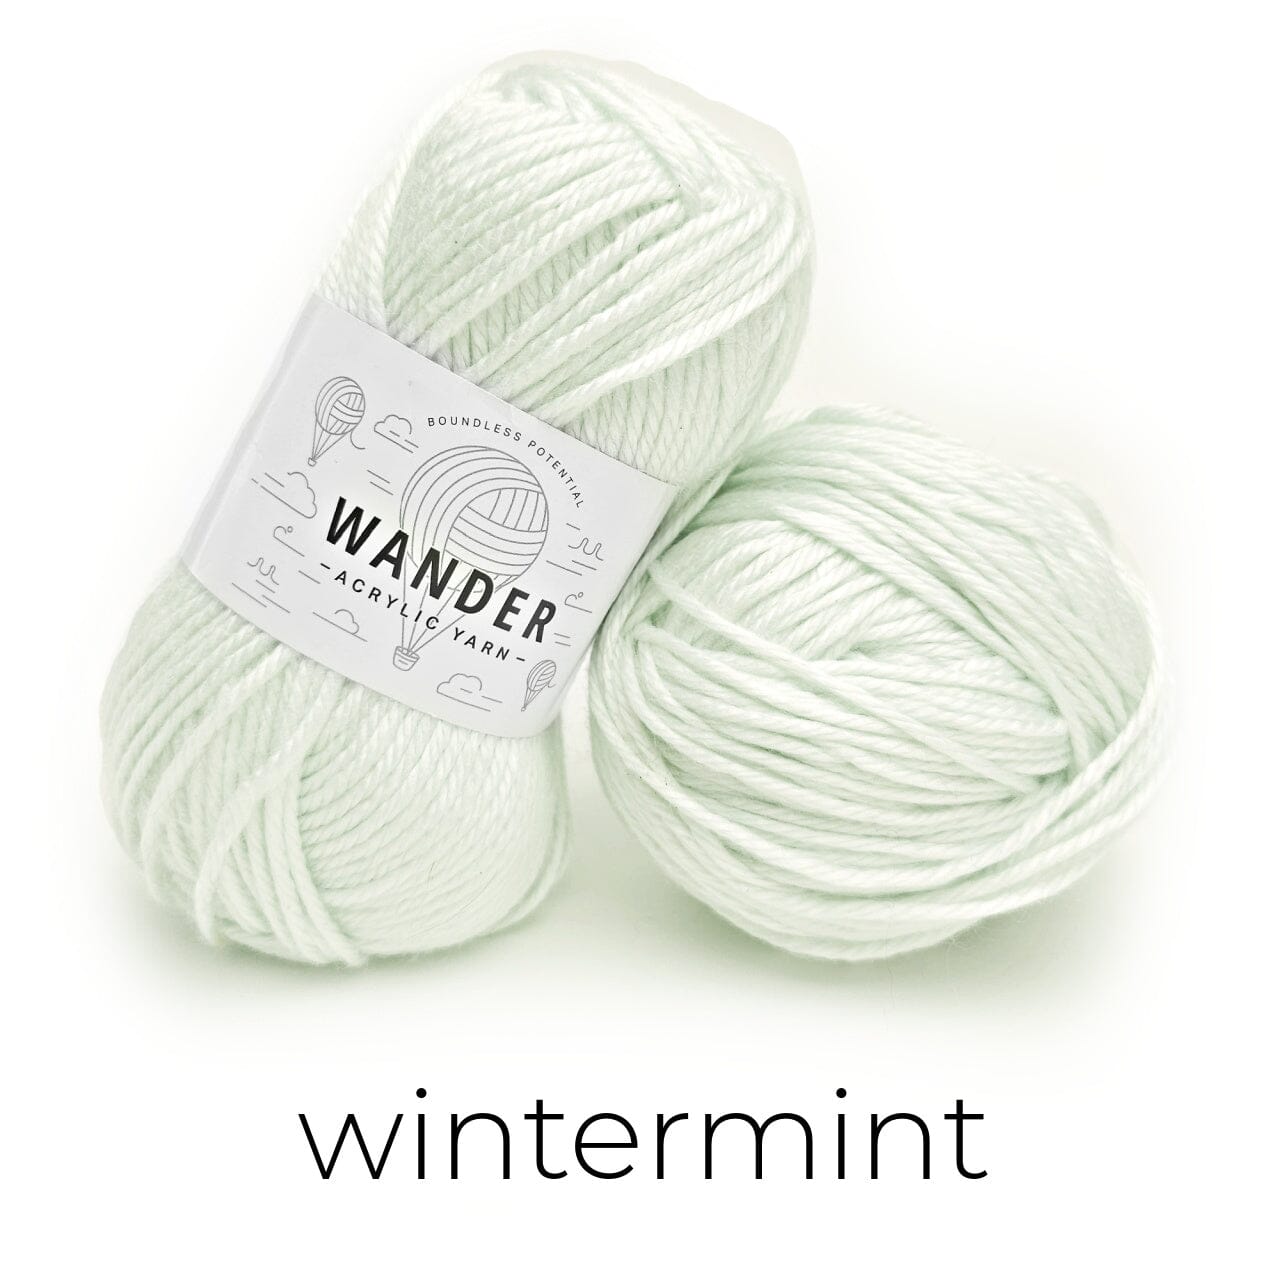
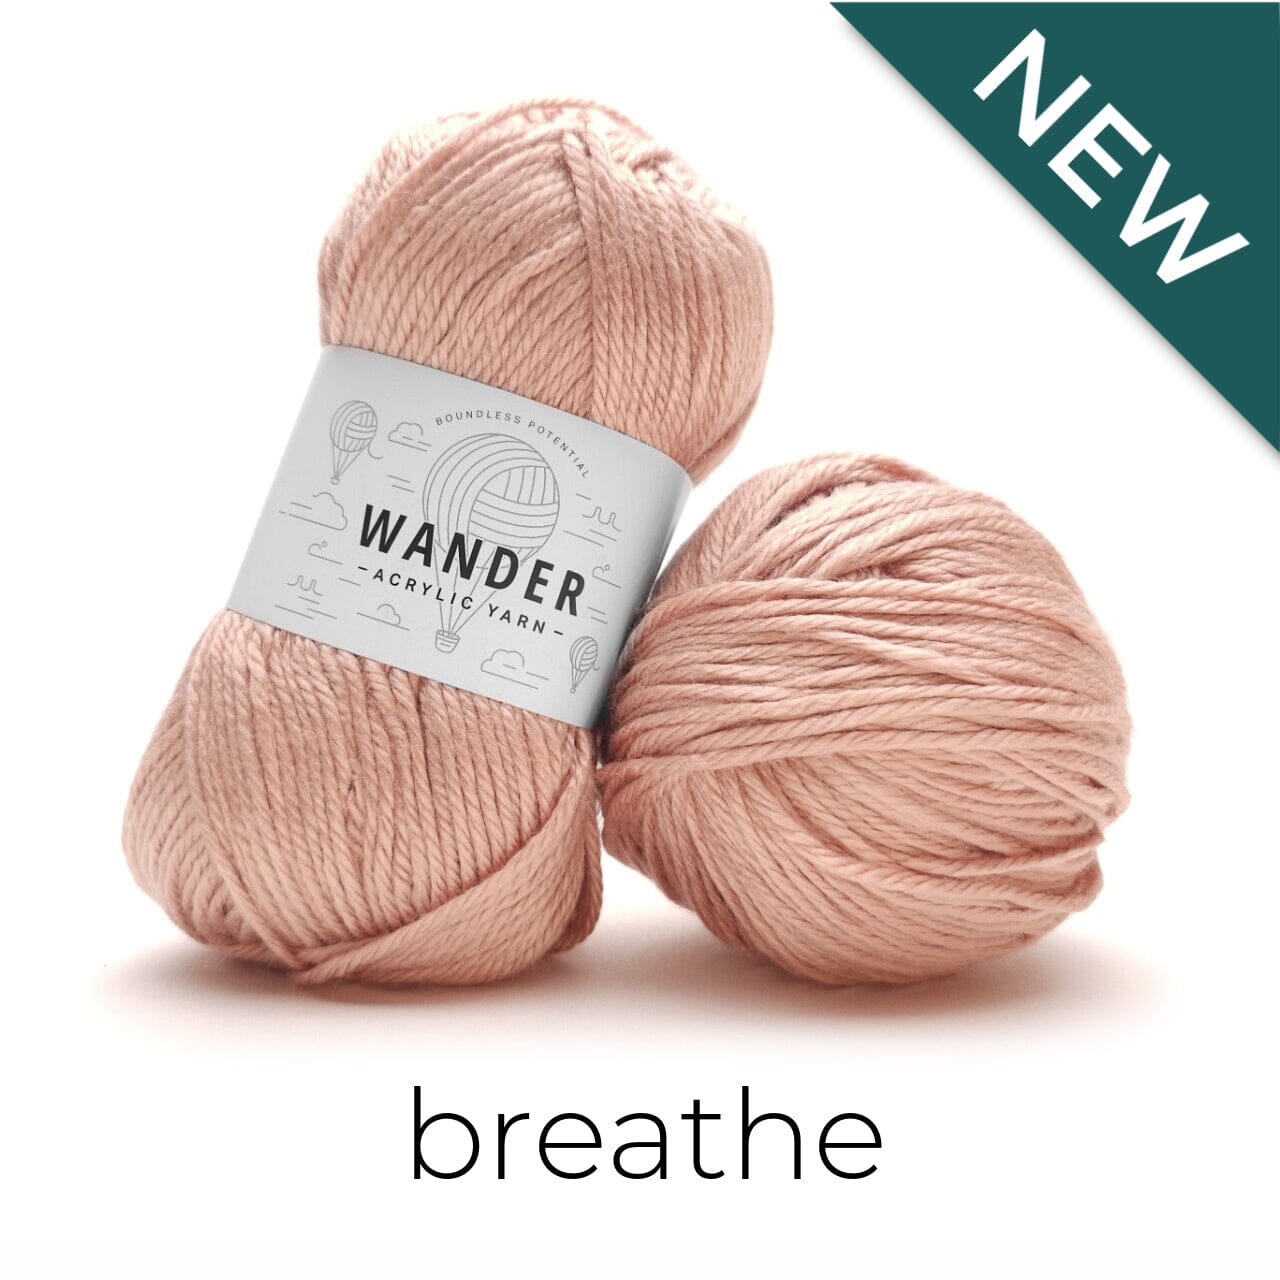
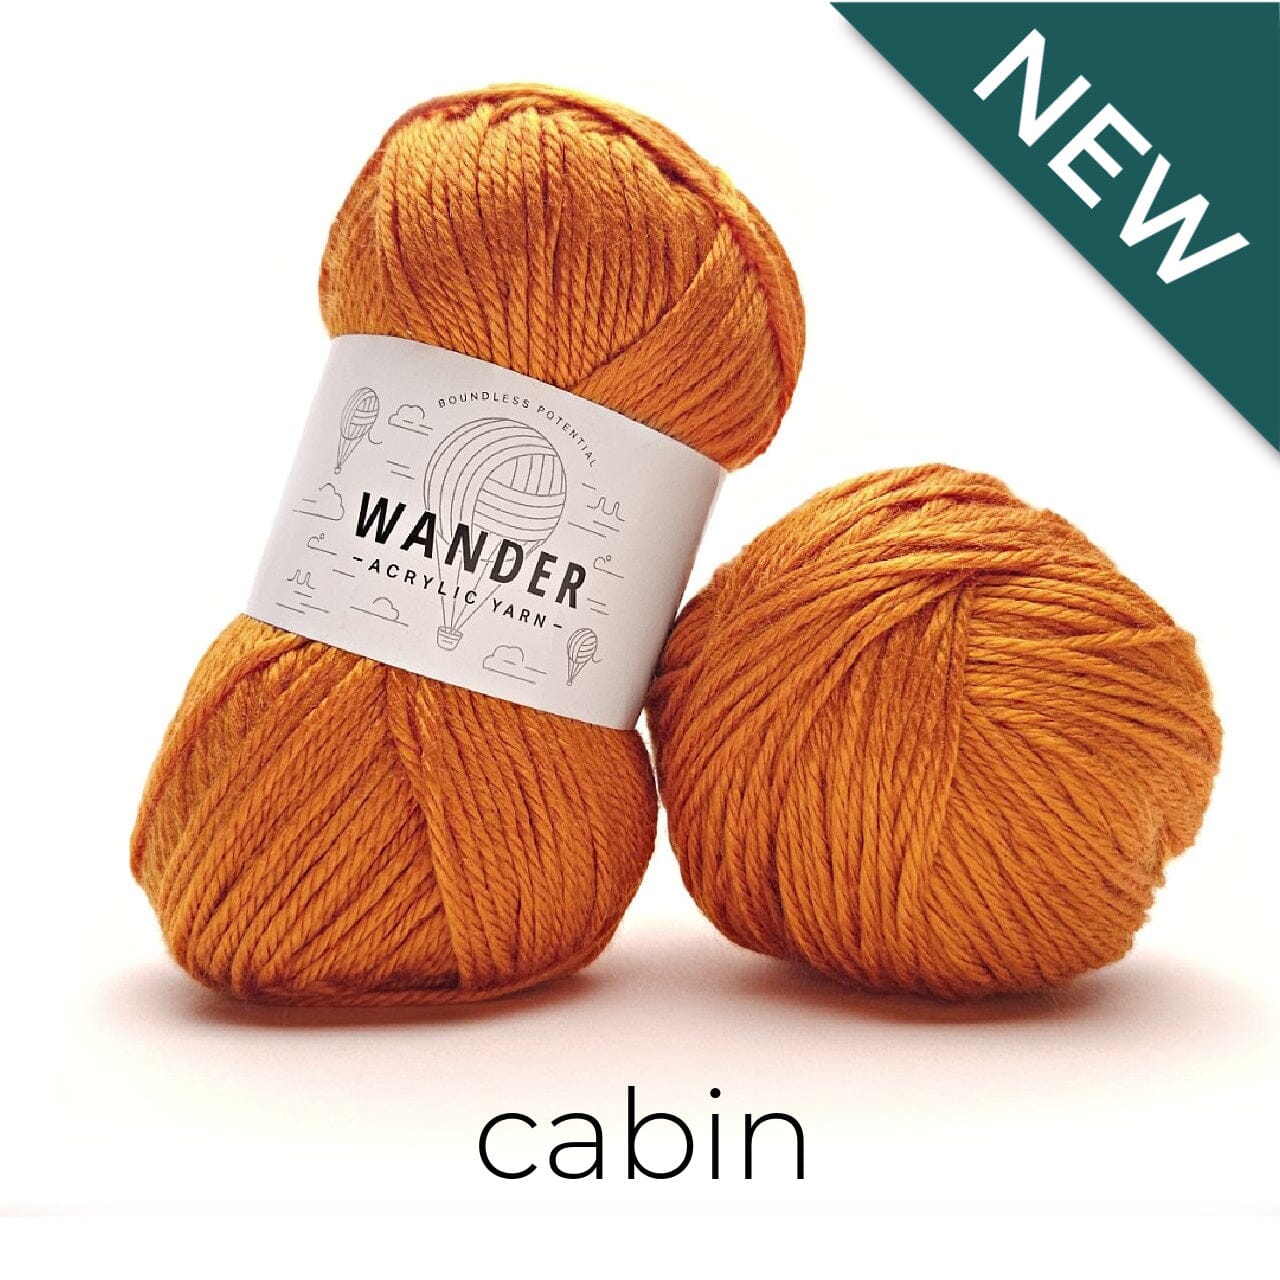
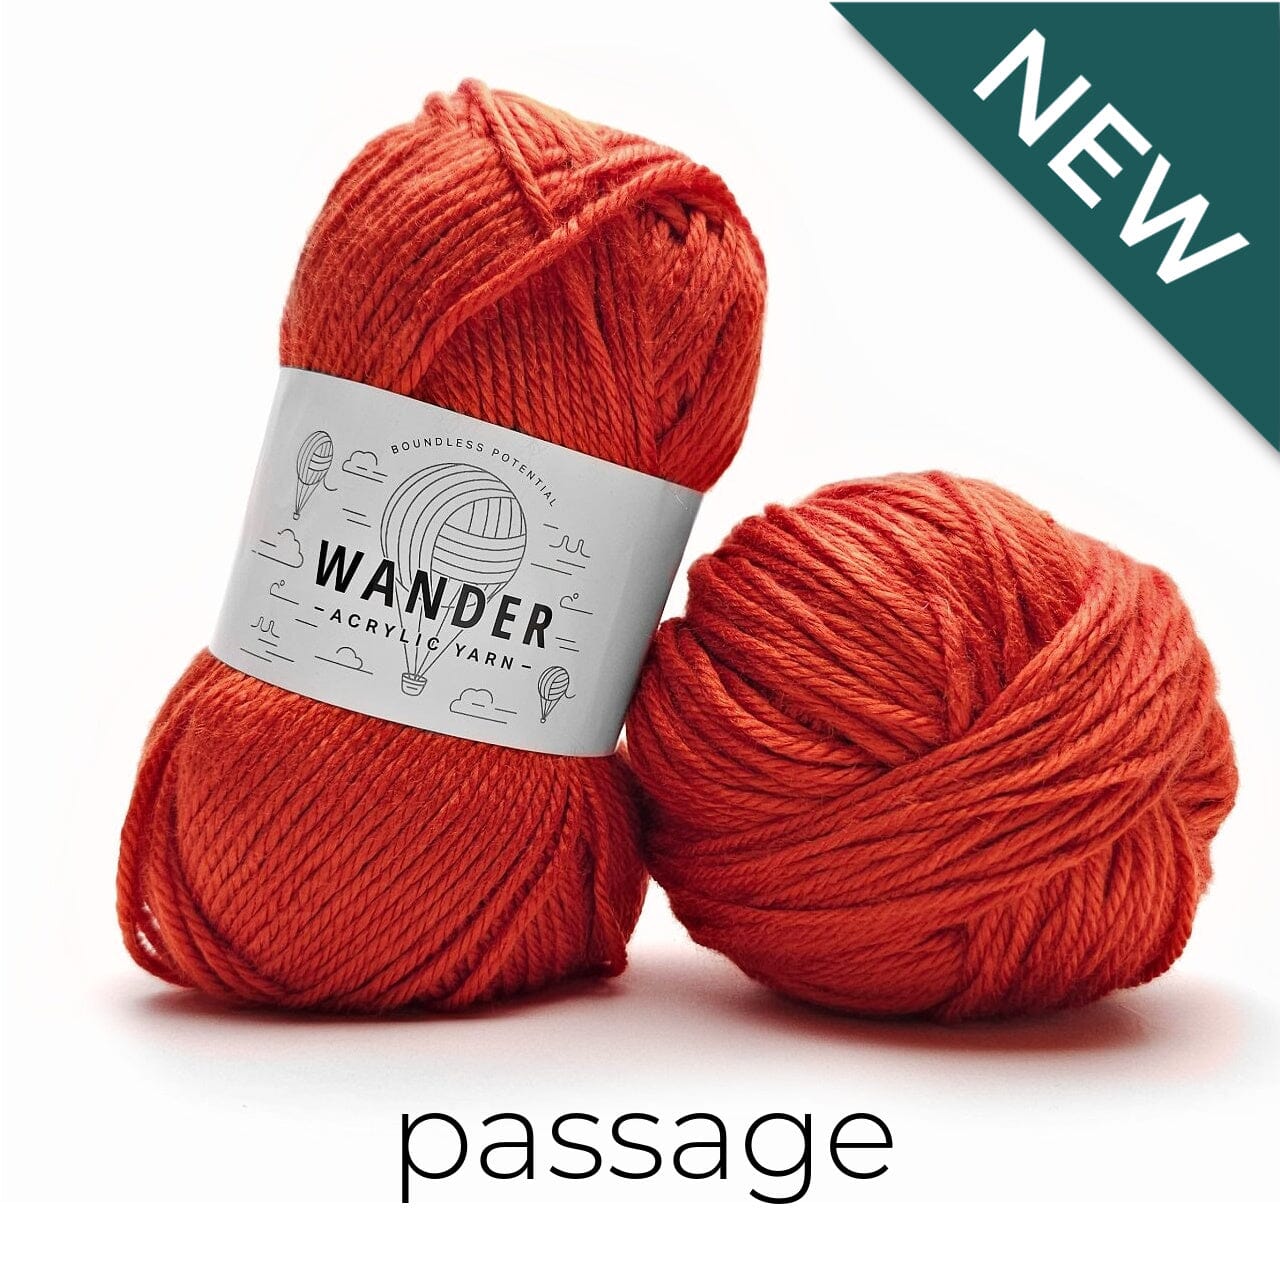
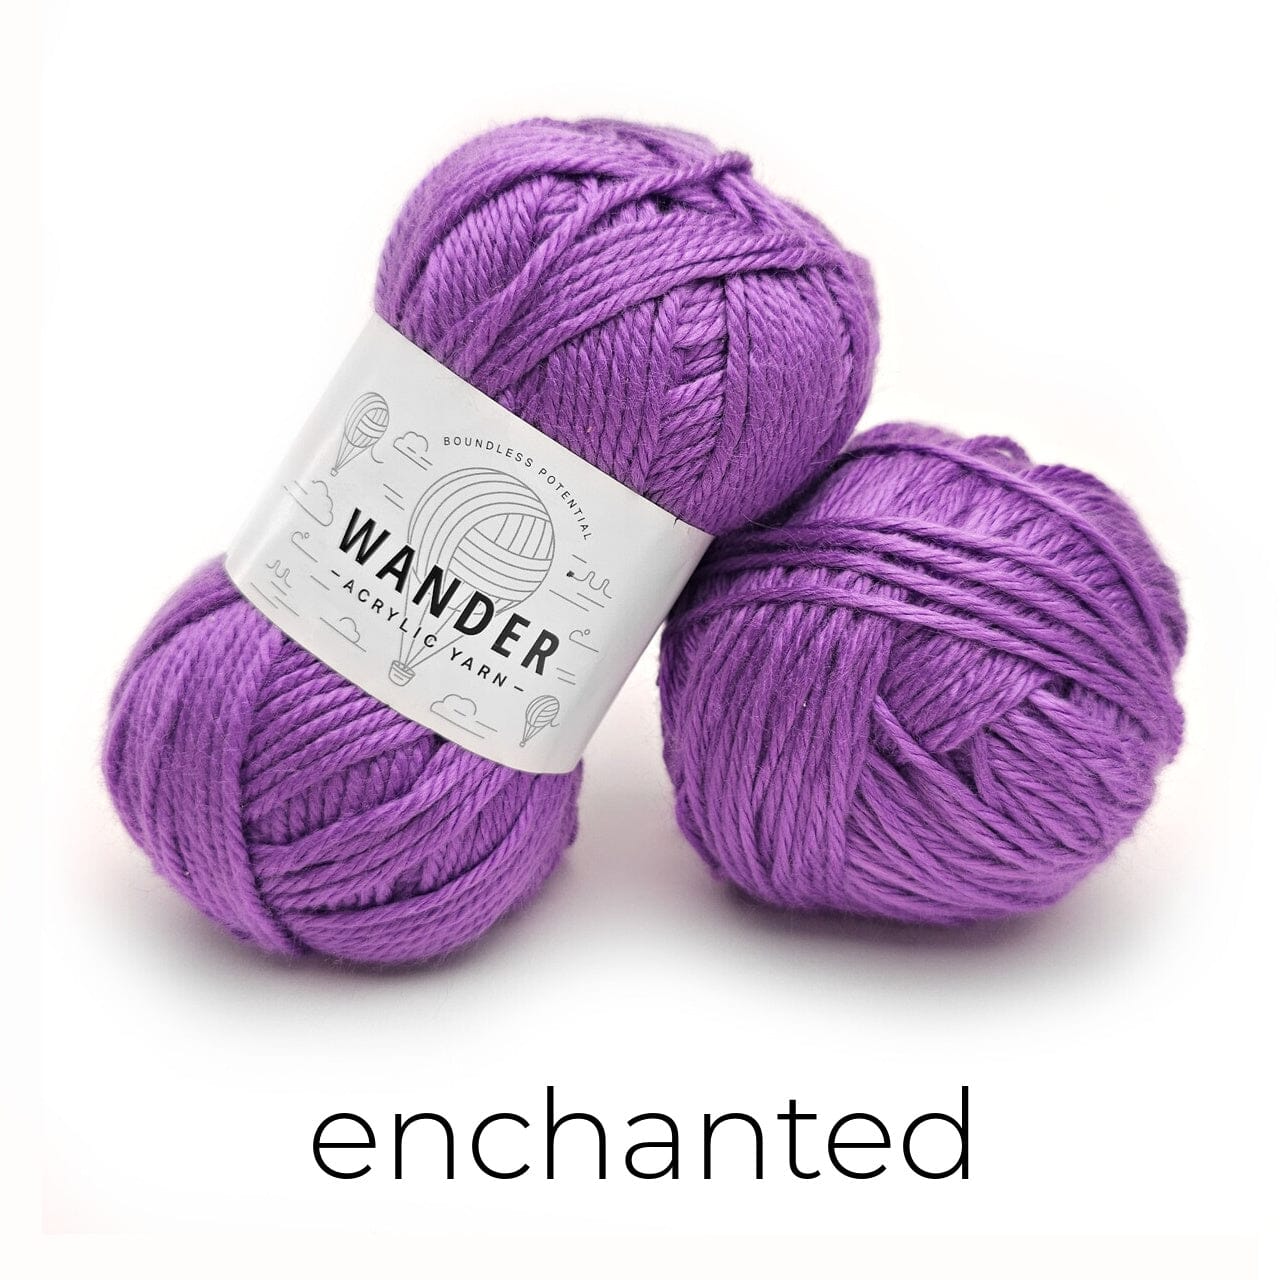
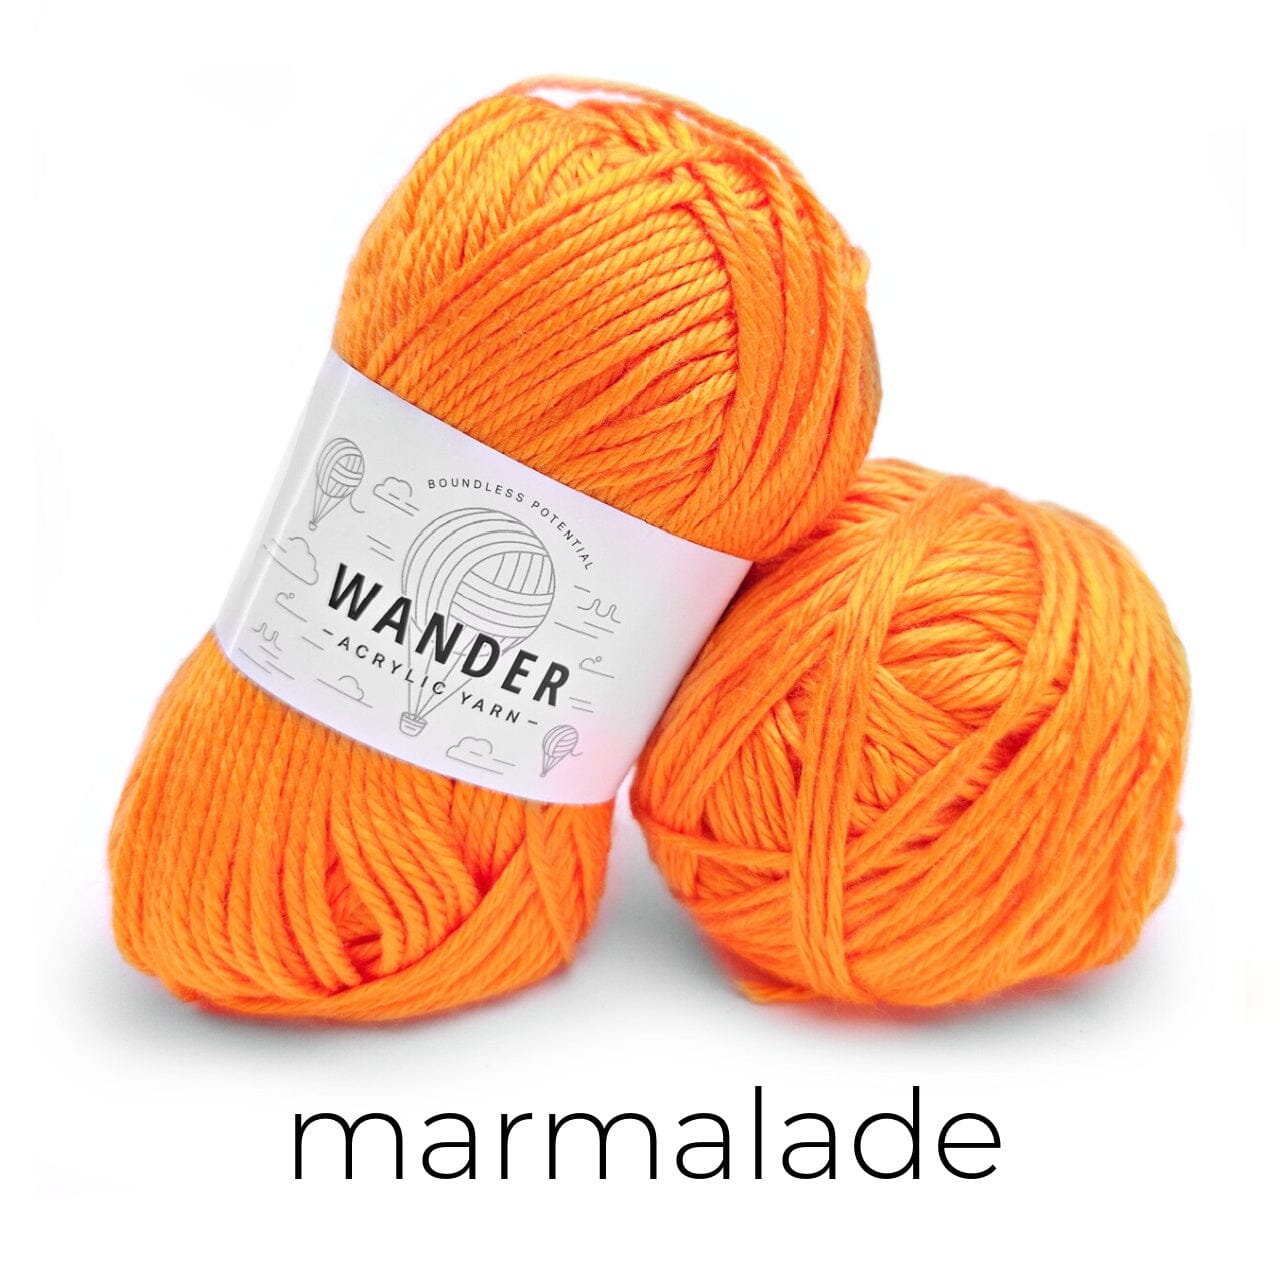
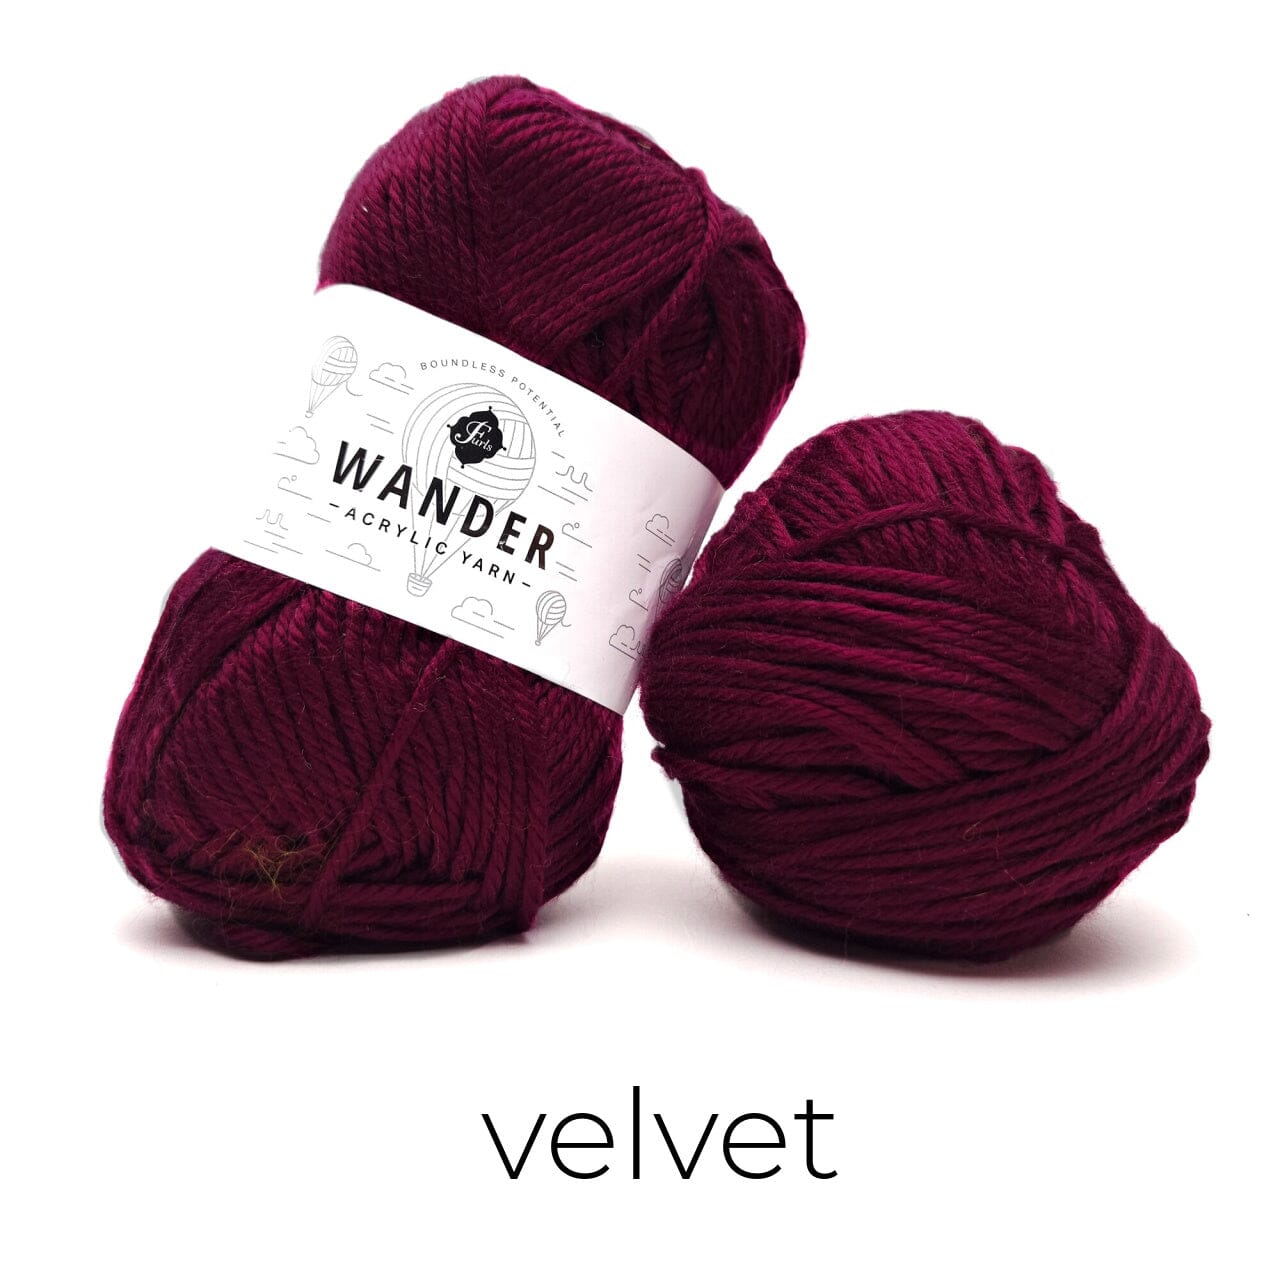
Red Heart Hygge (5/Bulky; 141 g/5 oz, 121 meters/132 yards)
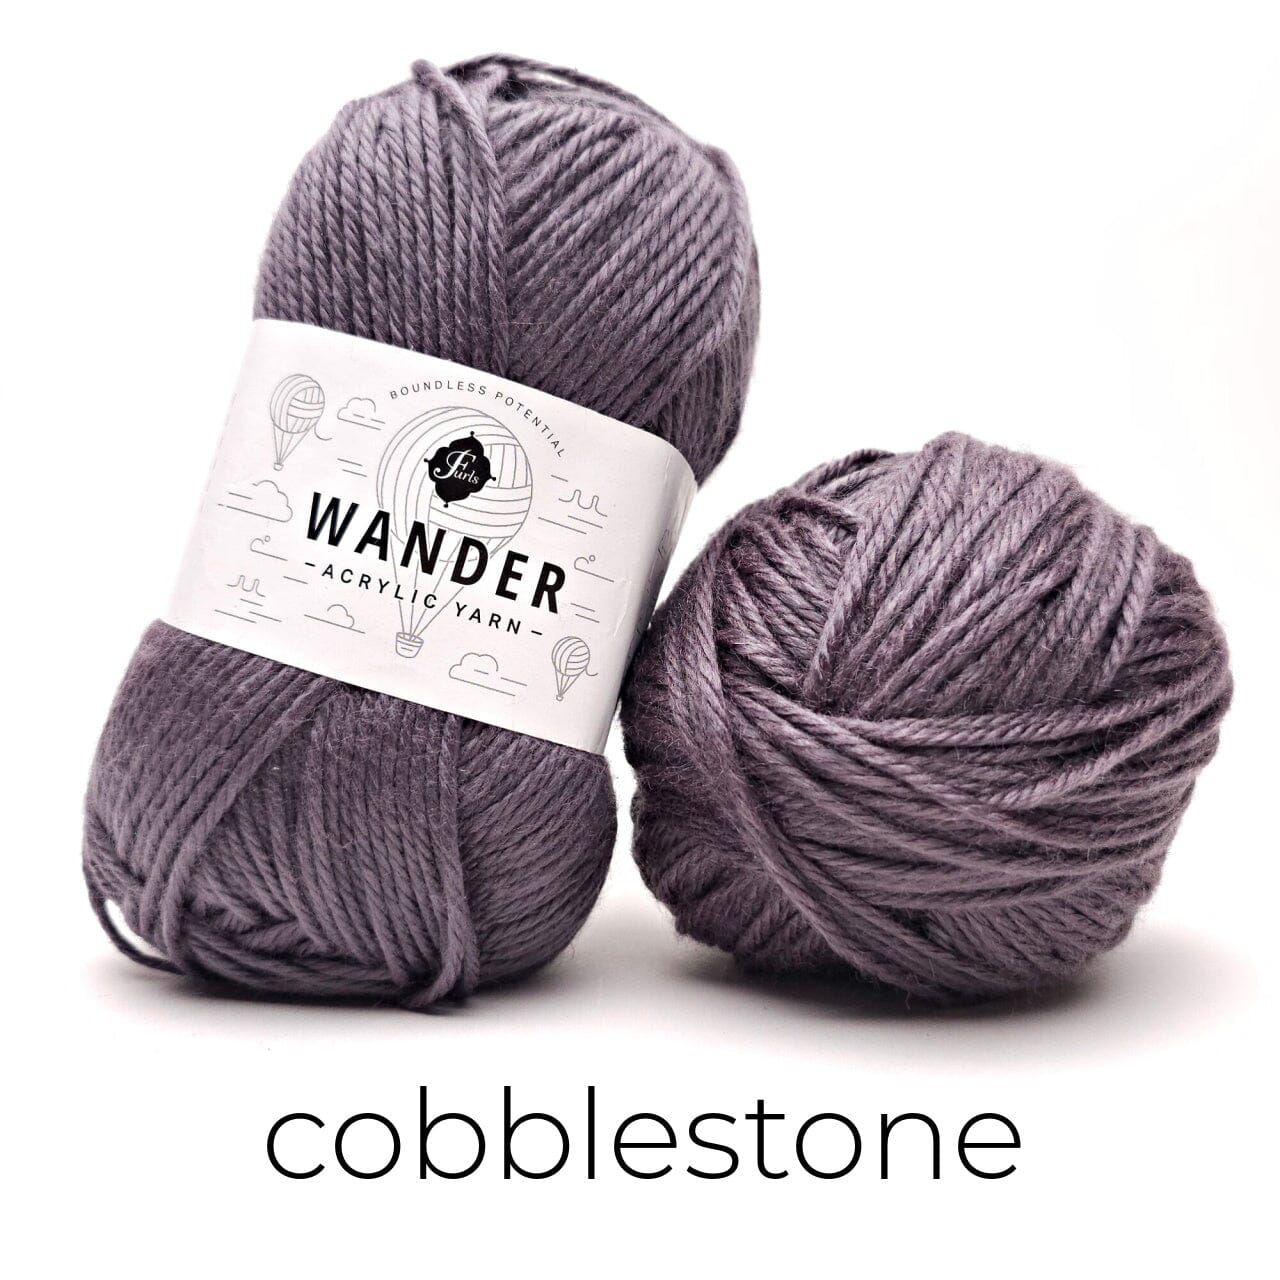
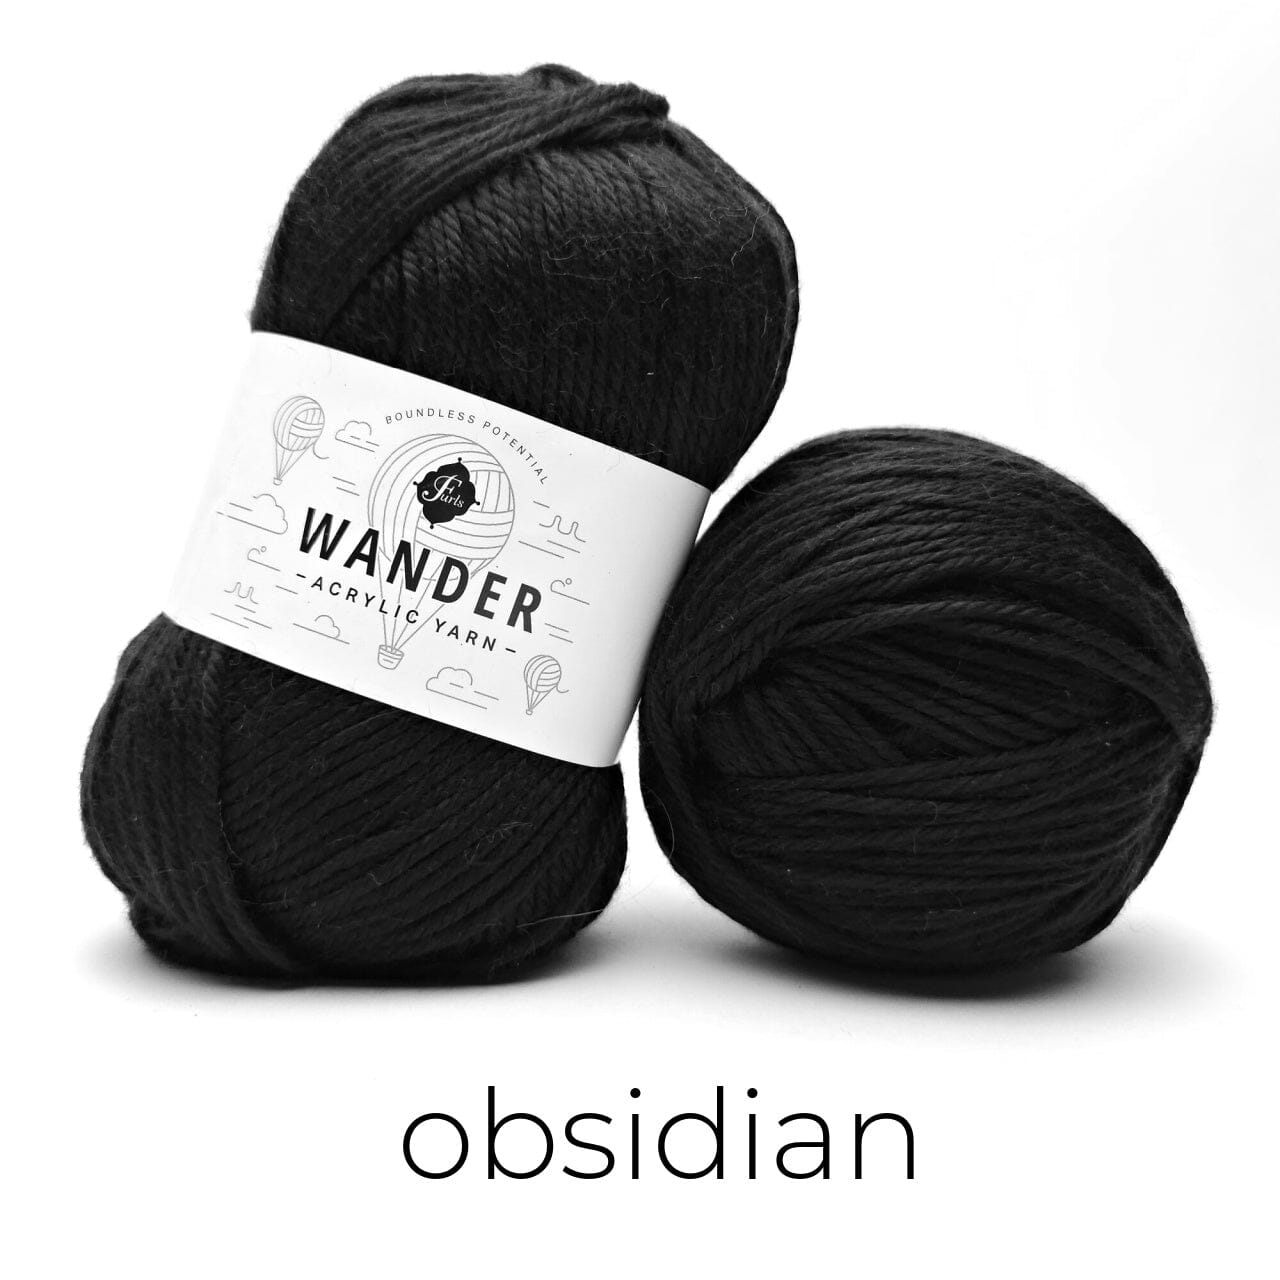
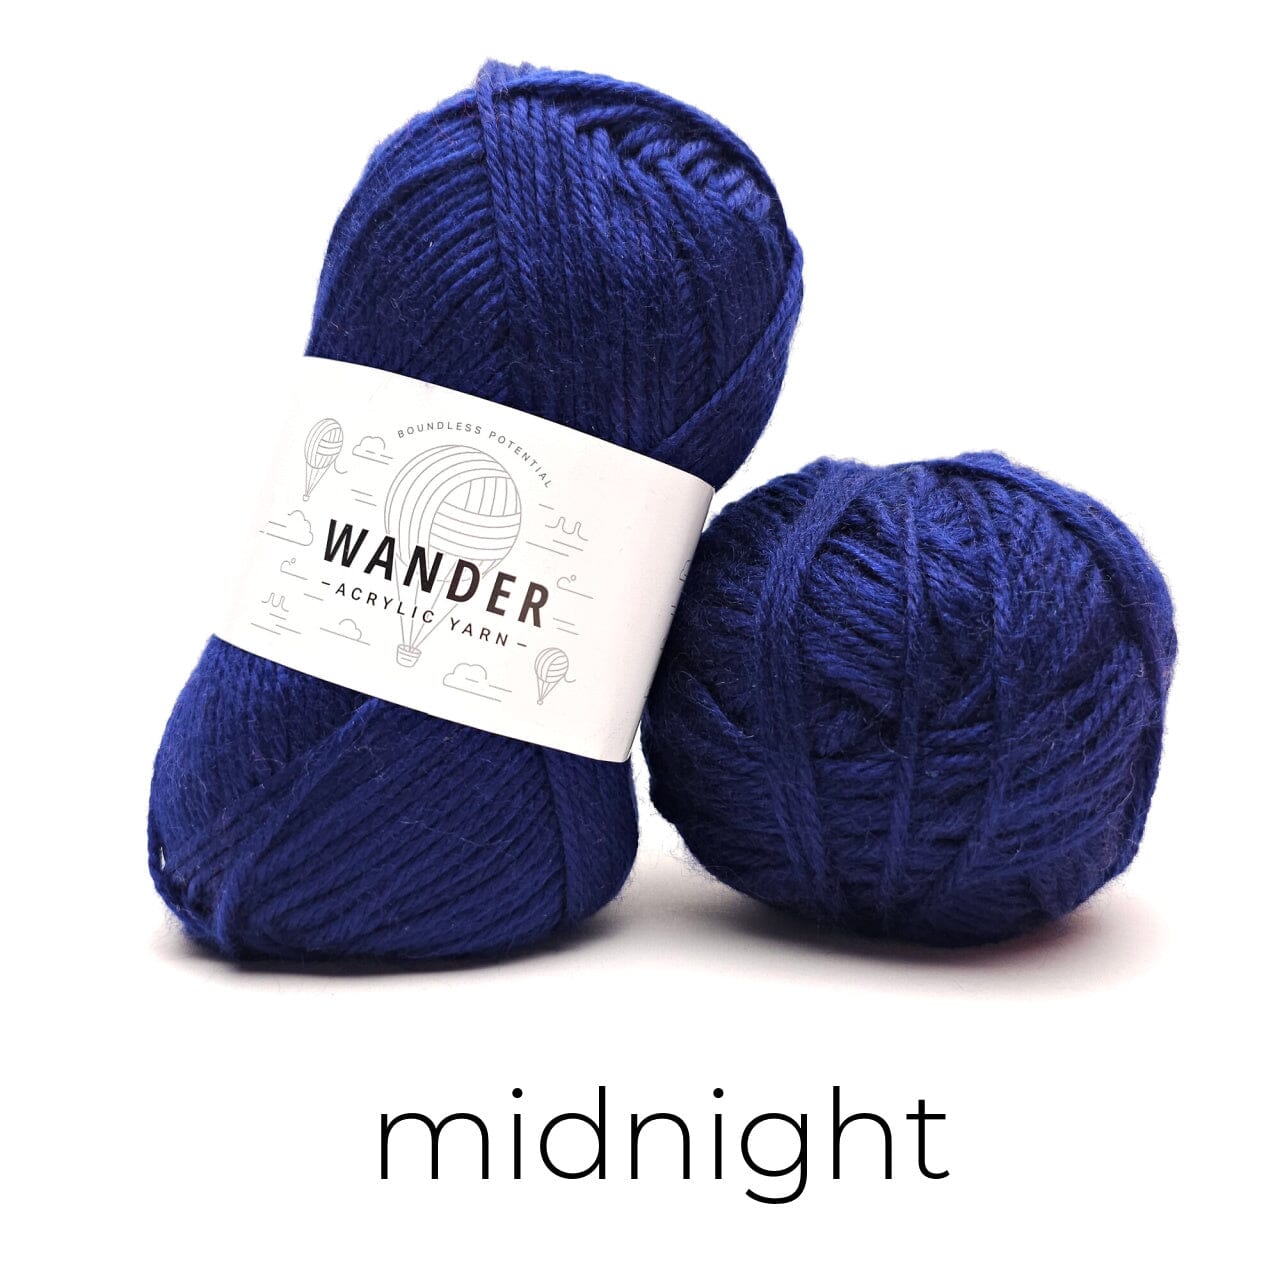
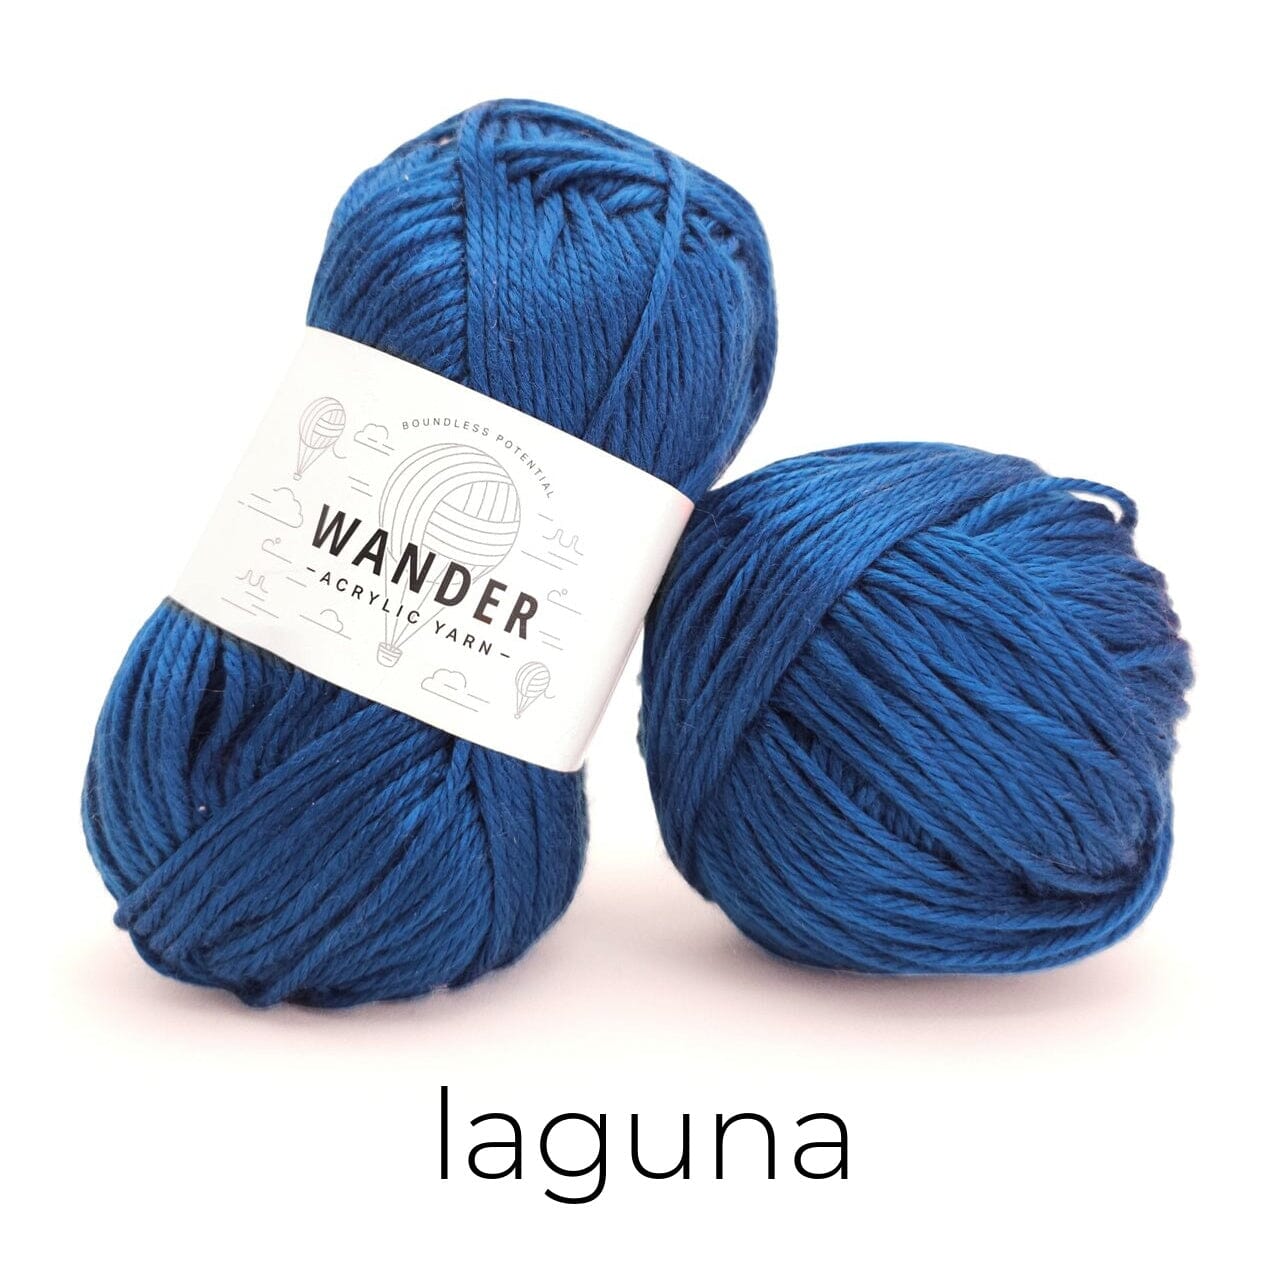
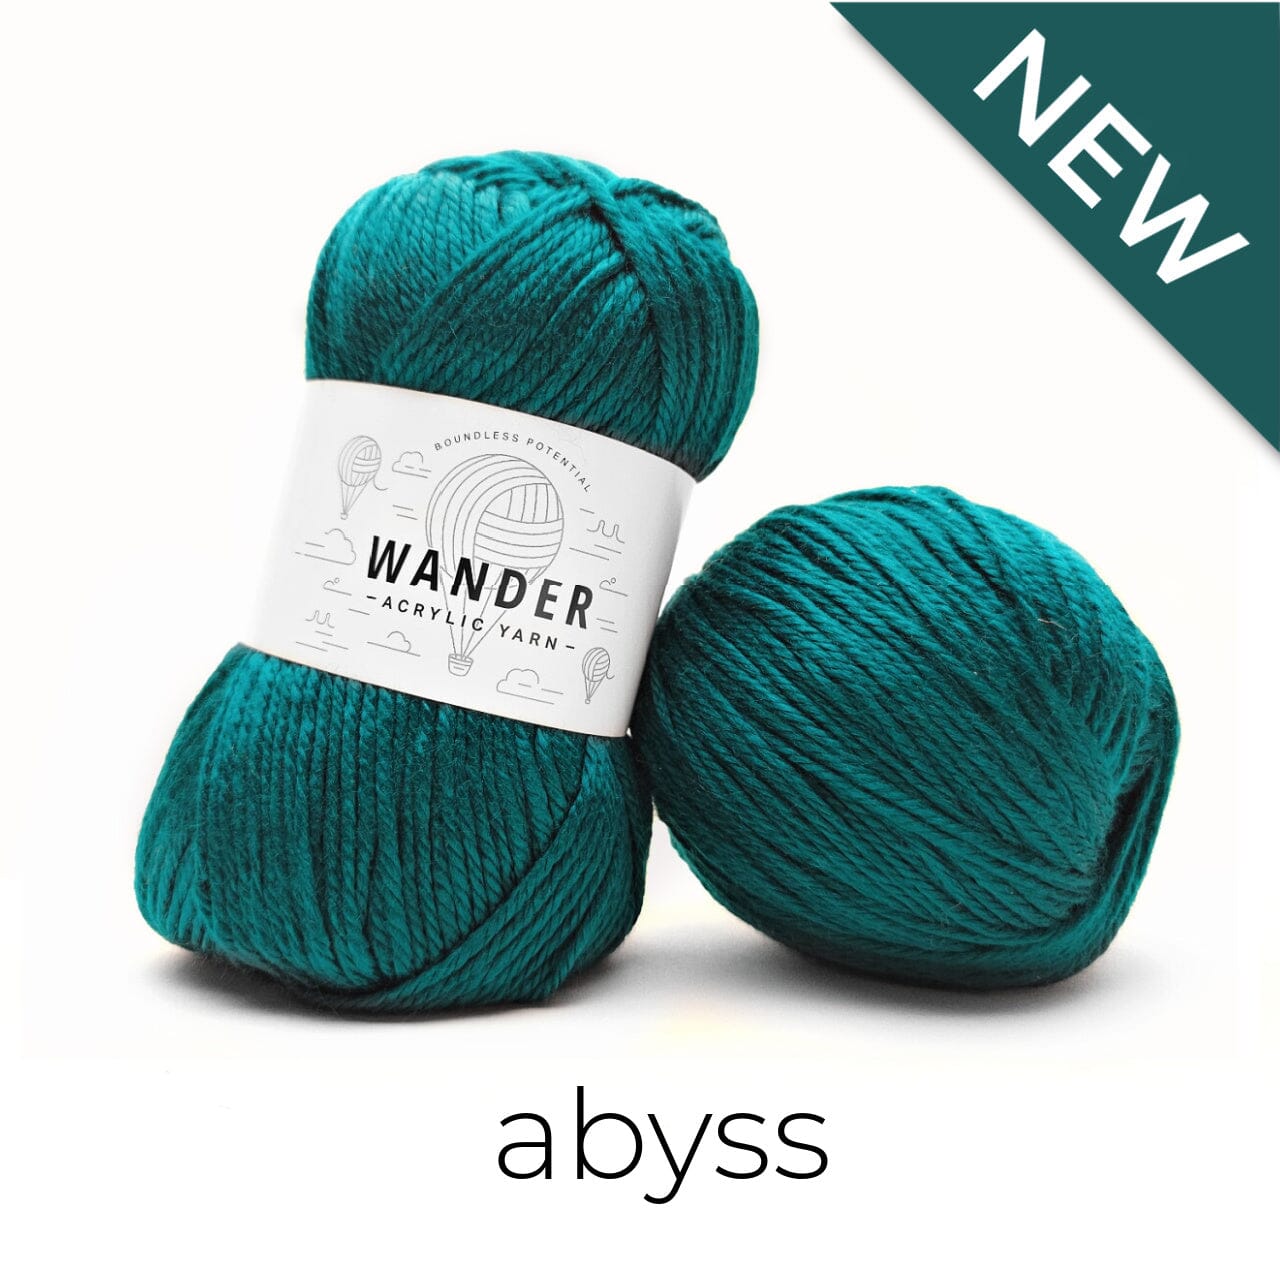
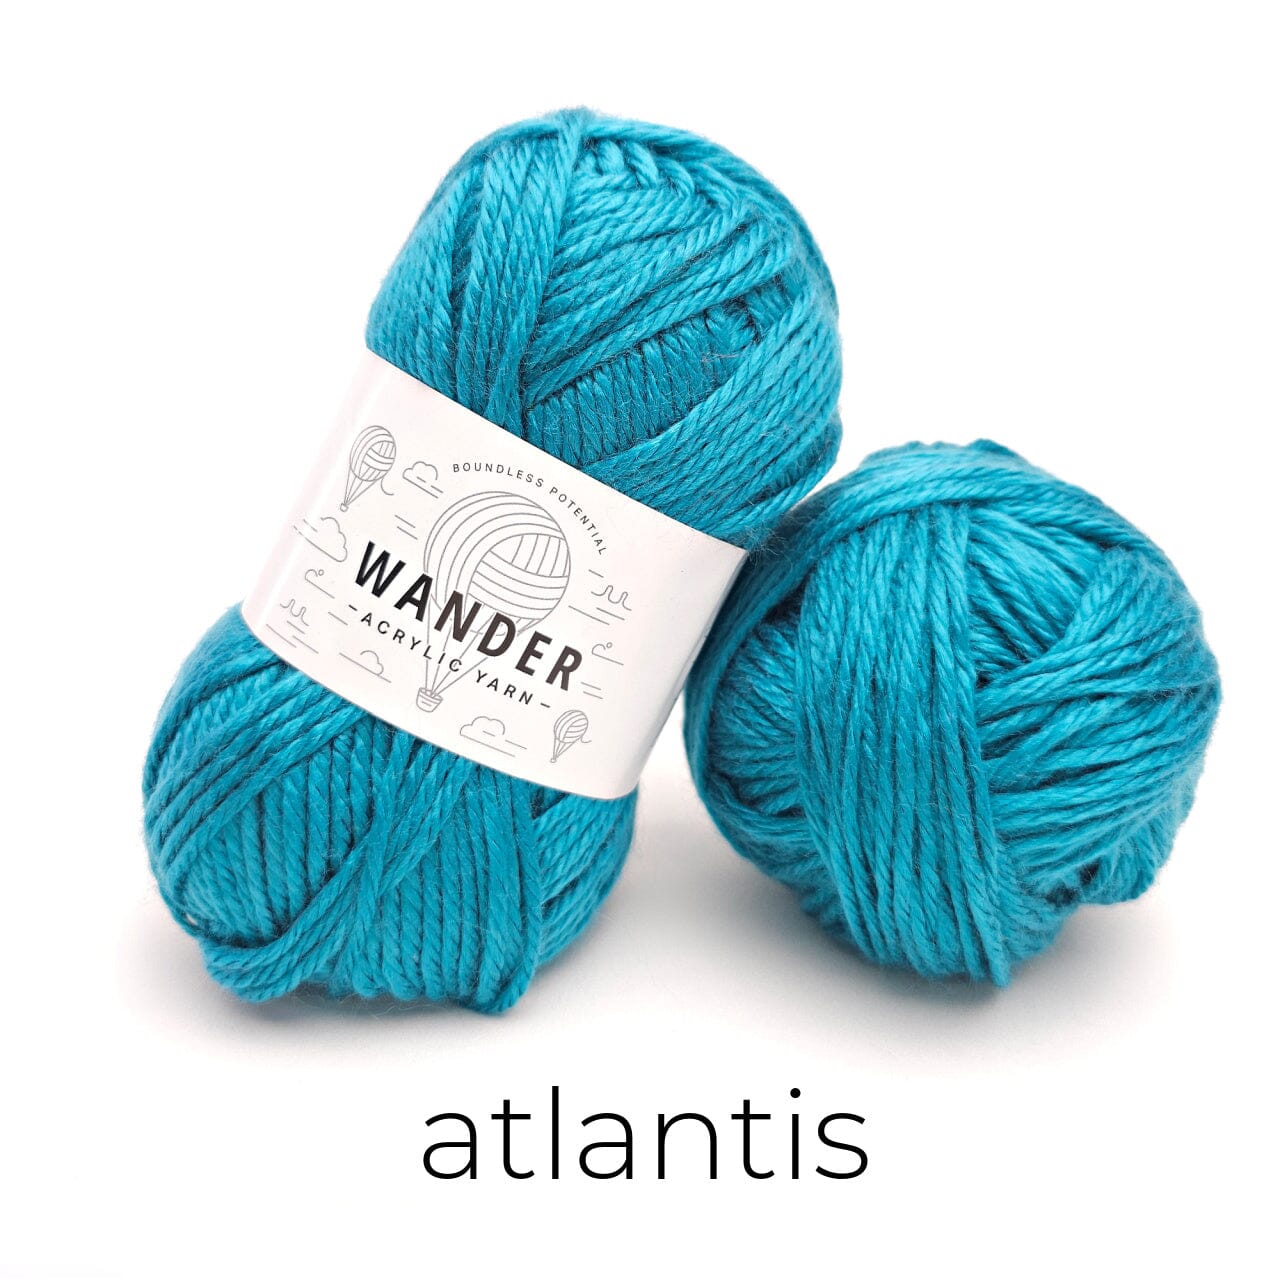
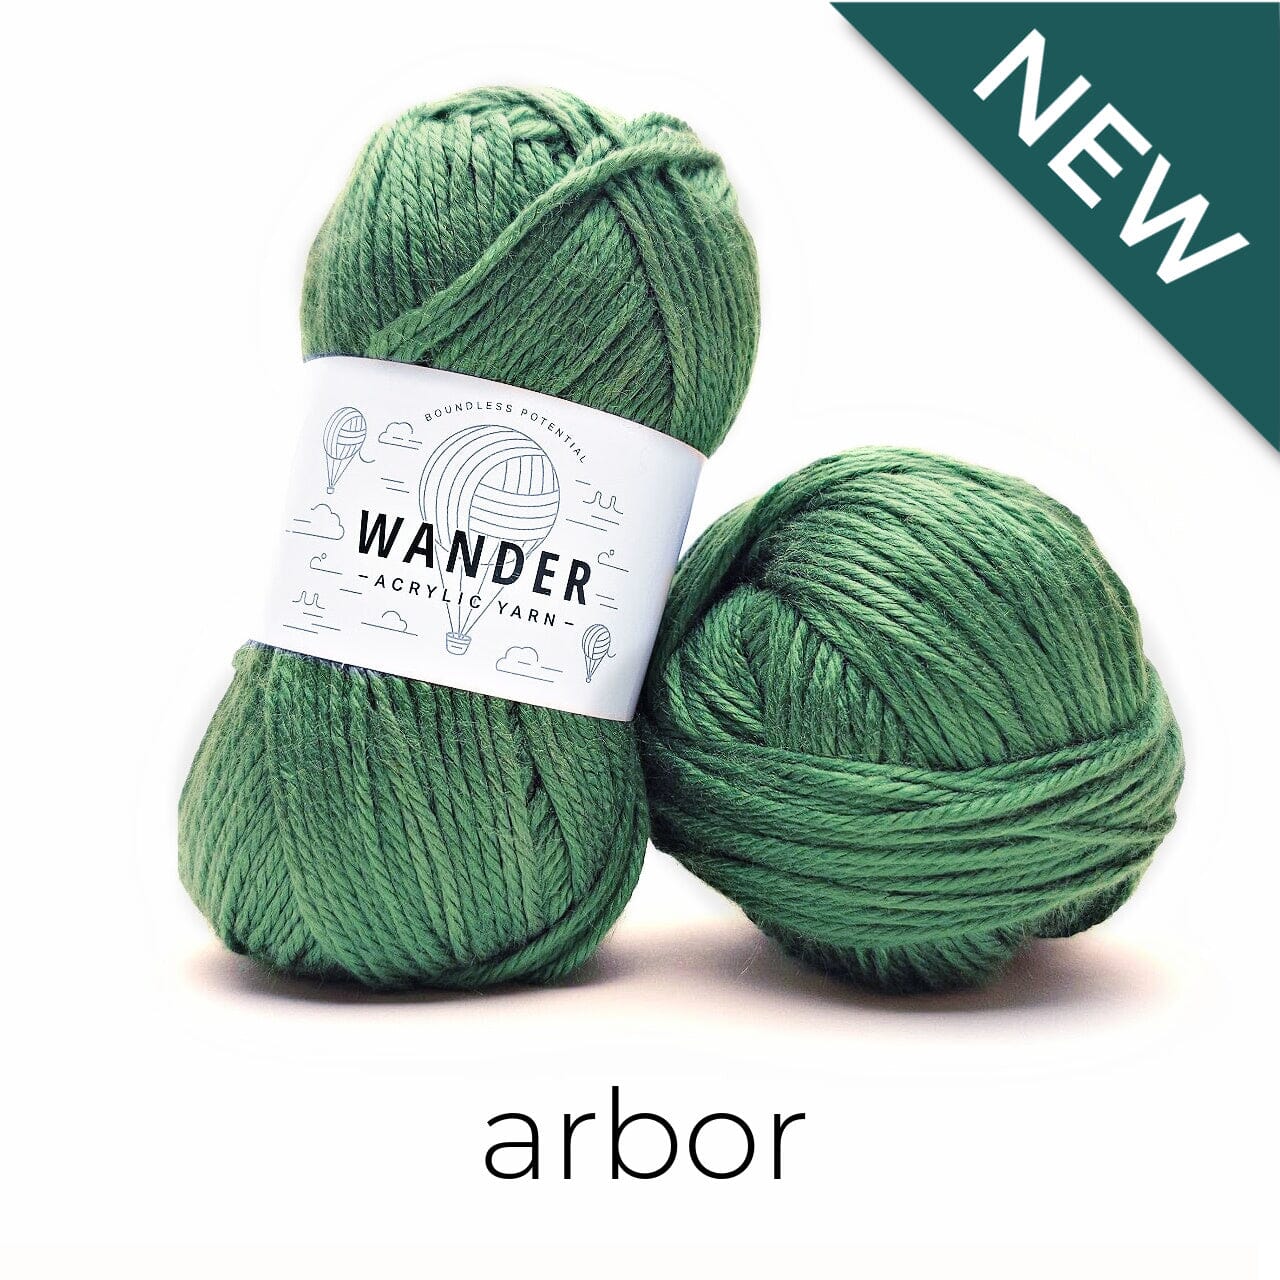
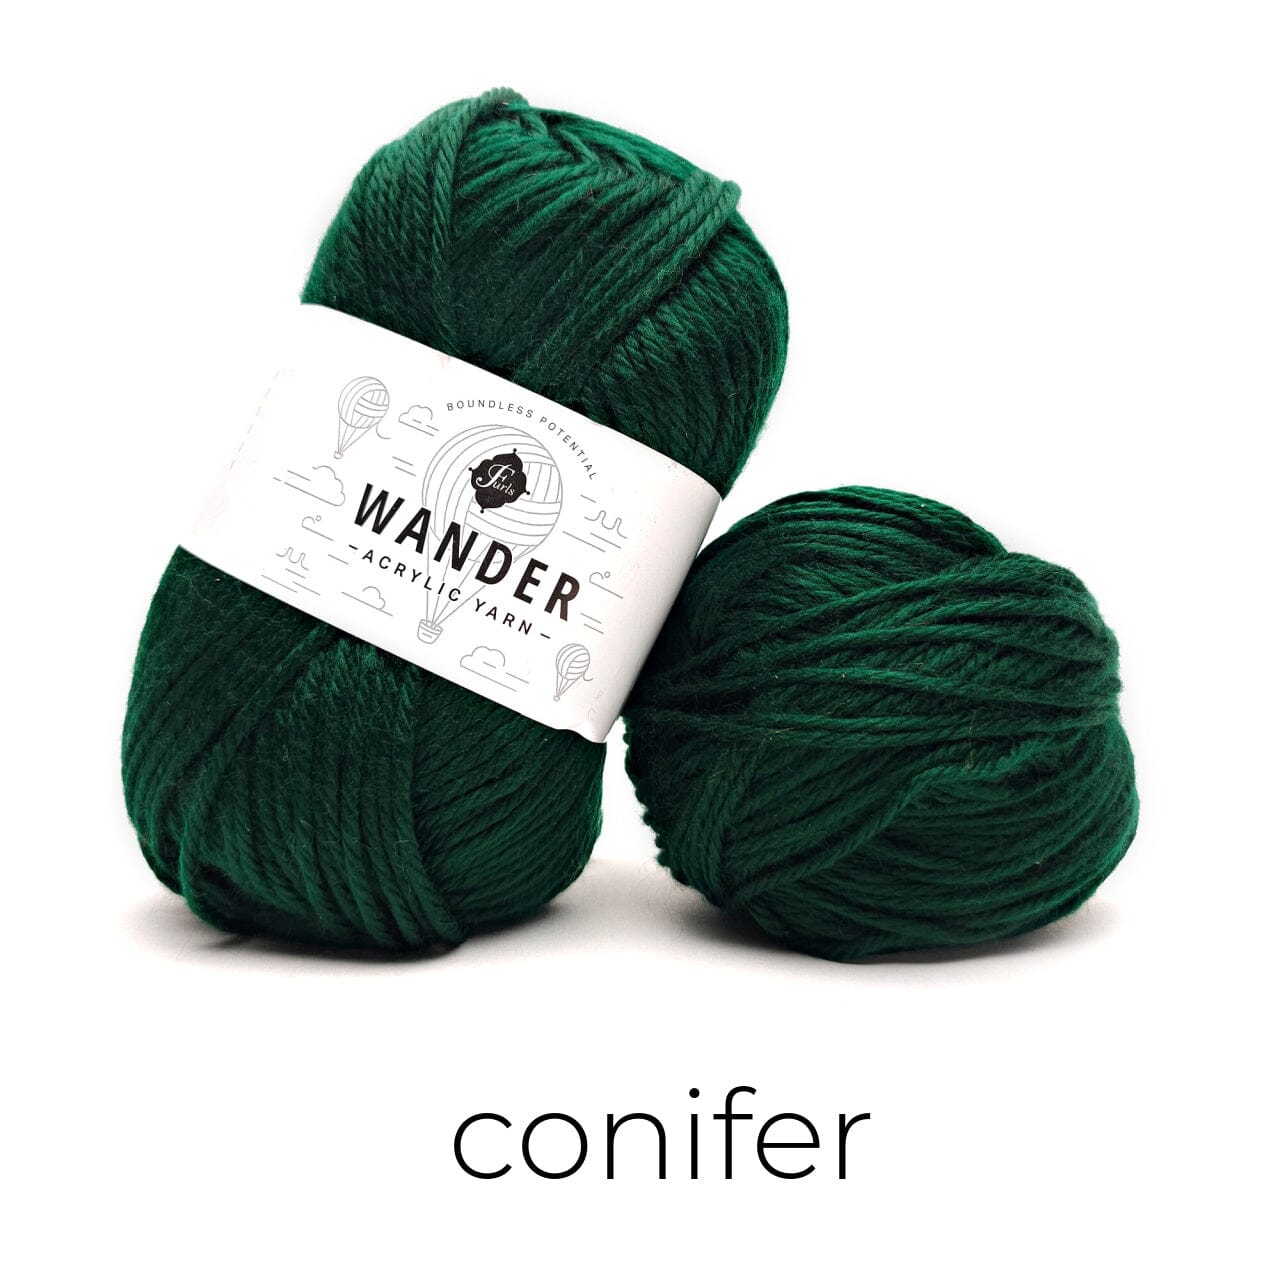
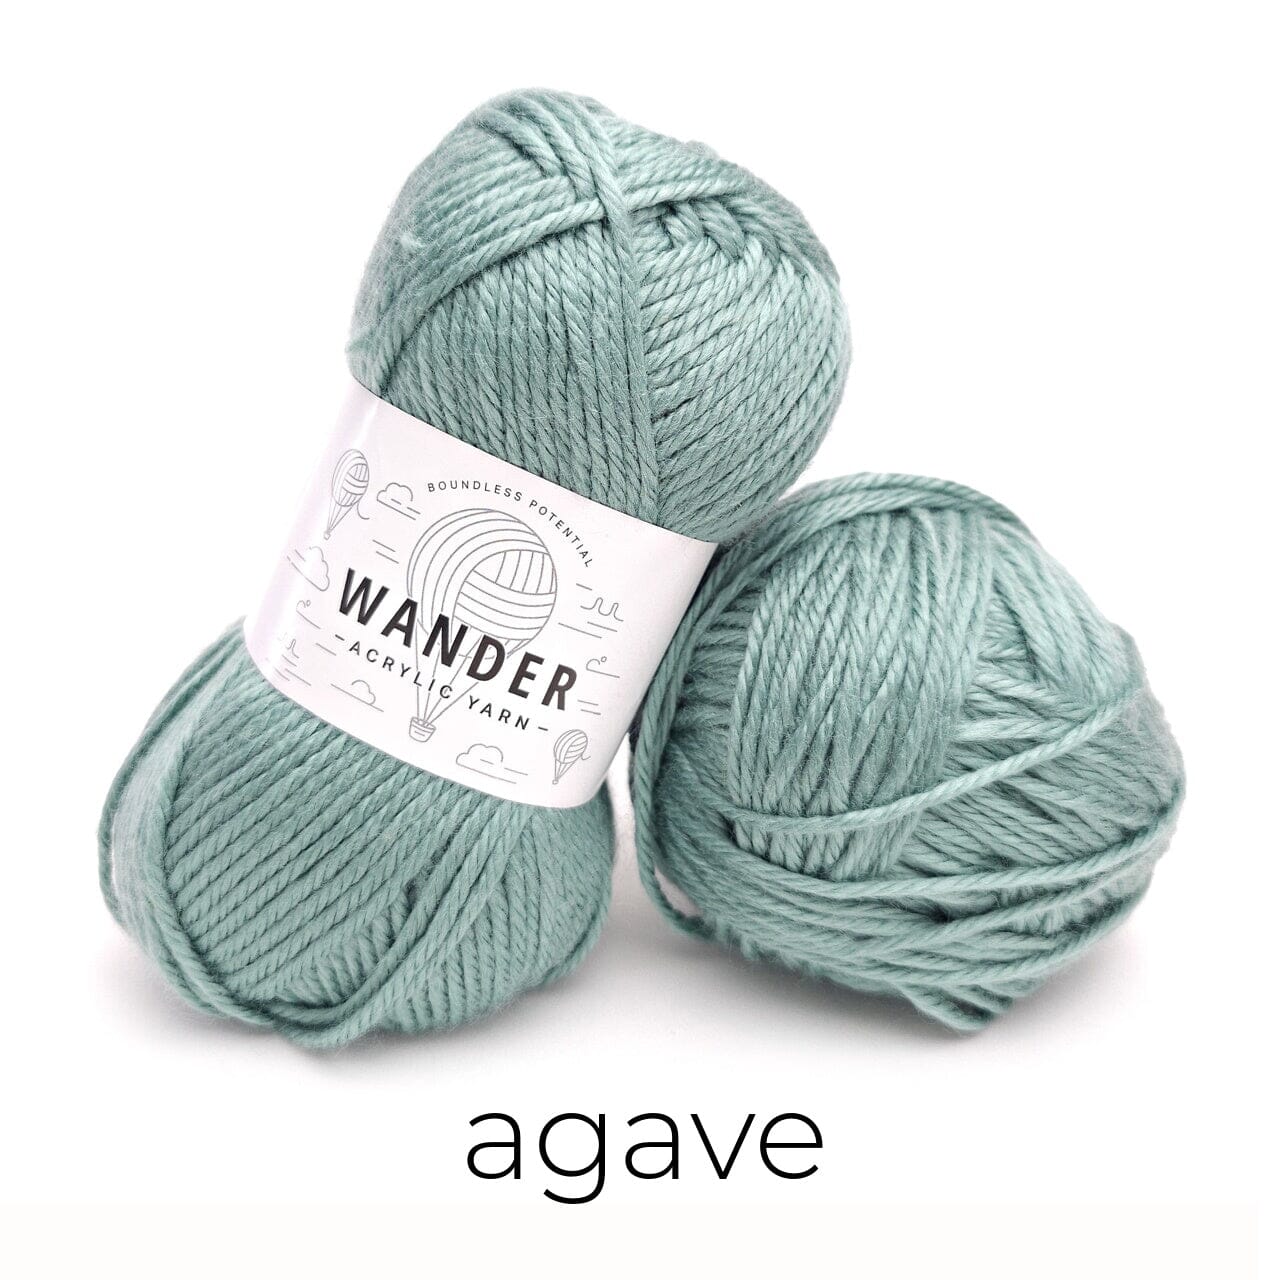
Color A: Slate Blue shown 5 (5, 6, 6, 7, 8, 8, 9, 10) balls
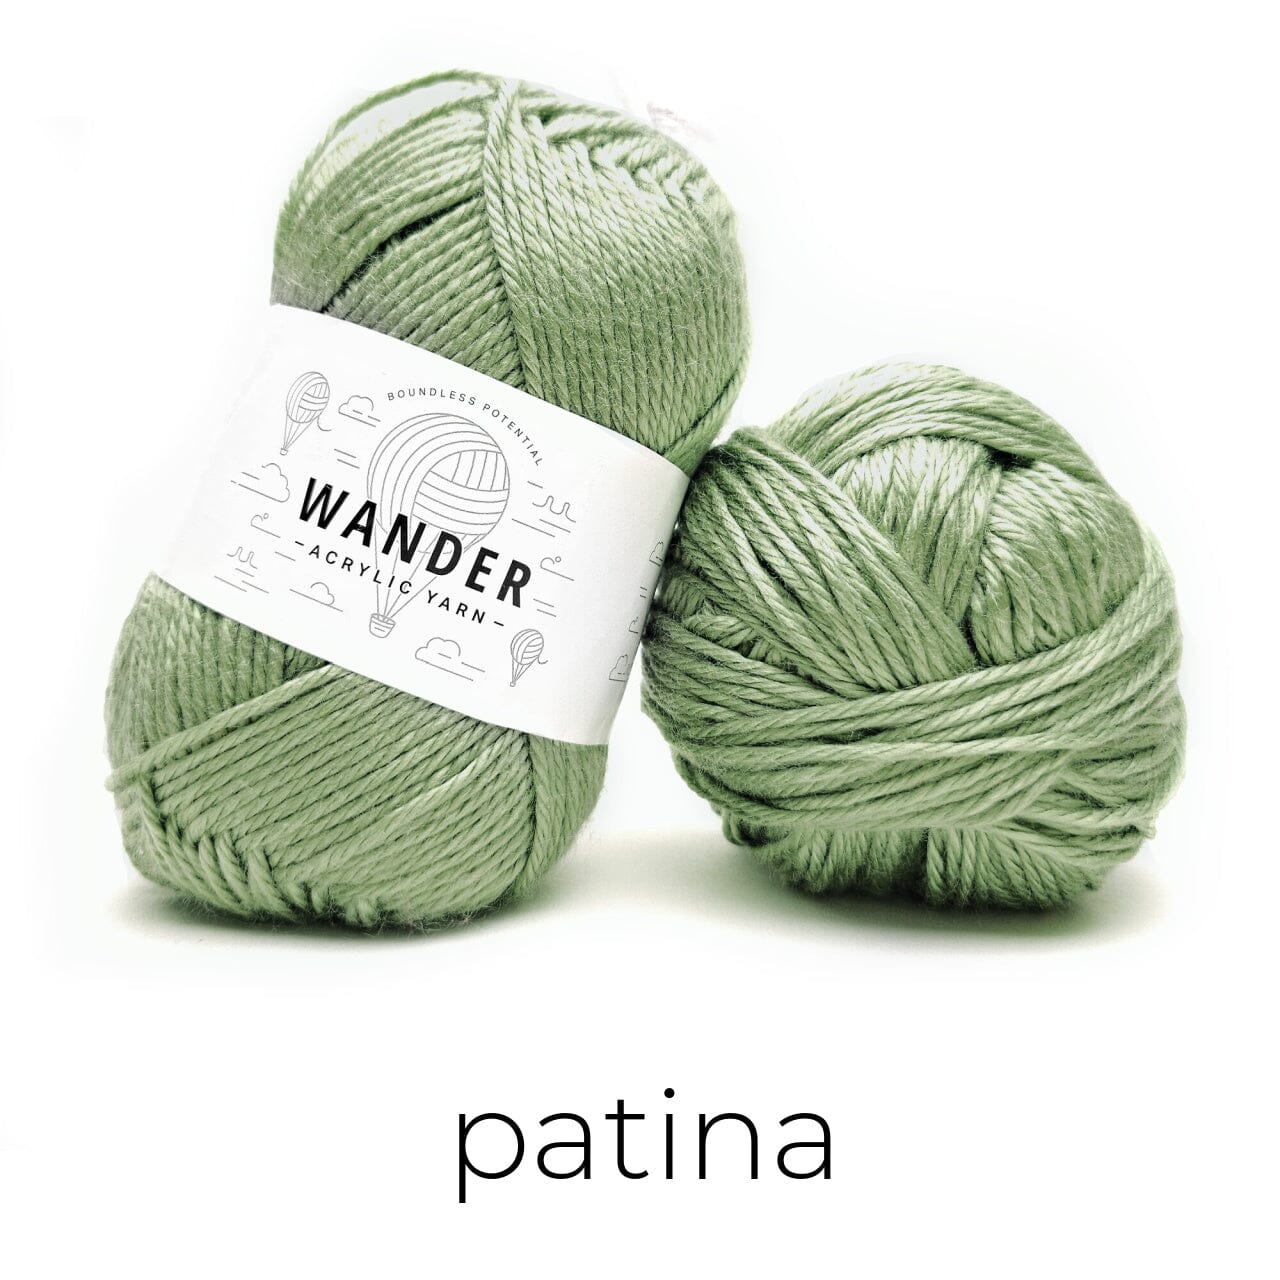
Color B: Pearl shown (1 ball all sizes)
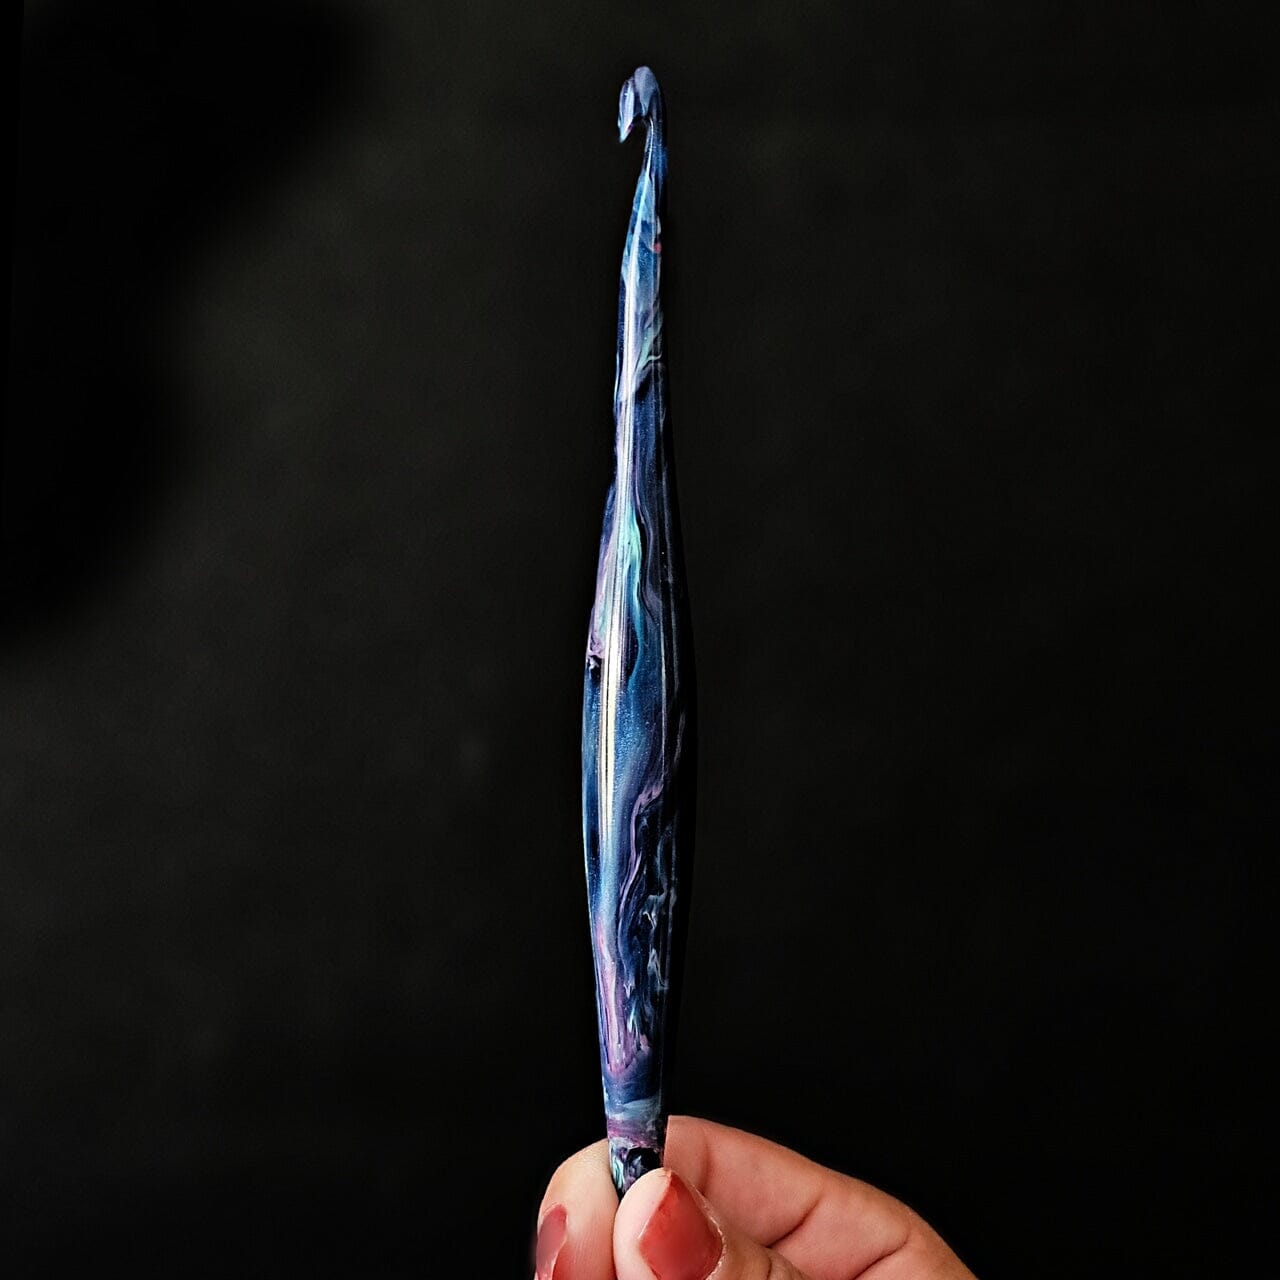
Furls K/6.5mm hook- Tamara used her Virgo Streamline
PATTERN DETAILS
Gauge
10 sts and 8 rows = 4”/10cm laid flat in esc
Sizes
XS (S, M, L, XL, 2X, 3X, 4X, 5X)
Finished Bust (including edging)
42 (46, 50, 54, 58, 62, 66, 70, 74)”
Finished Length (including edging)
21.5 (22, 22.5, 23, 23.5, 24, 24.5, 25, 25.5)”
Special Stitches
esc – extended single crochet - video tutorial
insert hook in indicated stitch, yo and pull up a loop, yo and pull through the first loop on the hook (2 loops rem on hook), yo and pull through both loops on hook.
FSC – foundation single crochet - video tutorial

PART ONE
The December 2019 Furls Crochet Along features a sweet cardigan I’ve designed for sizes XS to 5X – I hope it inspires your (Furls) hook this season!
The Retro Cropped Cardi is a vintage-inspired little jacket, designed to keep you feeling warm and looking great! Made with Red Heart Hygge it’s fuzzy, cozy, and fast to crochet. In addition to using your favorite Furls hook, be sure to have good lighting to help you see your stitches!
And it’s simple too! Easy stitches and shaping make this a great pattern for beginner garment makers. The
main stitch is the extended single crochet – and there is a video tutorial for the stitch included!
Prefer a longer, “non-cropped” sweater? Just add more rows to each piece – but remember to add thesame number of rows to the back and both fronts! This pattern is just that easy. Just remember to add that extra length into your side seams, and purchase additional yarn if needed.
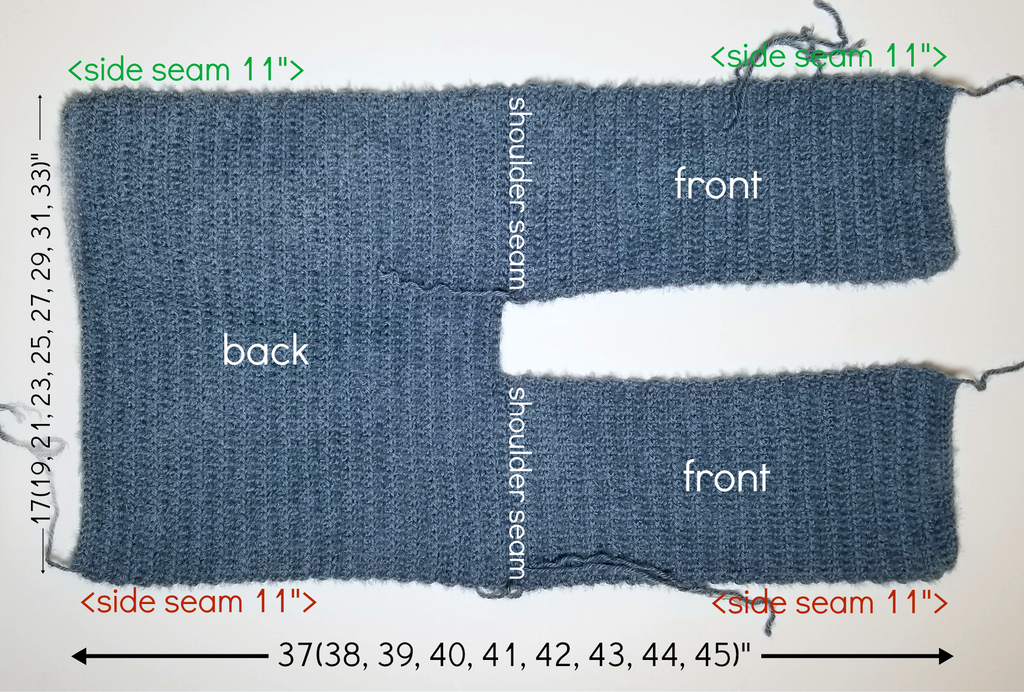
In Part 1, we’ll be making the “vest” of the Retro Cropped Cardi. Starting with the back and two front pieces, a little bit of seaming turns simple rectangles into the start of something beautiful!
Part One
Back (with Color A)
Row 1 [RS]: FSC 42 (48, 52, 58, 62, 68, 72, 78, 82); turn. (42 (48, 52, 58, 62, 68, 72, 78, 82) sts)
Row 2 [WS] – 37 (38, 39, 40, 41, 42, 43, 44, 45): Ch 1, flo esc in each st across; turn. Break yarn after last row.
Fronts (make 2, with Color A)
Row 1 [RS]: FSC 17 (20, 22, 25, 27, 30, 32, 35, 37); turn. (17 (20, 22, 25, 27, 30, 32, 35, 37) sts)
Row 2 [WS] – 37 (38, 39, 40, 41, 42, 43, 44, 45): Ch 1, flo esc in each st across; turn. Break yarn after last row.
Assembly
With wrong sides together, seam fronts to back at last rows of each piece, matching the outer edges.
Then seam from the bottom of the sides, 11.5” along each side, leaving remainder open for the armholes.
PART TWO
How is your Retro Cropped Cardi coming along? If you’ve finshed Part 1, you should have the “vest” of the sweater complete.
So now it’s time for Part 2 – we’re ready to make the sleeves!
It’s also time for our second color of yarn to come into play! And no matter what colors you’ve chosen, you have options in this section. There are two sleeve styles included – fitted and loose – so you can make your sweater fit the way you like.
If you do choose the fitted sleeves for the Retro Cropped Cardi, be sure to try them on as you go, and adjust if needed. They feature negative ease, and while there’s lots of stretch, it’s easy enough to eliminate a decrease or two and leave them a bit bigger if desired. Just remember to take a note so you can do the same with the second sleeve!

OPTION 1: Fitted Sleeves (repeat for each armhole, begin with Color A) - shown
Rnd 1: Join to bottom of armhole at side seam, ch 1, esc evenly around opening, working 35 (37, 40, 42, 45, 47, 50, 52, 55) sts; join and turn. (35 (37, 40, 42, 45, 47, 50, 52, 55) sts)
Rnd 2: Ch 1, flo esc2tog, flo esc in each rem st around; join and turn. (decrease by 1 st)
Rnd 3: Ch 1, flo esc in each st around; join and turn.
Rnd 4 – 28 (24, 20, 16, 20, 16, 12, 8, 4): Rep Rows 2 and 3, ending on a Rnd 2 rep. (21 (25, 30, 34, 35, 39, 44, 48, 53) sts)
Next row – 30 (30, 30, 30, 34, 34, 34, 34) total rows: Rep Rnd 2. (19 (19, 20, 20, 21, 21, 22, 22, 23) sts)
Go to Cuff Instructions Below
OPTION 2: Loose Sleeves (repeat for each armhole, begin with Color A)
Rnd 1: Join to bottom of armhole at side seam, ch 1, esc evenly around opening, working 35 (37, 40, 42, 45, 47, 50, 52, 55) sts; join and turn. (35 (37, 40, 42, 45, 47, 50, 52, 55) sts)
Rnd 2 – 30 (30, 30, 30, 34, 34, 34, 34, 34): Ch 1, flo esc in each st around; join and turn.
Go to Cuff Instructions Below
Cuff Instructions (all sizes, continue with Color A switching to Color B as indicated)
Rnd 1 and 2: Ch 1, hdc in each st around; join. Finish last st of Rnd 2 with Color B.
Rnd 3: With Color B, rep Rnd 1. Finish last st with Color A.
Rnd 4: With Color A, rep Rnd 1. Finish last st with Color B.
Rnd 5 – 7: Rep Rnds 3 and 4. Break Color B after Rnd 7.
Rnd 8: With Color A, rep Rnd 2; join, break yarn and weave in ends.
PART THREE
The Retro Cropped Cardi should be looking like a real sweater now – but it’s missing those finishing touches. And then you’ve have your own fuzzy little jacket to wear or gift this season!
Up first, we’ll be adding a fab striped edging to the front opening to mirror the striping on the cuffs. This is the “lapel” of our sweater – up one front, across the neck, and down the other front side. Feel free to add or subtract rows to customize your look here!
Next, it’s time to add the waist edging, and a final edging. More stripes finish up with a final round that goes all the way around the front and waist, and ties it all together. Again, add or subtract rows here to make it your own!
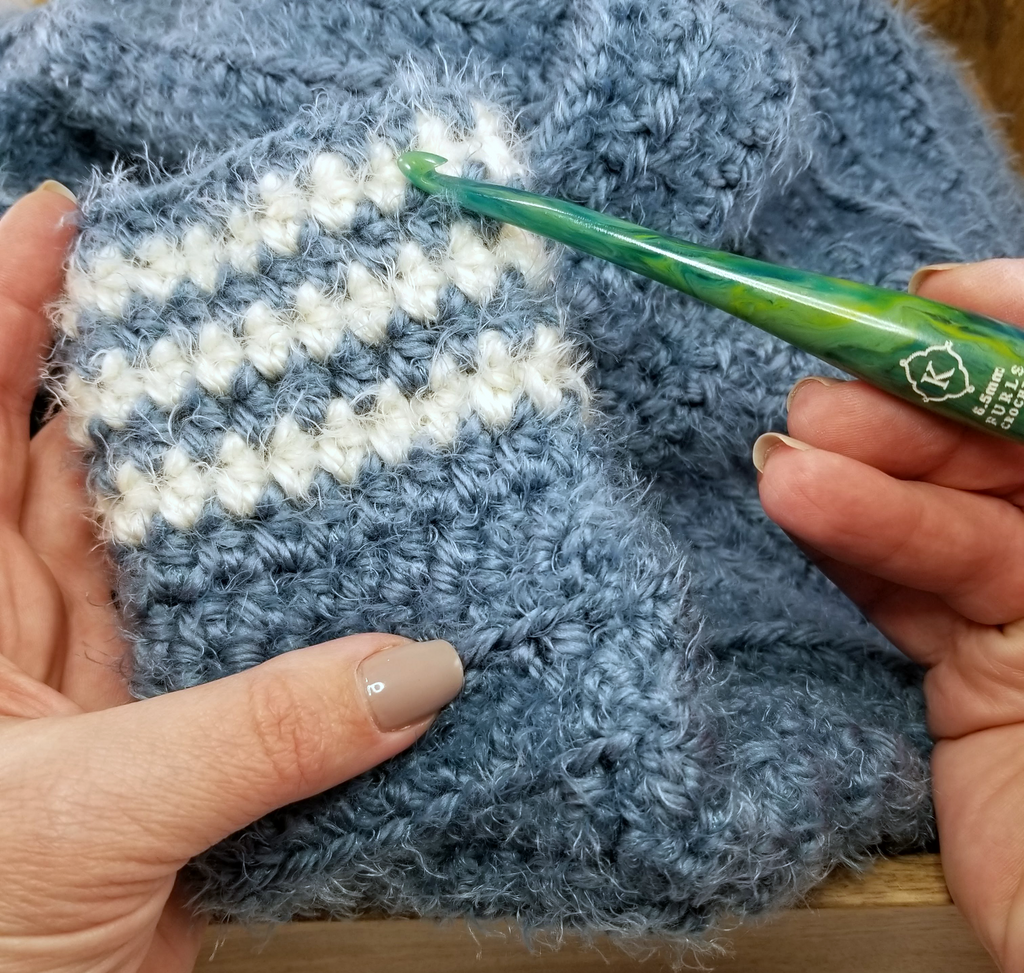
Finally, a cute little optional pocket is the icing on the cake. There’s something about this little pocket that really finishes off the look, don’t you think? Of course, if it’s not for you, it’s easy enough to skip!
I hope you’ve enjoyed the December 2019 Furls Crochet Along, and the Retro Cropped Cardi! Thank you so much for CAL-ing with me, and thank you to Furls for the opportunity to share this fun free crochet cardigan pattern!
Row 1: With Color A, join to bottom edge from WS of pattern, ch 1, hdc evenly across front opening; turn.
Row 2: Ch 1, hdc in each st across; break yarn and turn.
Row 3: With Color B, join to first st, ch 1, hdc in each st across; break yarn and turn.
Row 4: With Color A, rep Row 3.
Row 5 – 8: Rep Rows 3 and 4.
Waist Edging (with Colors A and B)
Row 1: With Color A, join to bottom edge of Neck Edging from WS of pattern, ch 1, hdc evenly across bottom/waist opening; turn.
Row 2: Ch 1, hdc in each st across; break yarn and turn.
Row 3: With Color B, join to first st, ch 1, hdc in each st across; break yarn and turn.
Row 4: With Color A, rep Row 3.
Row 5 and 6: Rep Rows 3 and 4. After Rnd 6, do not turn or break Color A.
Final Edging (Color A)
Rnd 1: Ch 1, sc evenly around front opening and across last row of waist edging, working 3 sc at each of the bottom corners.
Pocket (optional – with Color A and B)
Row 1: With Color A, ch 6, skip ch closest to the hook, 2 sc in the next st, sc 3, 2 sc in the last st; turn. (7 sts)
Row 2 – 7: Ch 1, sc in each st across; turn. Break yarn after Rnd 7.
Row 8: With Color B, join to first st, ch 1, sc in each st across; break yarn, do not turn.
Edging
With Color A, join to side of last row, ch 1, sc down the side, across the bottom, and along the other side of the pocket (do not work across the top of the pocket); break yarn leaving long end. Sew to cardi as shown.