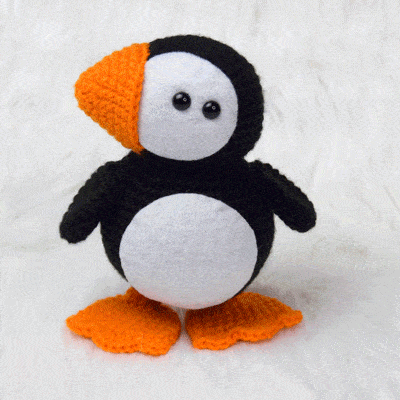
What’s black and white and orange all over, and always ready to pick some snowberries? It’s Arctic Puffin!

Make this cute, cuddly critter to bring caroling, help deck the halls, or just chill on the couch bingeing Hallmark movies. Happy Holidays!
ABOUT OUR DESIGNER
Brenna Eaves is the one-woman team behind Little Raven Fiber Arts. A self-taught fiber artist with more than 13 years’ experience building things with stitches, she has the type of yarn stash that, if unraveled and tied end to end, would stretch to the moon and back. Though also an accomplished knitter, cross-stitcher, writer, artist, and graphic designer, crochet is her happy place. She lives and works out of Wisconsin.
SUPPLIES
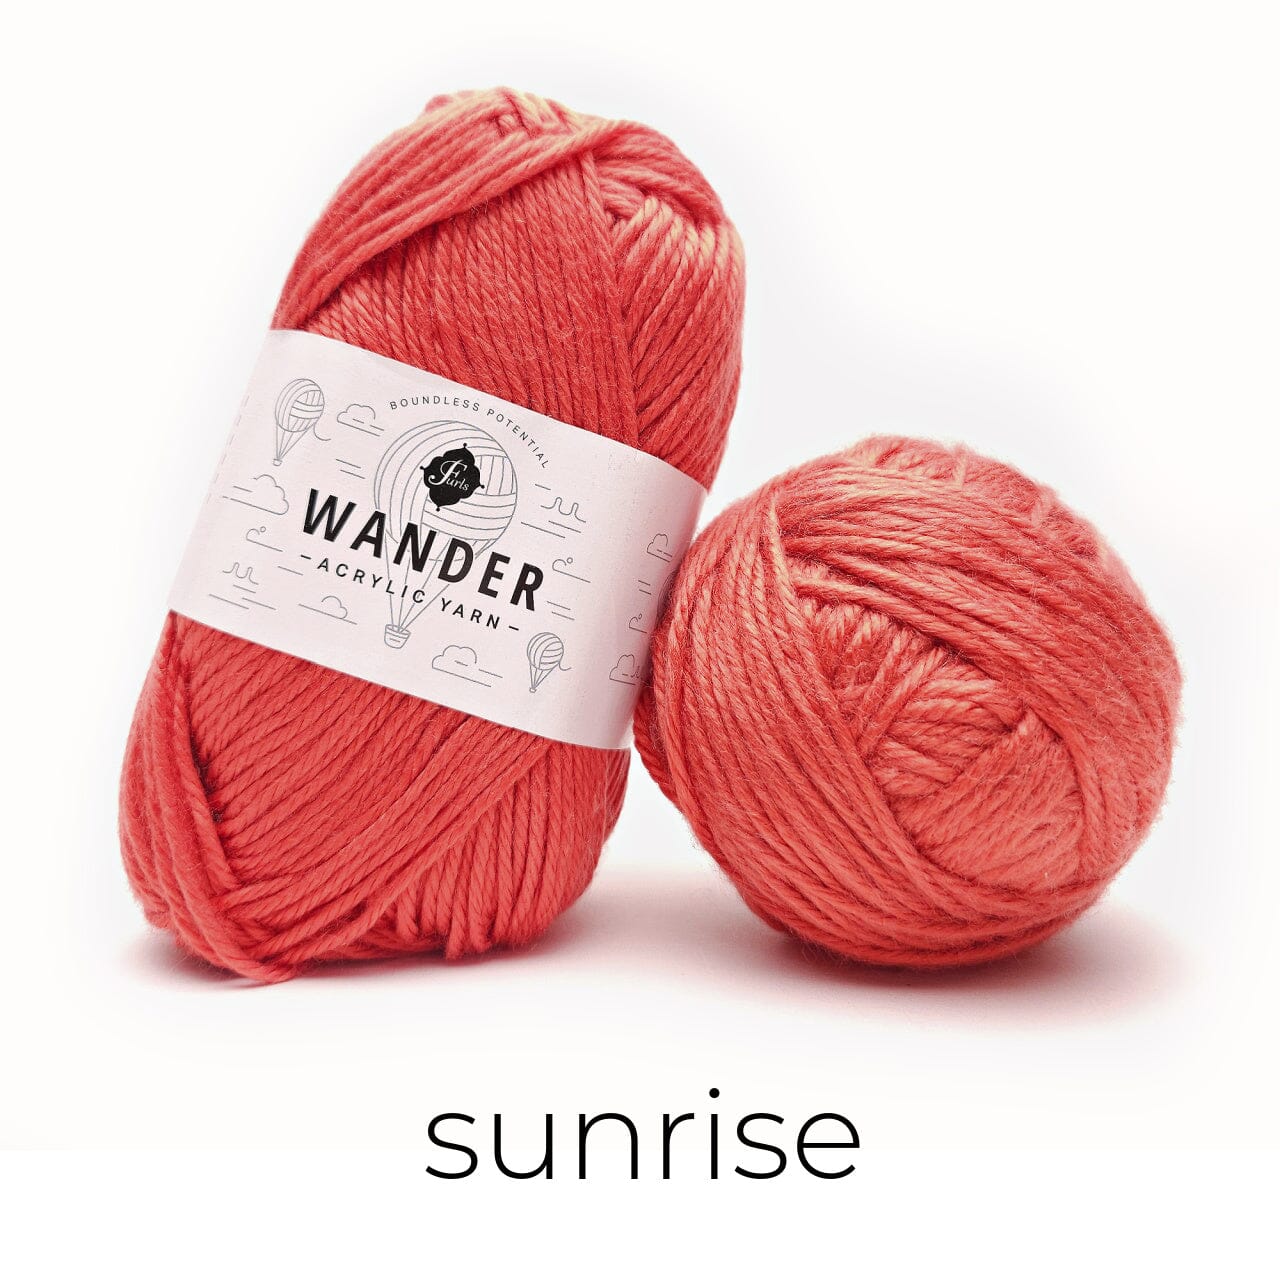
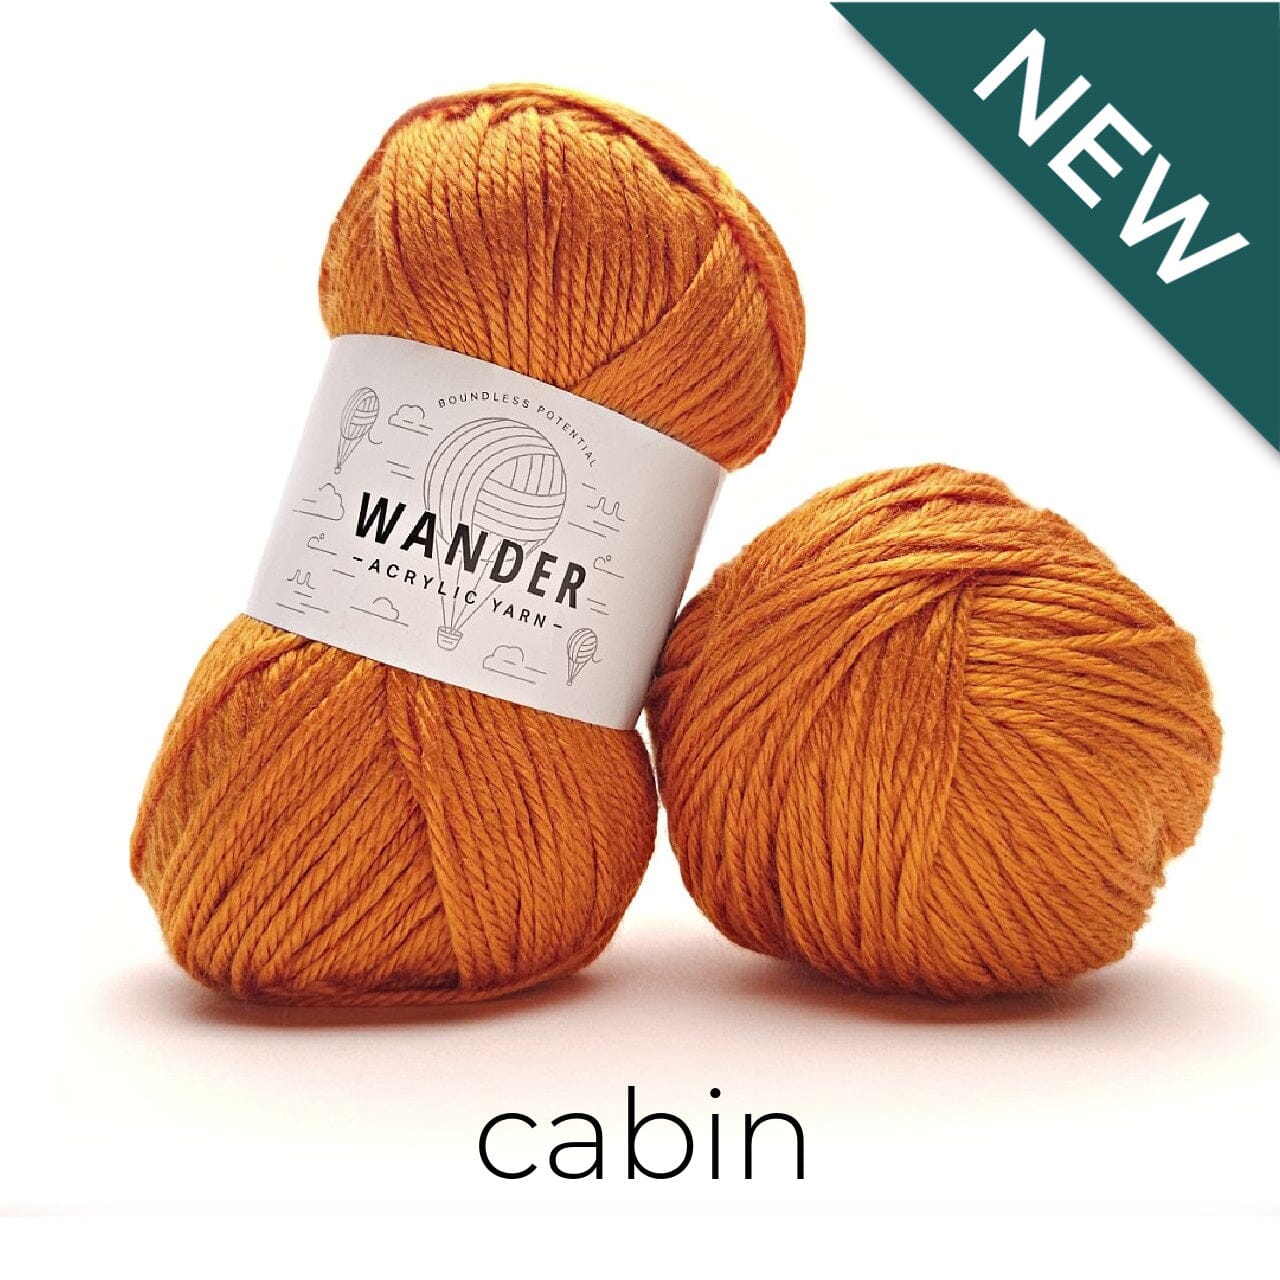
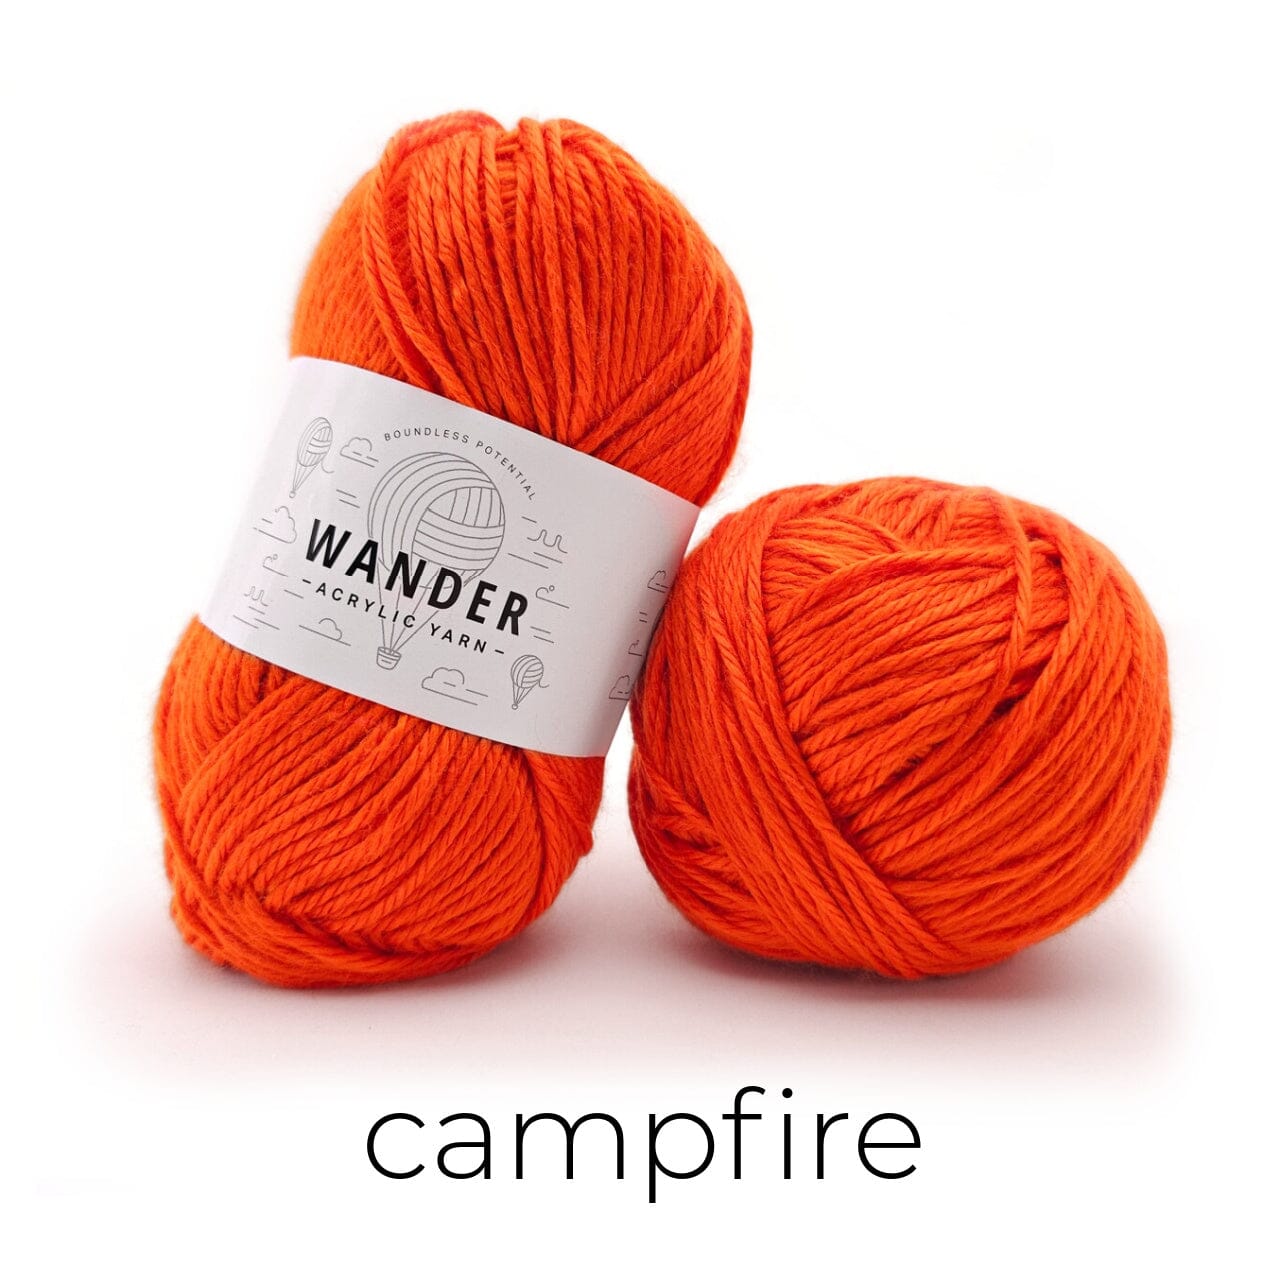
- Worsted weight yarn in black & orange
- 5.0mm (H) Furls Odyssey crochet hook
- White craft felt
- Fabric glue
- 9mm black safety eyes
- Stuffing
- Tapestry needle
PDF OF TEMPLATE FOR FELT PIECES
GAUGE:
5 sc x 5 rounds = 1 inch (working in the round)
ABBREVIATIONS:
Ch = chain
Slp st = slip stitch
Sc = single crochet
Sc dec = single crochet decrease
Dc = double crochet
Rep = repeat
2x, 3x, etc = 2 times, 3 times, etc
Rep *-* = repeat the instructions inside of the asterisks the indicated number of times
BLO = back loops only
FLO = front loops only
FO = finish off
DIMENSIONS:
~5.5” wide, ~6.5” tall

NOTES:
- Do not join rounds with slp st or ch 1 at the beginning of rounds. Use a stitch marker to mark your place.
PATTERN
Beak
With orange, ch 2 or magic loop
Rnd 1: 6 sc in 2nd ch from hook / loop (6)
Rnd 2: *2 sc in 1st sc, sc in next sc* rep *-* 3x (9)
Rnd 3: *2 sc in 1st sc, sc in next 2 sc* rep *-* 3x (12)
Rnd 4: *2 sc in 1st sc, sc in next 2 sc* rep *-* 4x (16)
Rnd 5: *2 sc in 1st sc, sc in next 2 sc* rep *-* 5x, sc in last sc (21)
Rnd 6: *2 sc in 1st sc, sc in next 3 sc* rep *-* 5x, sc in last sc (26)
Rnd 7: *2 sc in 1st sc, sc in next 4 sc* rep *-* 5x, sc in last sc (31)
Rnd 8: sc in each sc around (31)
FO, leaving a long tail for assembly.
Head and Body
With black, ch 2 or magic loop
Rnd 1: 6 sc in 2nd ch from hook / loop (6)
Rnd 2: 2 sc in each sc around (12)
Rnd 3: *2 sc in 1st sc, sc in next sc* rep *-* around (18)
Rnd 4: *2 sc in 1st sc, sc in next 2 sc* rep *-* around (24)
Rnd 5: *2 sc in 1st sc, sc in next 3 sc* rep *-* around (30)
Rnd 6: *2 sc in 1st sc, sc in next 4 sc* rep *-* around (36)
Rnd 7: *2 sc in 1st sc, sc in next 5 sc* rep *-* around (42)
Rnds 8-14: sc in each sc around (42)
Rnd 15: *sc dec, sc in next 5 sc* rep *-* around (36)
Rnd 16: *sc dec, sc in next 4 sc* rep *-* around (30)
Rnd 17: *sc dec, sc in next 3 sc* rep *-* around (24)
Using the template, cut the eye panel out of white felt and snip where indicated: insert the snap-in eye stalks. Without applying fabric glue yet, place the eye piece on the puffin head.

The top of the eye piece should hit about Rnd 3-4 of the head. Fit the eye stalks into the crochet fabric and make sure they don’t pull or pucker the felt, then secure the eyes with the washers at the back. STUFF the head firmly. Apply glue to the back of the felt and smooth down over the face, allow to dry.
Rnd 18: in FLO, *2 sc in 1st sc, sc in next 3 sc* rep *-* around (30)
Rnd 19: now in both loops, *2 sc in 1st sc, sc in next 2 sc* rep *-* around (40)
Rnd 20: *2 sc in 1st sc, sc in next 6 sc* rep *-* 5x, 2 sc in next sc, sc in last 4 sc (46)
Rnd 21: *2 sc in 1st sc, sc in next 11 sc, 2 sc in 1st sc, sc in next 10 sc* rep *-* 2x (50)
Sew the beak to the head. It should eclipse about a half inch of the eye panel.
(I didn’t sew through the felt, I skipped it and continued on the other side. If making this for a child, go back after stuffing the beak and using a smaller needle and white (or matching orange) sewing thread, sew this gap closed.)
Rnds 22-30: sc in each sc around (50)
Rnd 31: *sc dec, sc in next 7 sc* rep *-* 2x, sc dec, sc in next 5 sc, rep *-* 2x, sc dec, sc in last 5 sc (44)
Rnd 32: *sc dec, sc in next 6 sc* rep *-* 5x, sc dec, sc in last 2 sc (38)
Rnd 33: *sc dec, sc in next 5 sc* rep *-* 5x, sc dec, sc in last sc (32)
Rnd 34: *sc dec, sc in next 4 sc* rep *-* 5x, sc dec (26)
STUFF puffin body firmly
Rnd 35: *sc dec, sc in next 3 sc* rep *-* 5x, sc in last sc (21)
Rnd 36: *sc dec, sc in next 2 sc* rep *-* 5x, sc in last sc (16)
Rnd 37: *sc dec, sc in next sc* rep *-* 5x, sc in last sc (11)
Rnd 38: sc dec around
FO and weave in end.
Wings (make 2)
Ch 2 or magic loop
Rnd 1: 6 sc in 2nd ch from hook / loop (6)
Rnd 2: 2 sc in each sc around (12)
Rnd 3: *2 sc in 1st sc, sc in next 2 sc* rep *-* around (16)
Rnds 4-8: sc in each sc around (16)
Rnd 9: *sc dec, sc in next 2 sc* rep *-* around (12)
FO leaving a long tail for assembly. Flatten the wing.
Using the FO tail, sew the wing to rnd 19 of the puffin body. One wing should be centered under the beak, the other should be directly opposite when viewed from above. Weave in the ends.
Feet (make 2)
With orange, ch 2 or magic loop
Rnd 1: 8 sc in 2nd ch from hook /loop (8)
Rnd 2: 2 sc in each sc around (16)
Rnd 3: sc in each sc around (16)
Rnd 4: *2 sc in next sc, sc in next 2 sc* rep *-* 5x, sc in last sc (21)
Rnds 5-9: sc in each sc around (21)
Flatten the end of the foot and work the next row through both layers at once to close the toe.

Row 10: sc in next sc, 3 dc in next sc, slp st in next sc, sc in next sc, *3 dc* in each of the next 2 sc, sc in next sc, slp st in next sc, 3 dc in next sc, slp st in last sc
FO and weave in end.
Leg (make 2)
Starting with a medium length tail for assembly later, ch 7, join to form a loop without twisting stitches
Rnd 1: work 8 sc into loop (8)
Rnds 2-3: sc in each sc around (8)
Rnd 5: 2 sc in 1st sc, sc in next sc, 2 sc in next sc (10)
FO leaving remaining sc unworked.
Sew round 5 of each leg onto the backs of the feet. The last 2 increases of each leg should be facing towards the toes.
Using the beginning tail of each leg, sew the legs to the underside of the puffin body. They should be further back than center in order to allow the puffin to stand. Pin the legs in place first to check his balance, then adjust as needed before attaching the legs. Weave in ends.
Cut the tummy piece out of the white felt following the instructions in the pdf. The top of the tummy should touch rnd 20 of the puffin body. Make sure the tummy piece is centered between the wings.