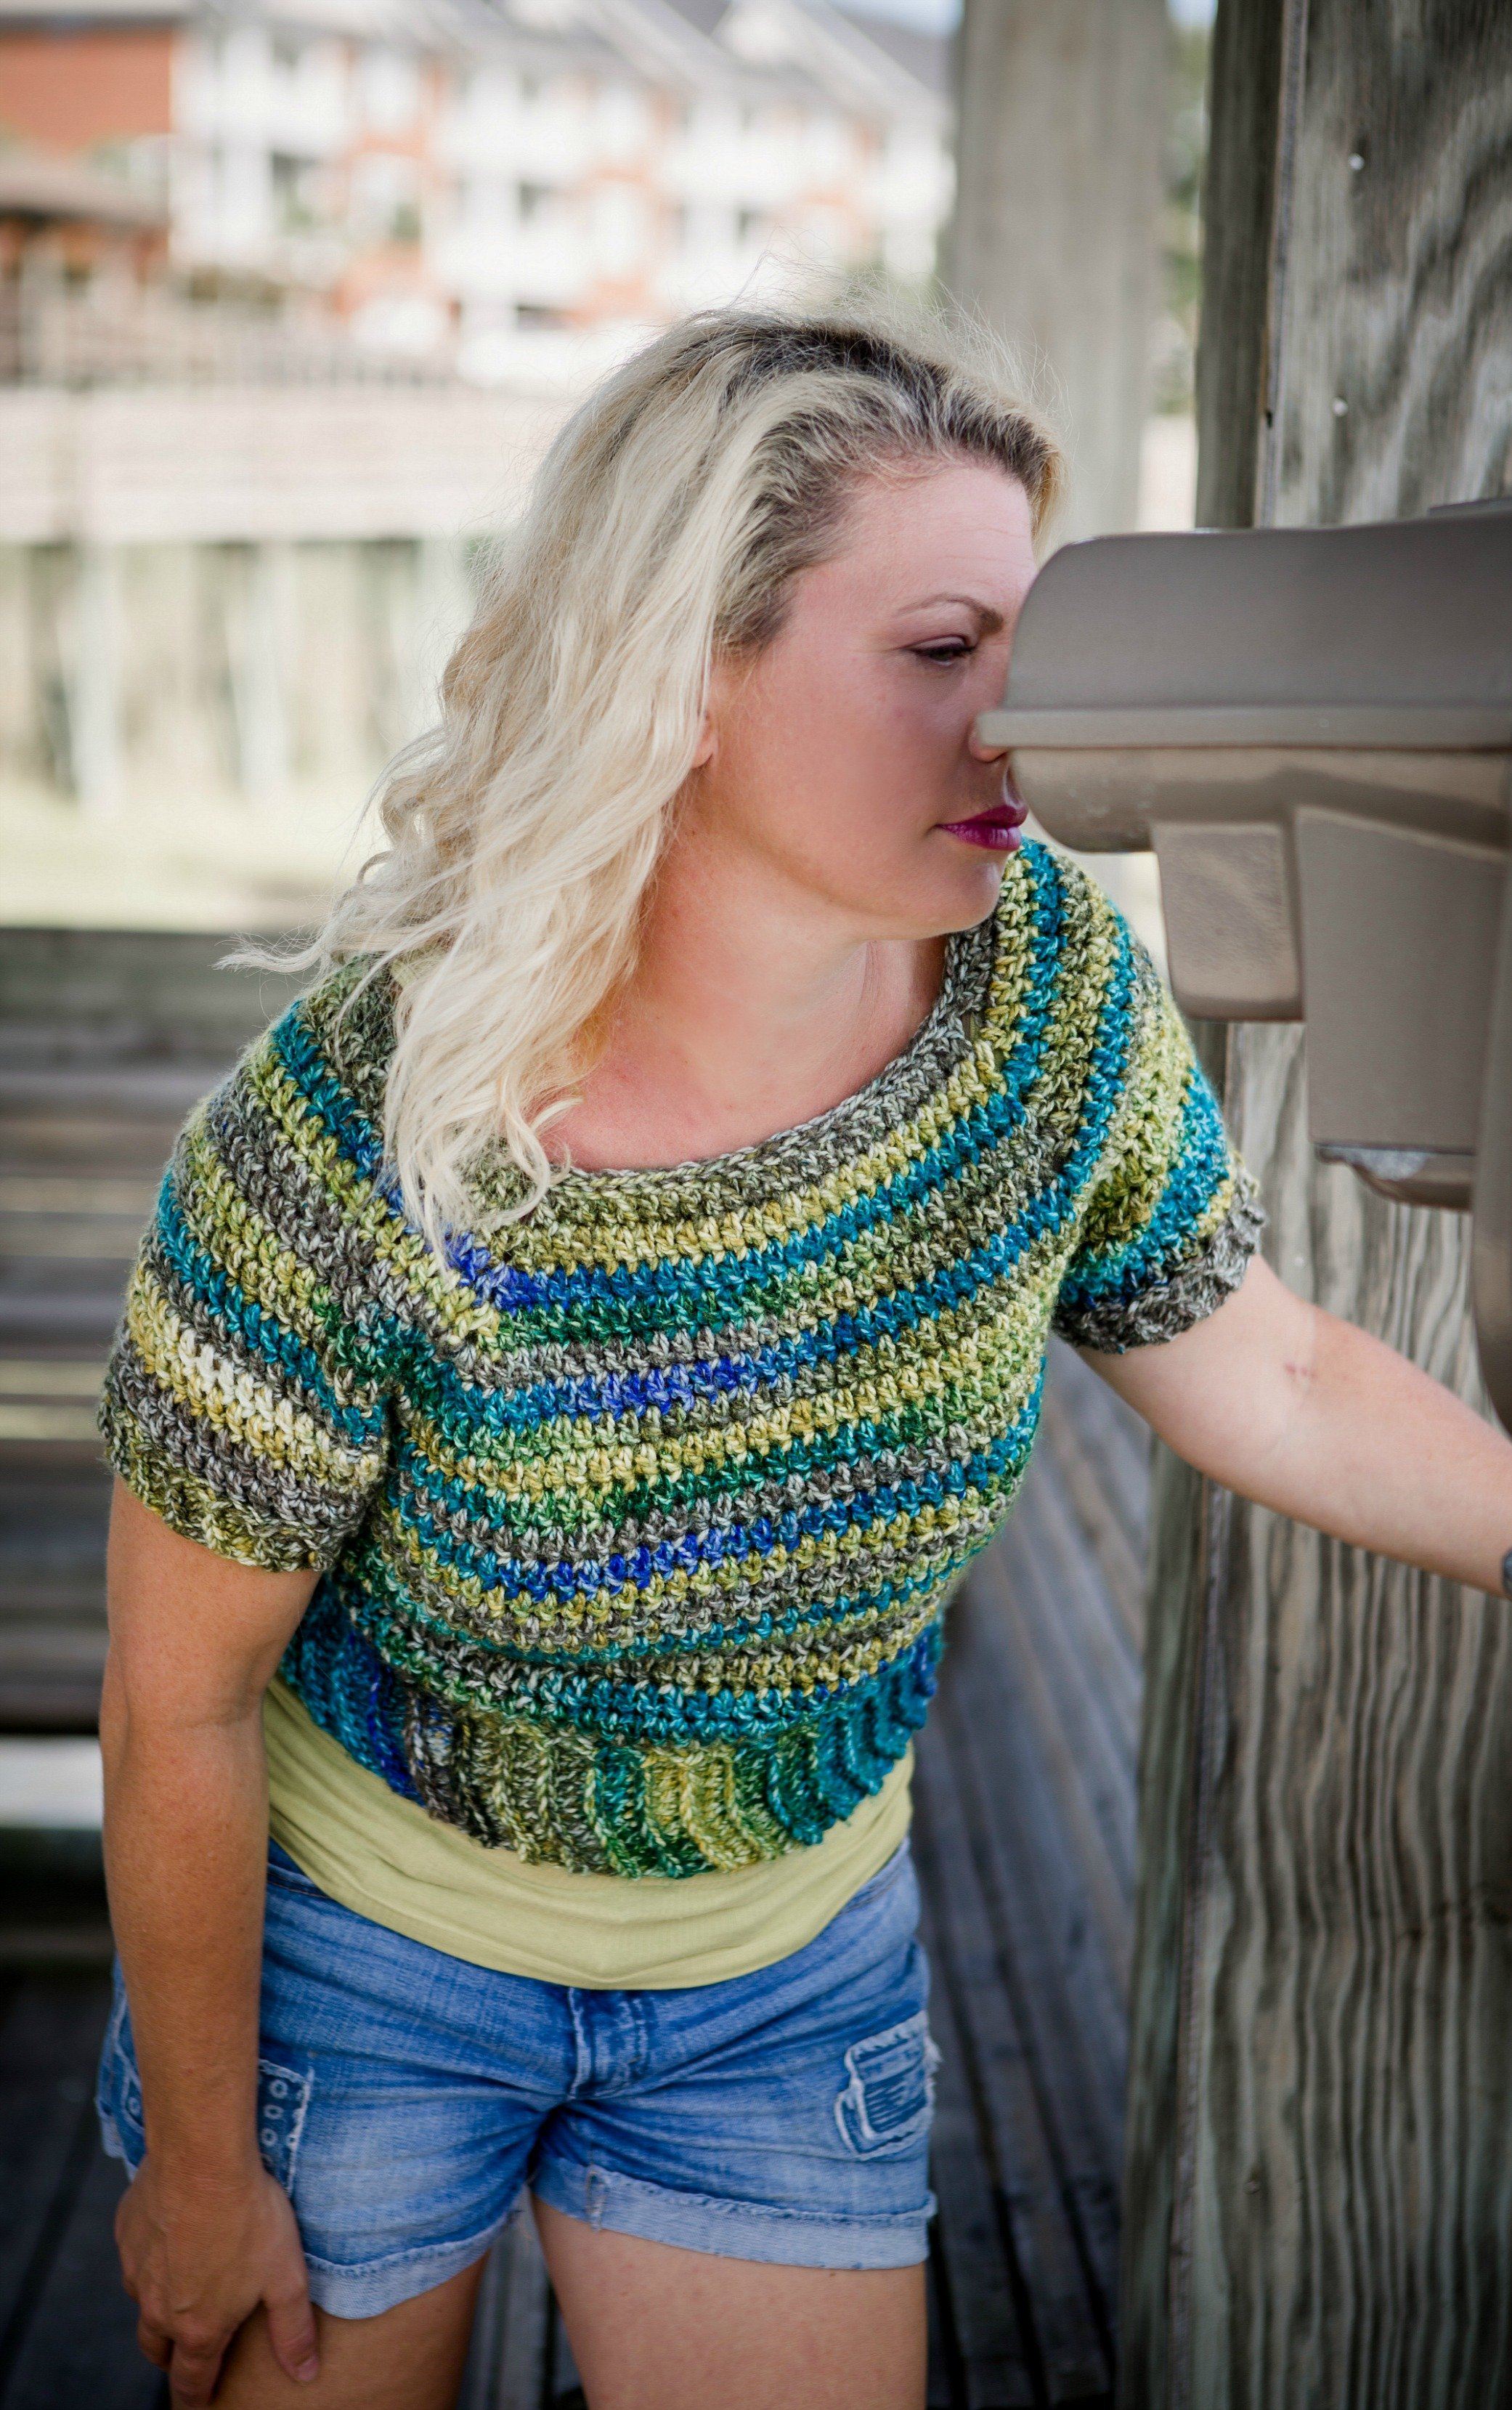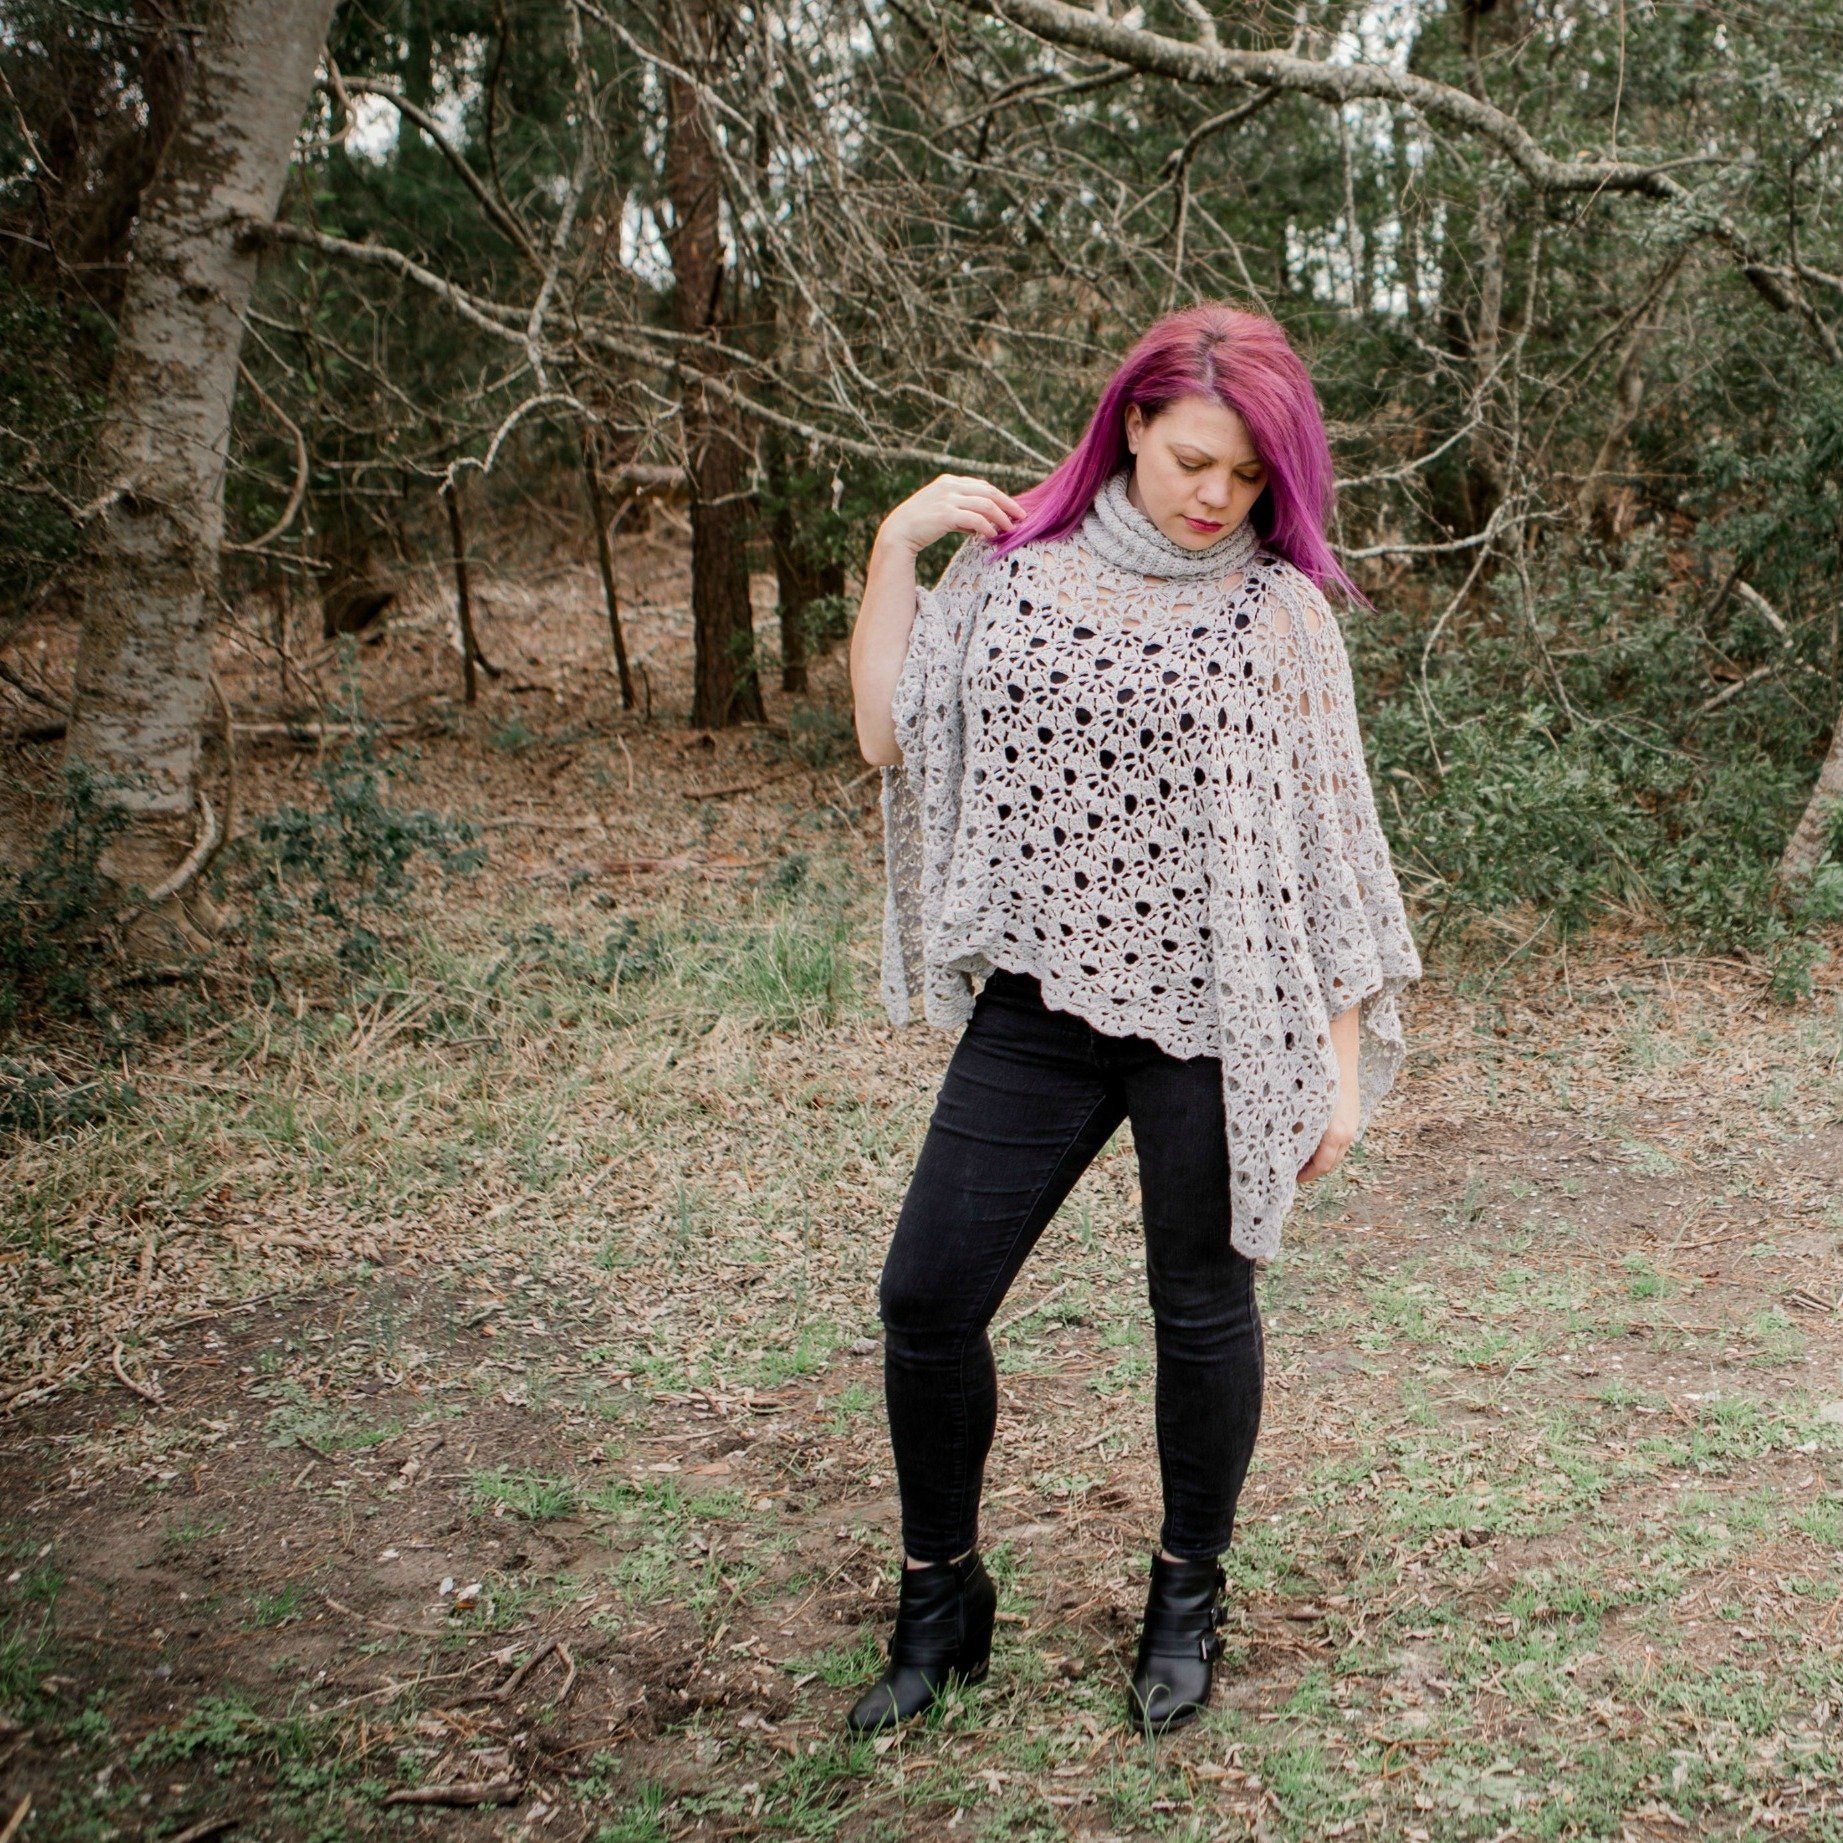
Flattering for any body type and available in children’s to adult plus size, the Aria Poncho is sure to become one of your favorite handmade pieces! The Aria Poncho is great for layering over long sleeves or short sleeves and it is multi seasonal! You could easily wear this poncho, spring, summer and fall! Maybe even in the winter if you live in a warmer climate!
This Poncho looks more complicated than it is! Once you get the hang of the row repeats and get into a groove, you will love making this poncho! The construction is super simple, two identical panels that will be seamed to create the neck opening where you then attach a luxurious ribbed collar! Due to it’s simple construction, the Aria Poncho is also easily customizable. Would you like it longer? Just add more rows. Maybe a Shorter collar? You can so that too!

ABOUT OUR DESIGNER
Hi Friends! I am Brianna, the designer behind Life and Yarn! I have a serious love of texture, fun stitch combinations and basically everything fiber related! The Goal and Mission of Life and Yarn is to create modern and chic designs that span across age groups. A Life and Yarn design will be easy enough for a new maker but satisfying to someone seasoned in the craft! You can always reach out to me if you need help! I learned to crochet when I was little but didn’t pick it back up again until I wanted to make a baby blanket for my first little guy! Since then, a day hasn’t gone by that I don’t have my hook in my hand working up a project and coming up with my next design! You can find all of my links below, and I would love for you to visit my blog where I have a ton of free patterns! Don’t forget to sign up for my newsletter while you are there!
Blog | Instagram | Pinterest | Facebook | Ravelry | Etsy

SUPPLIES
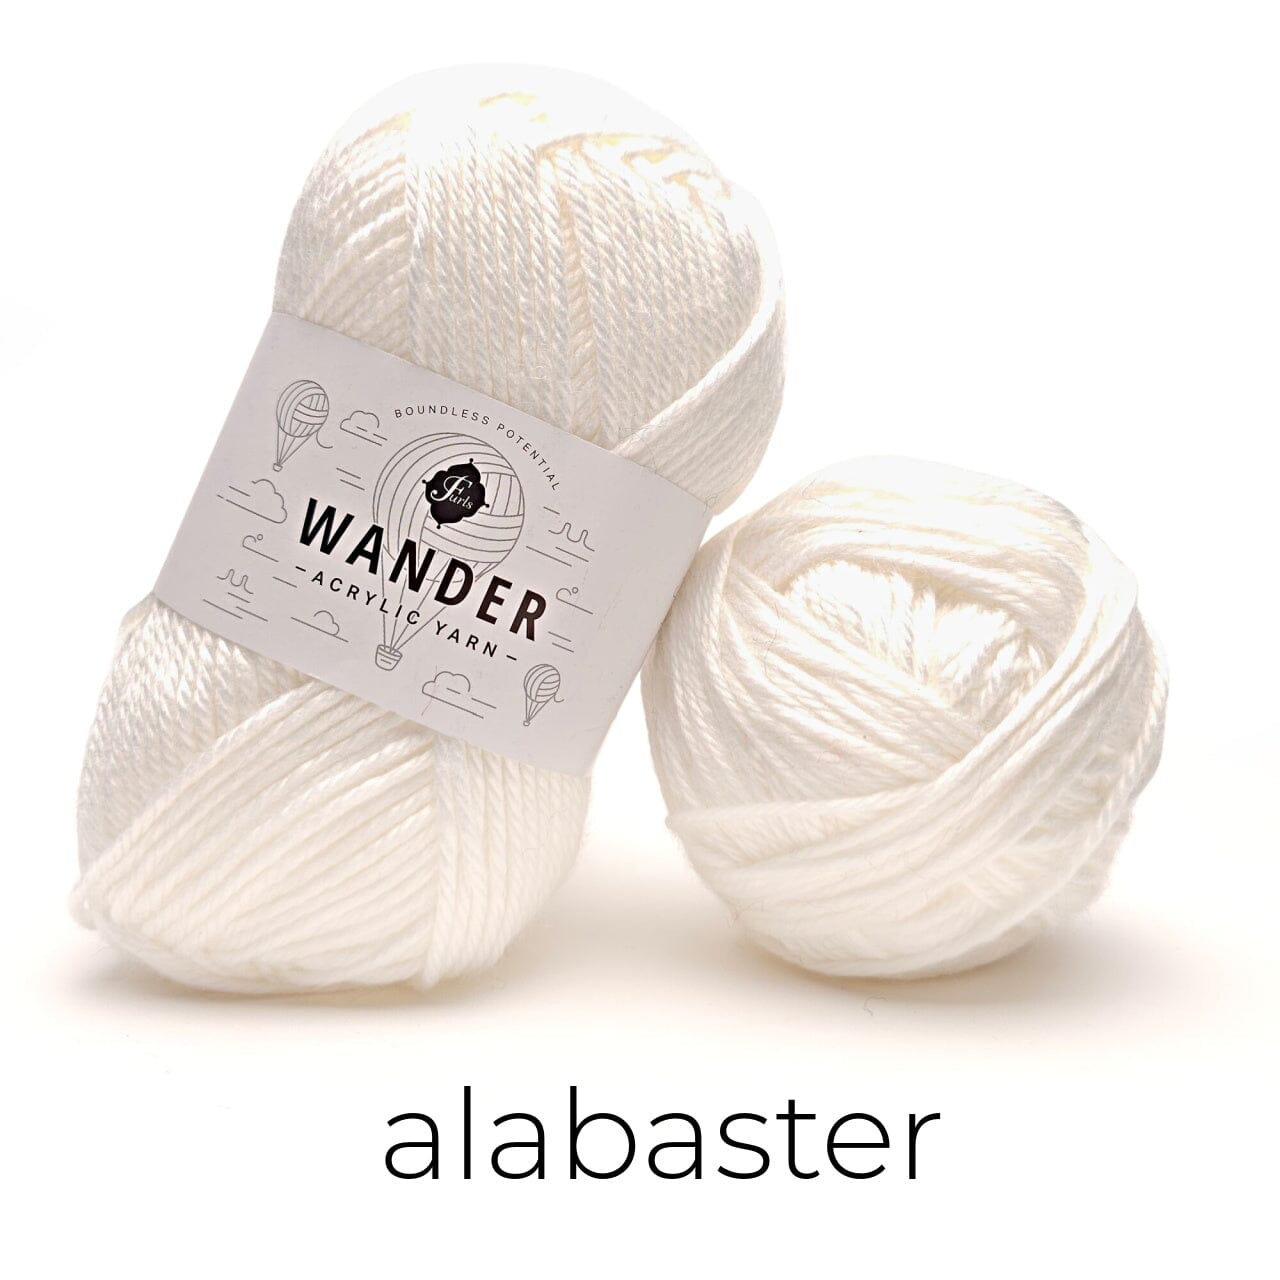
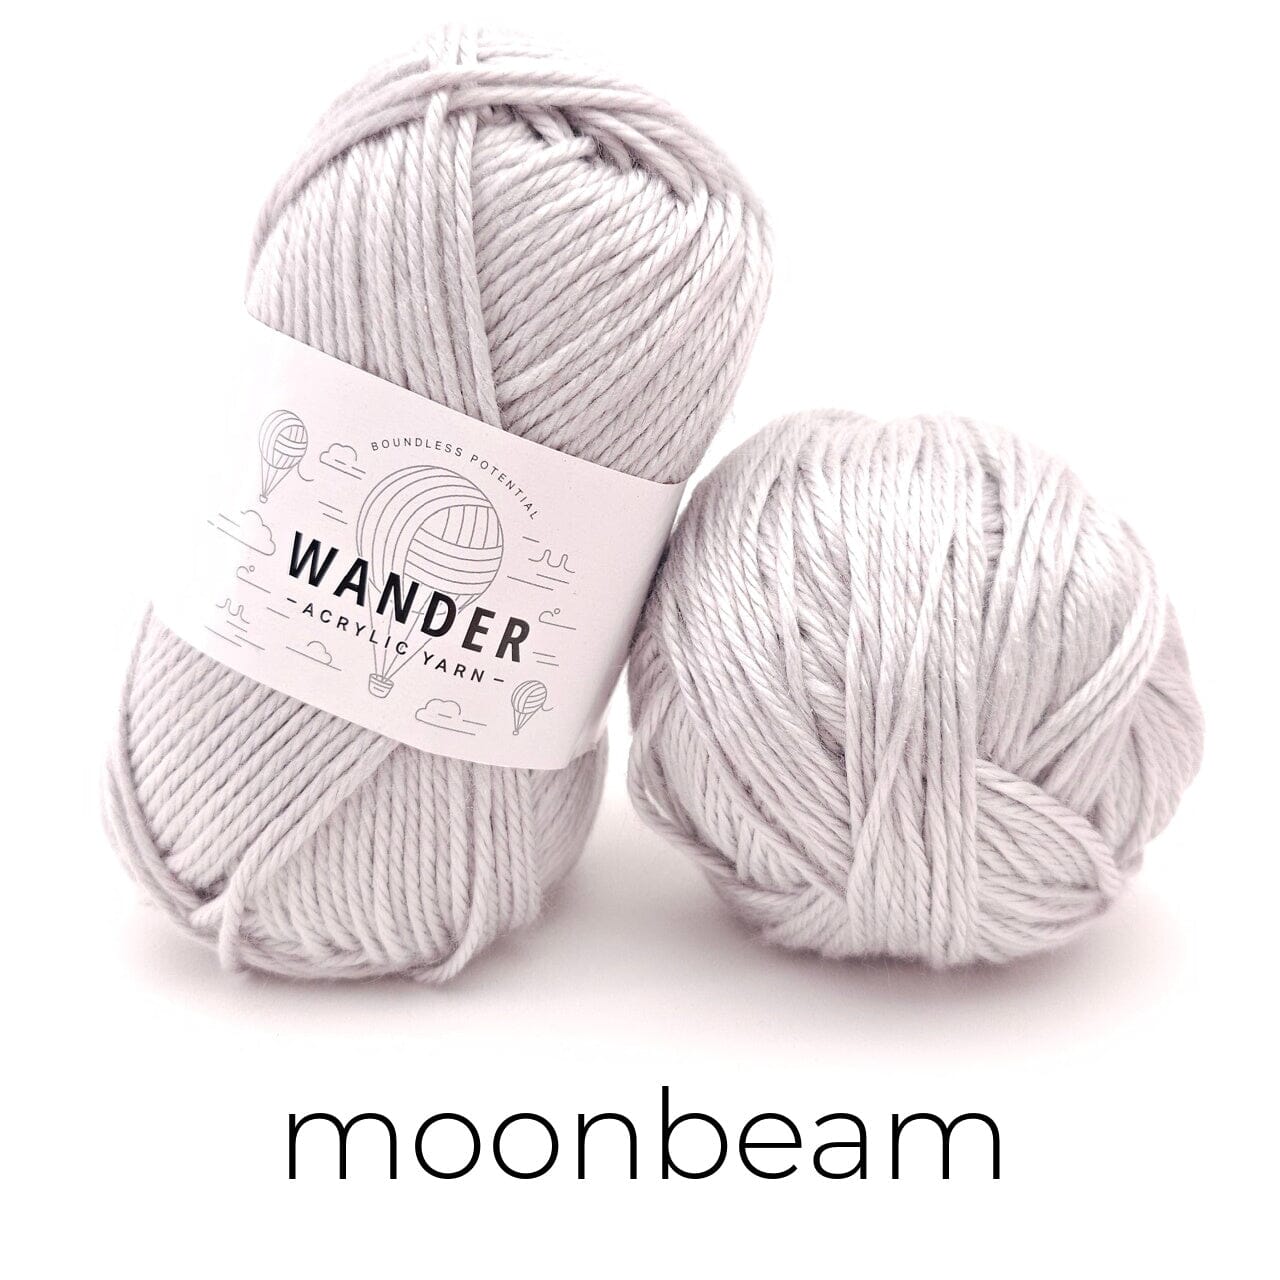
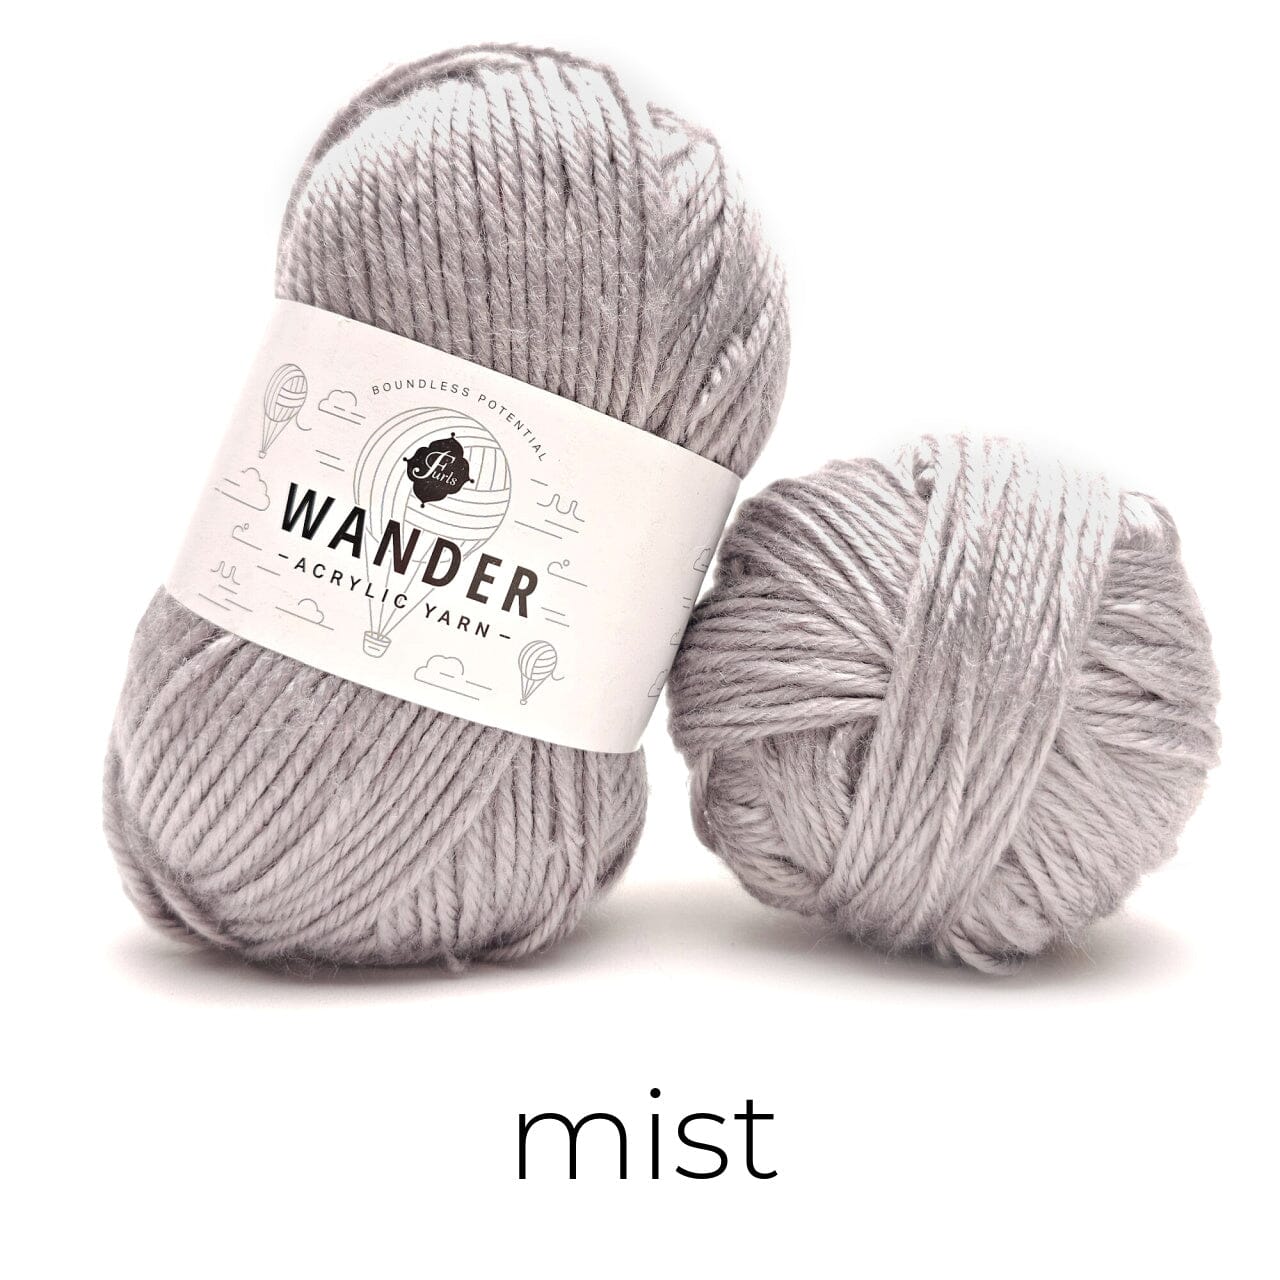
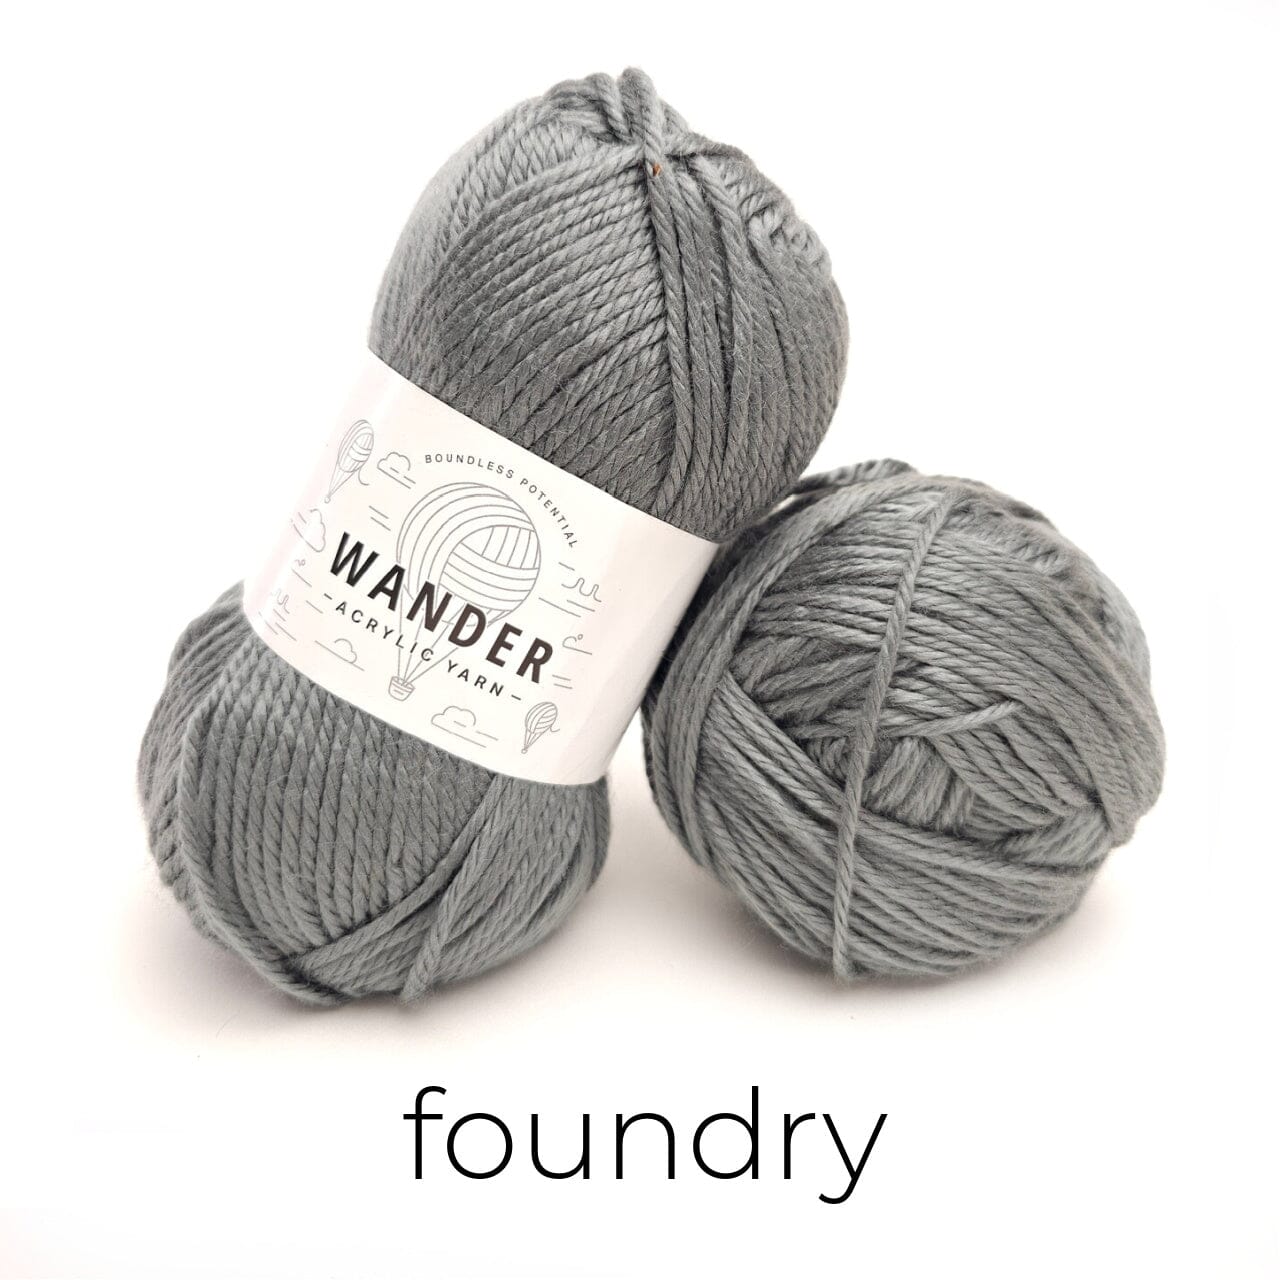
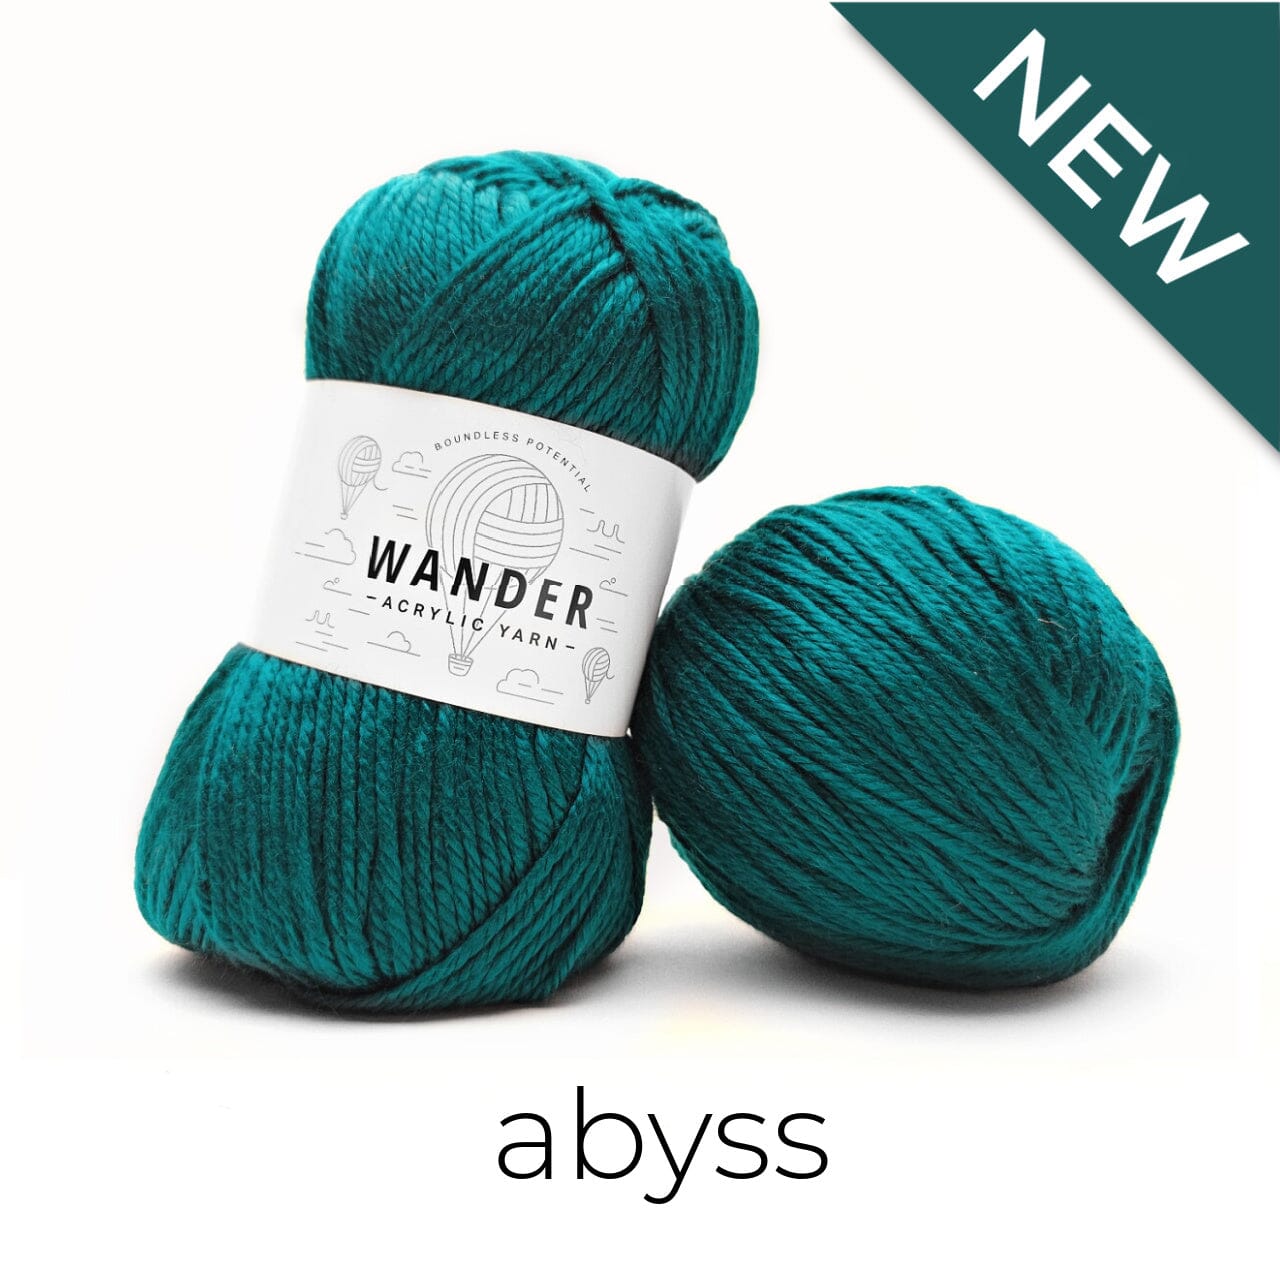
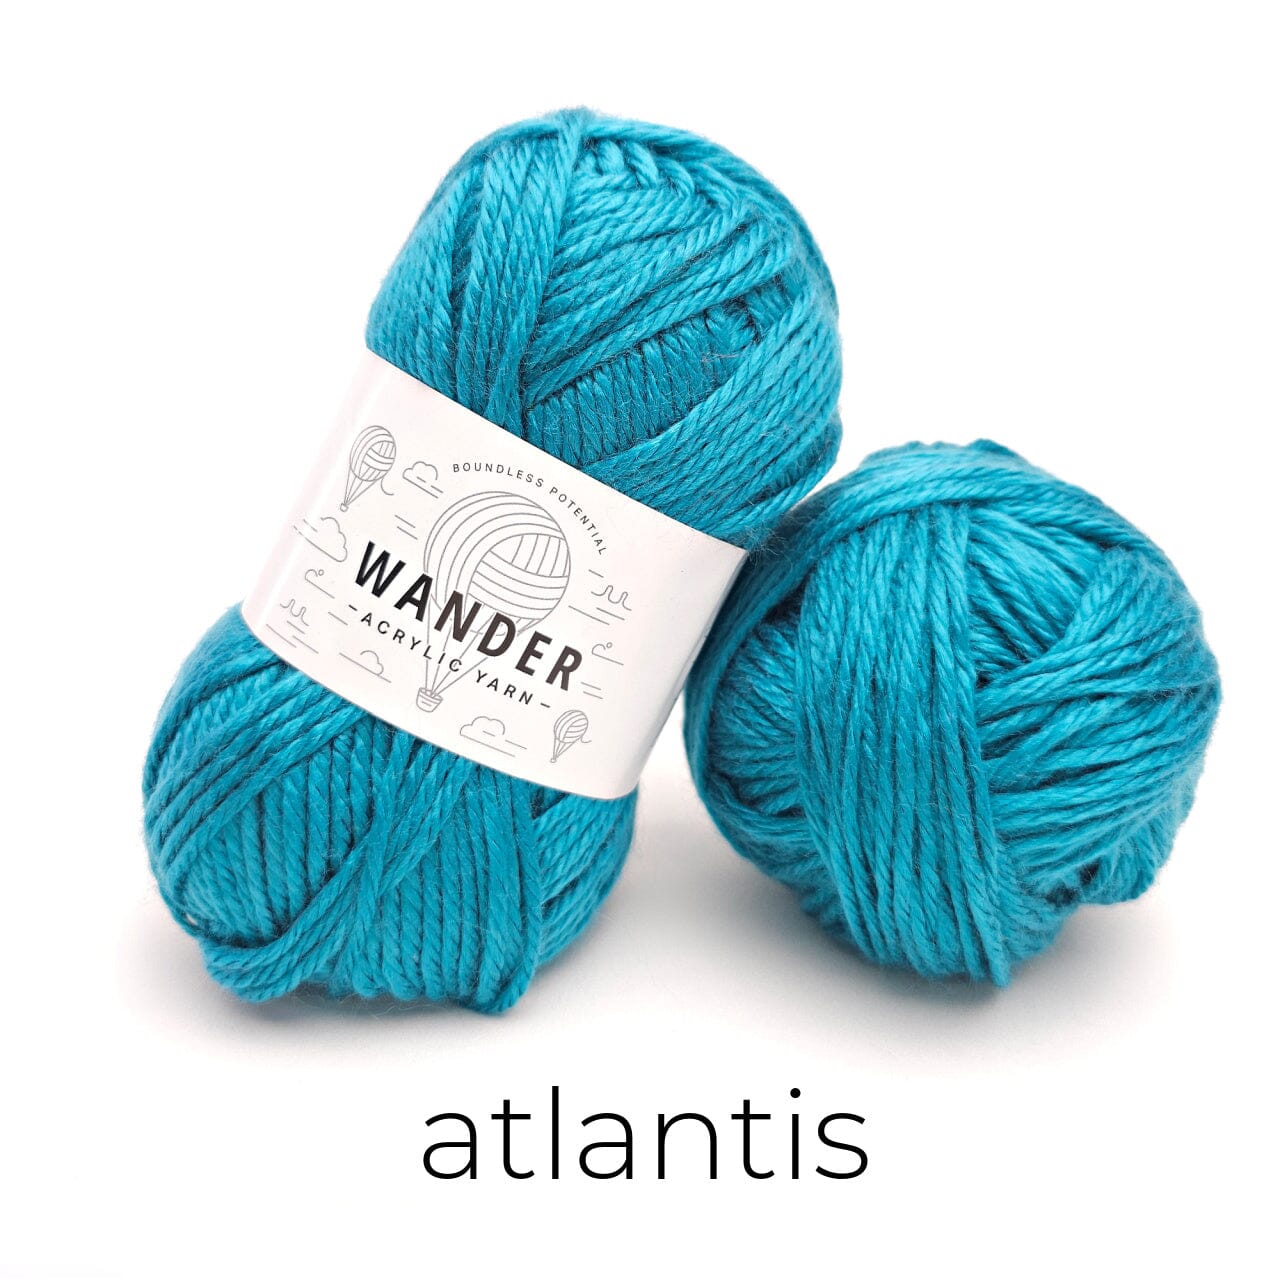
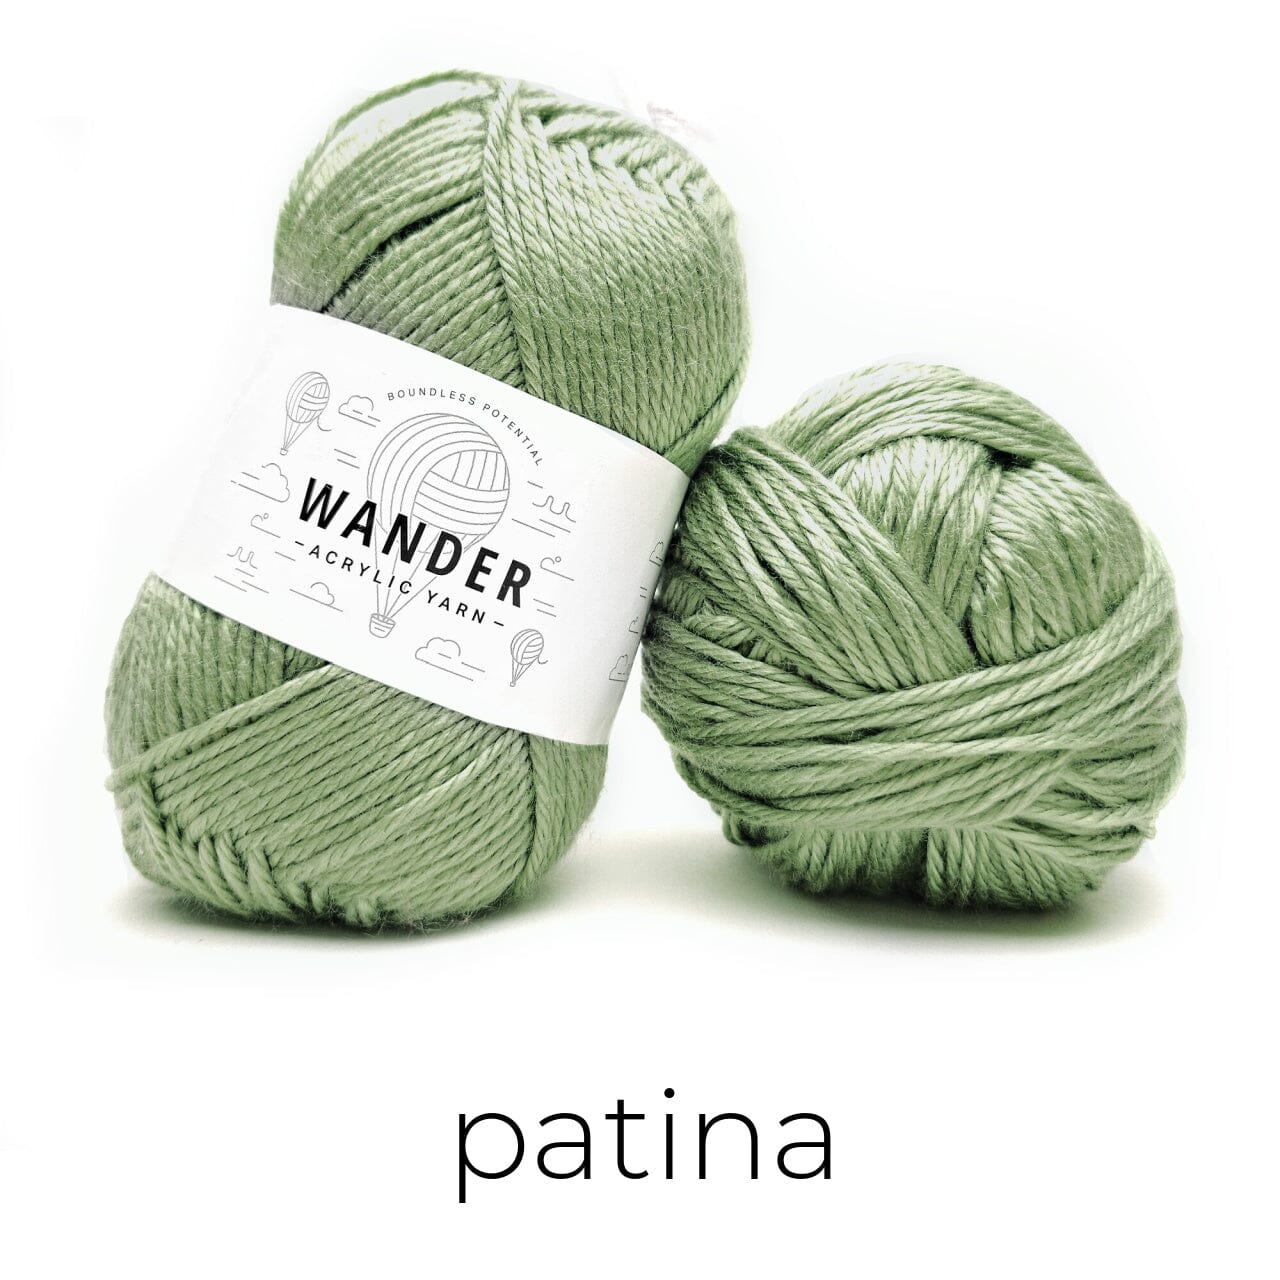
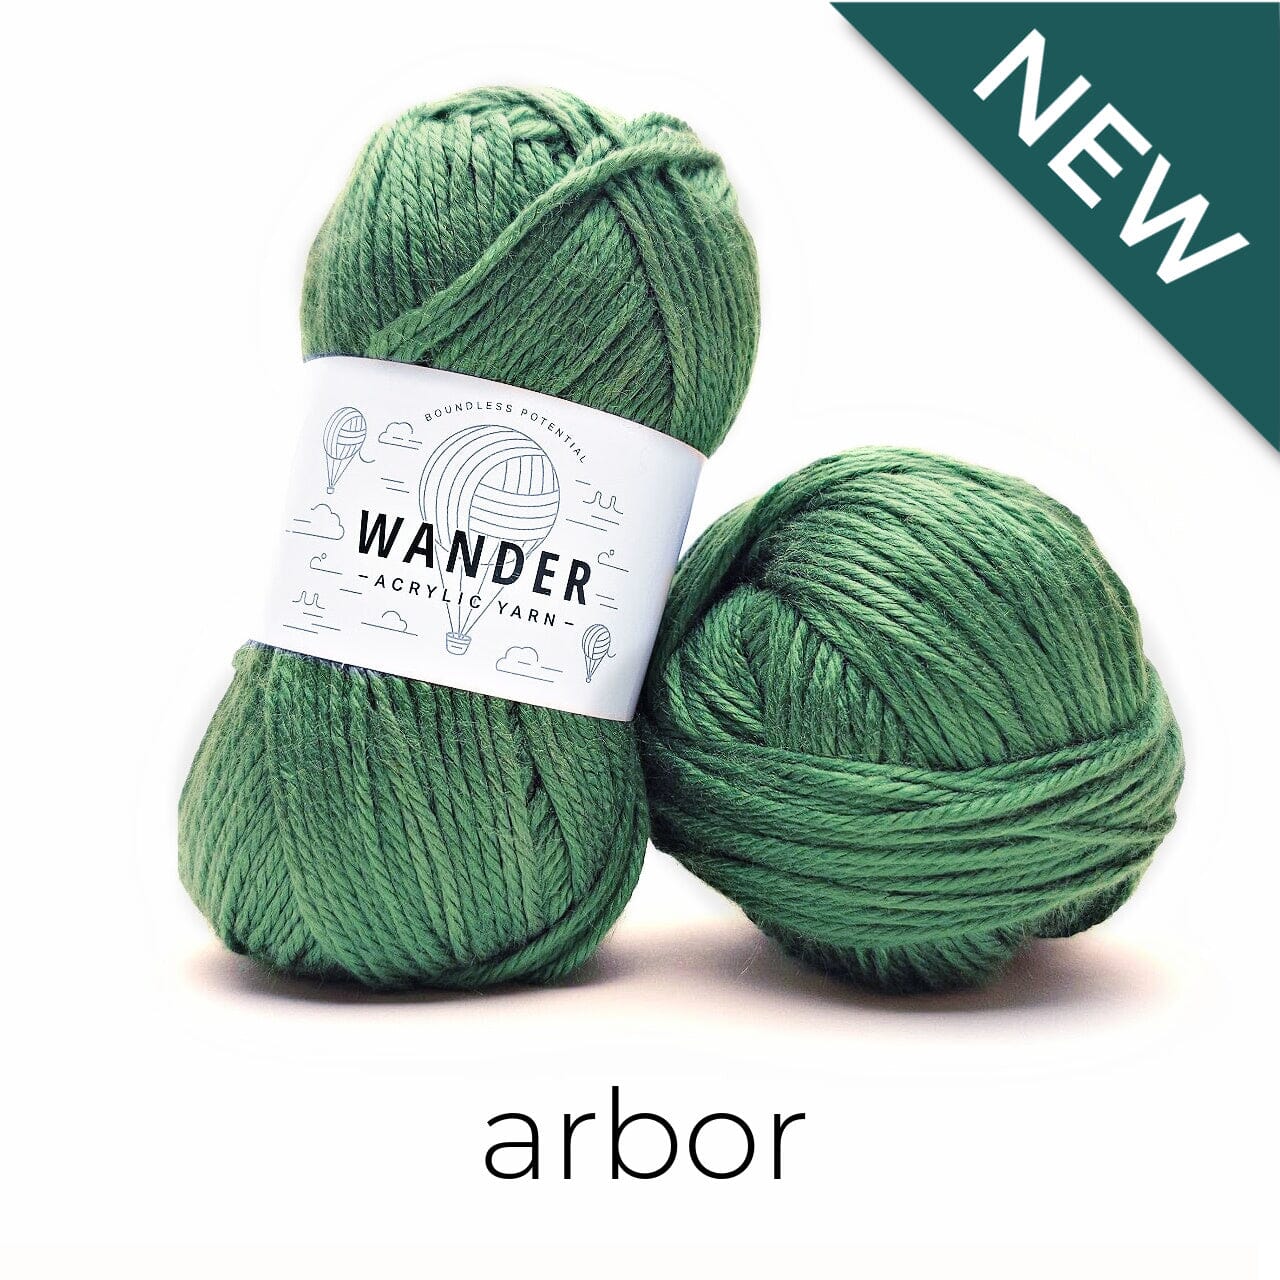
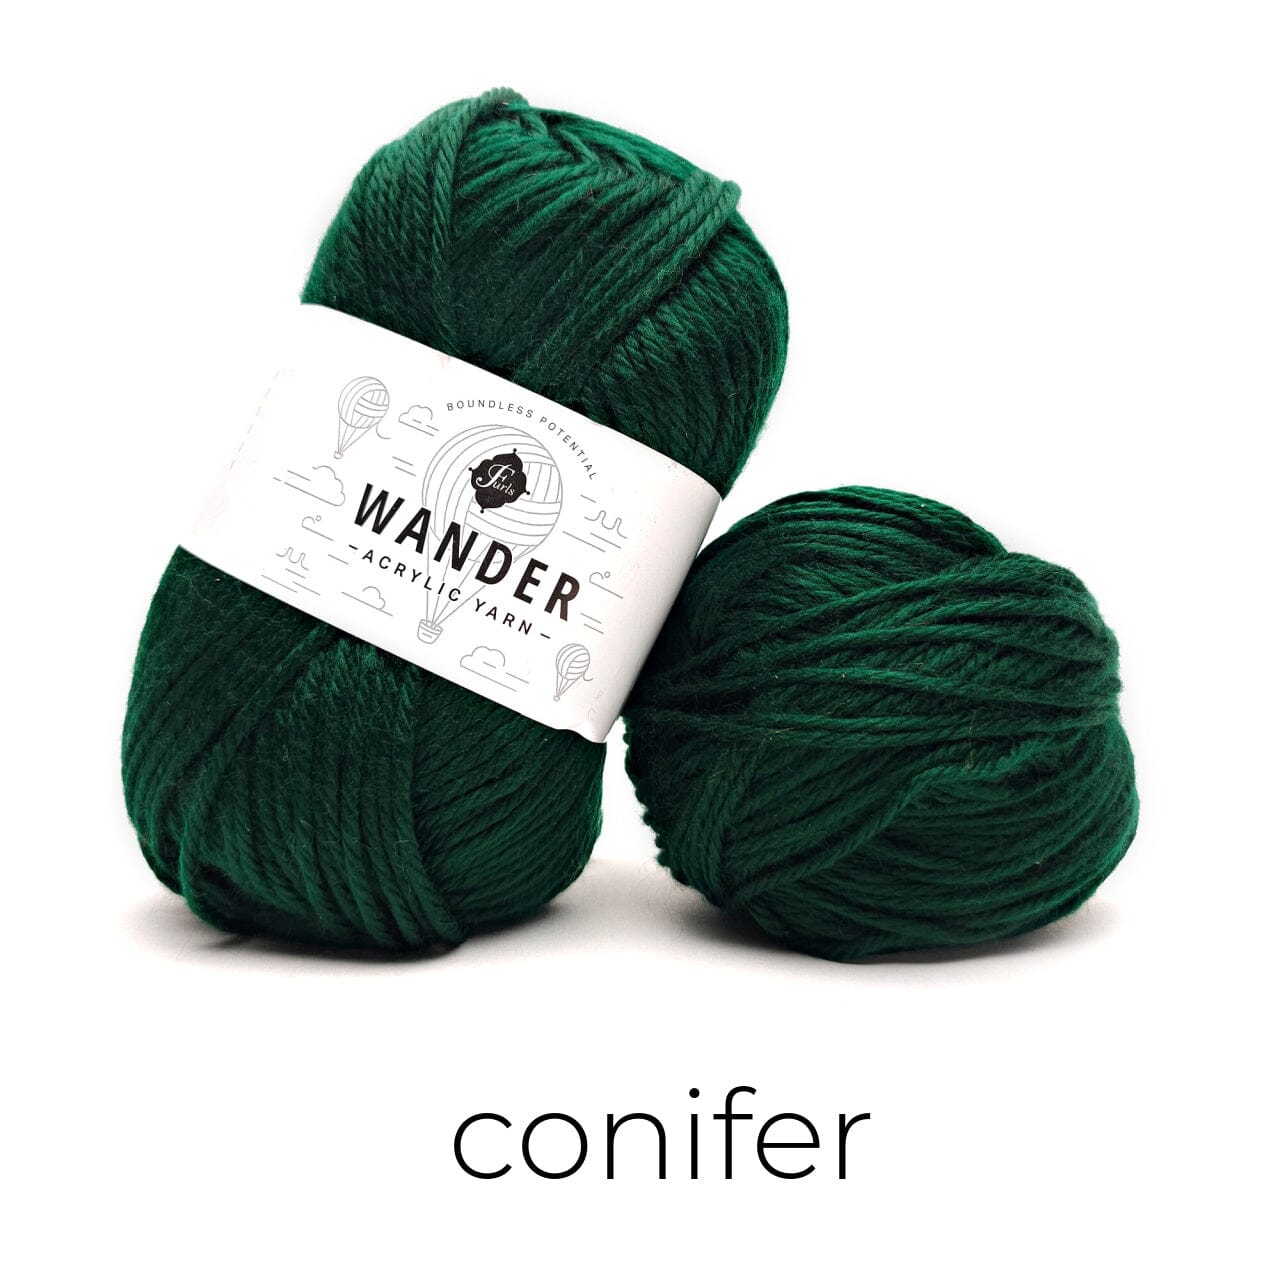
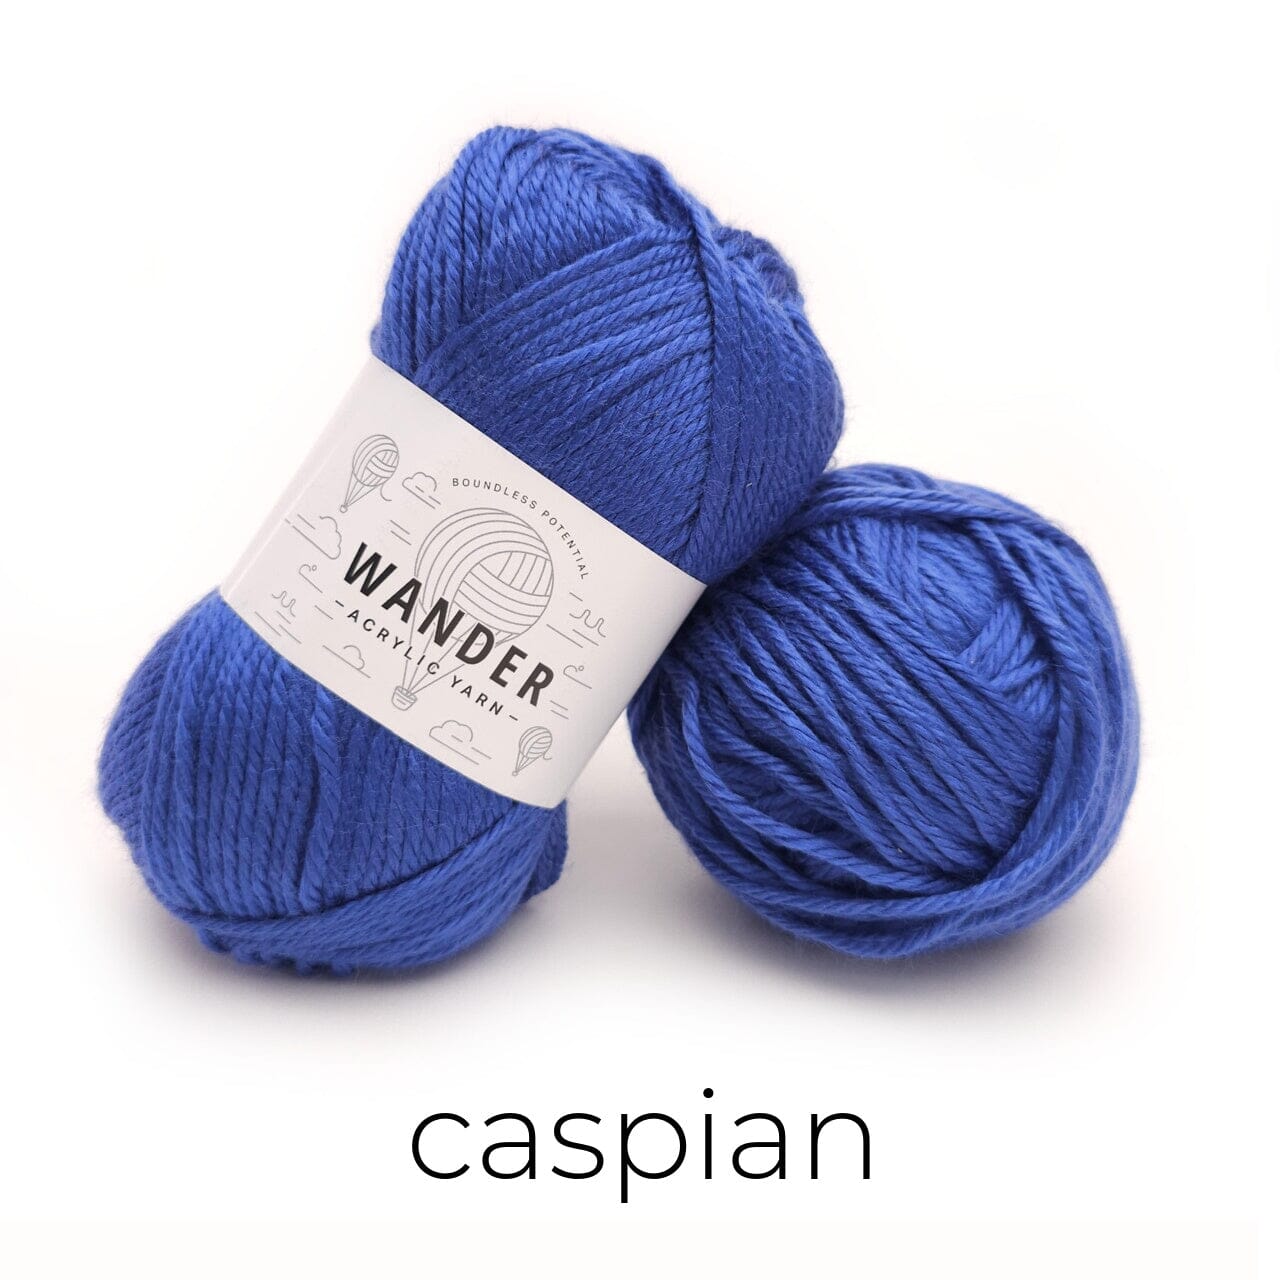
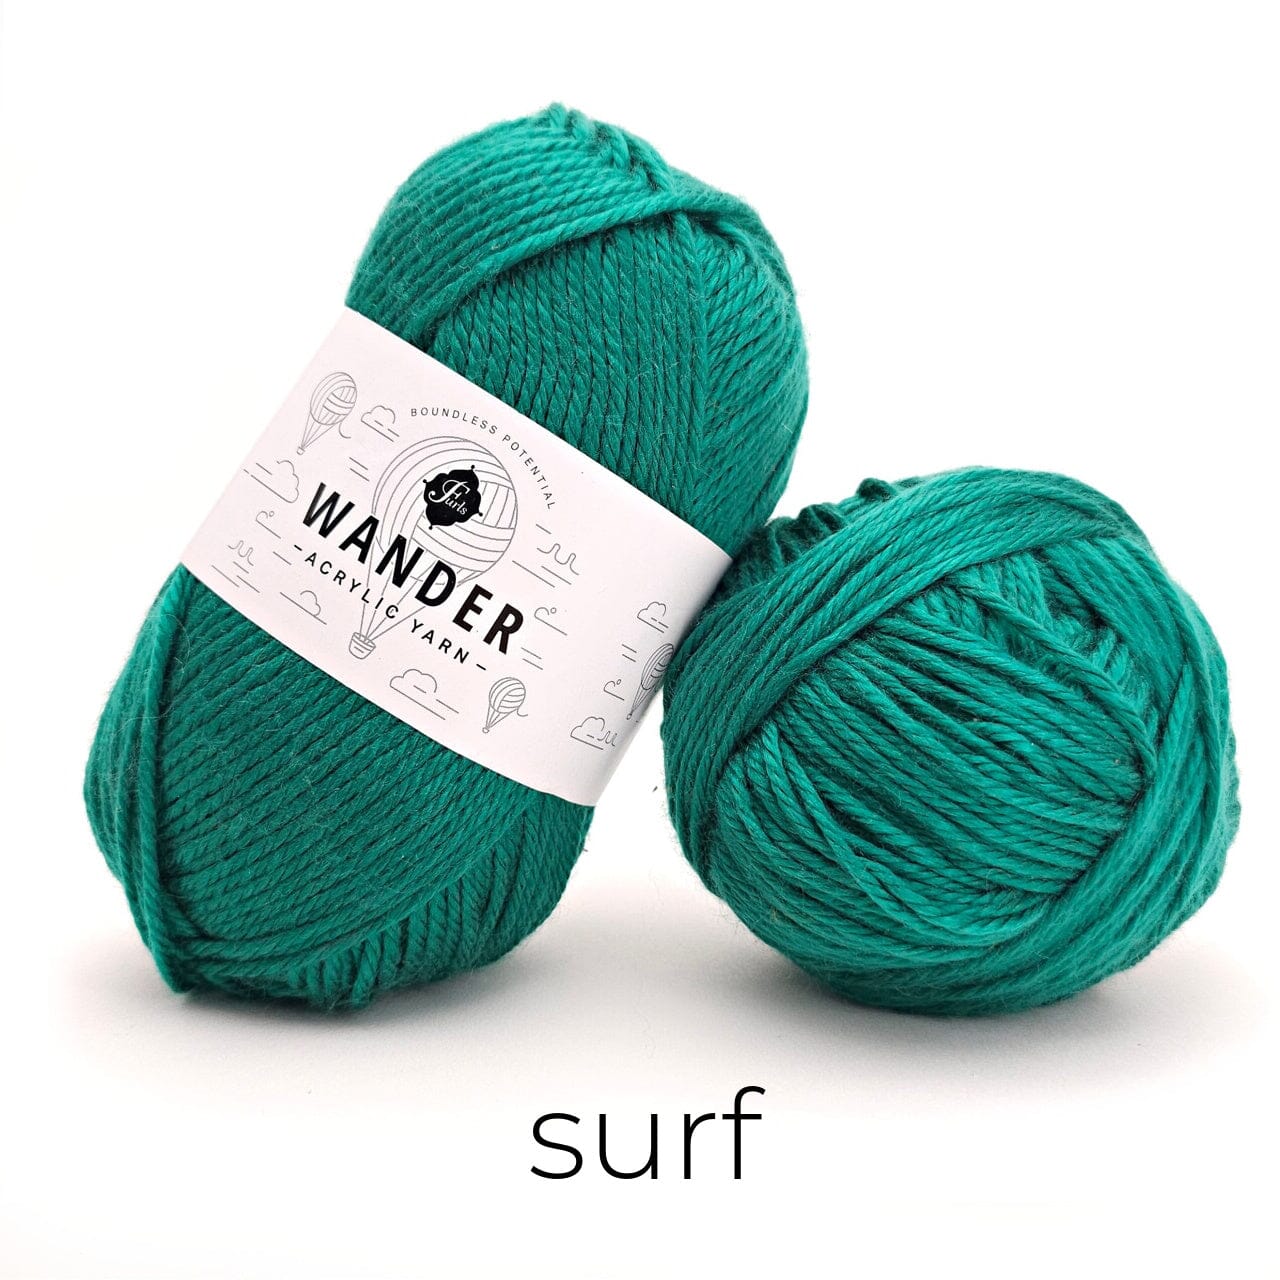
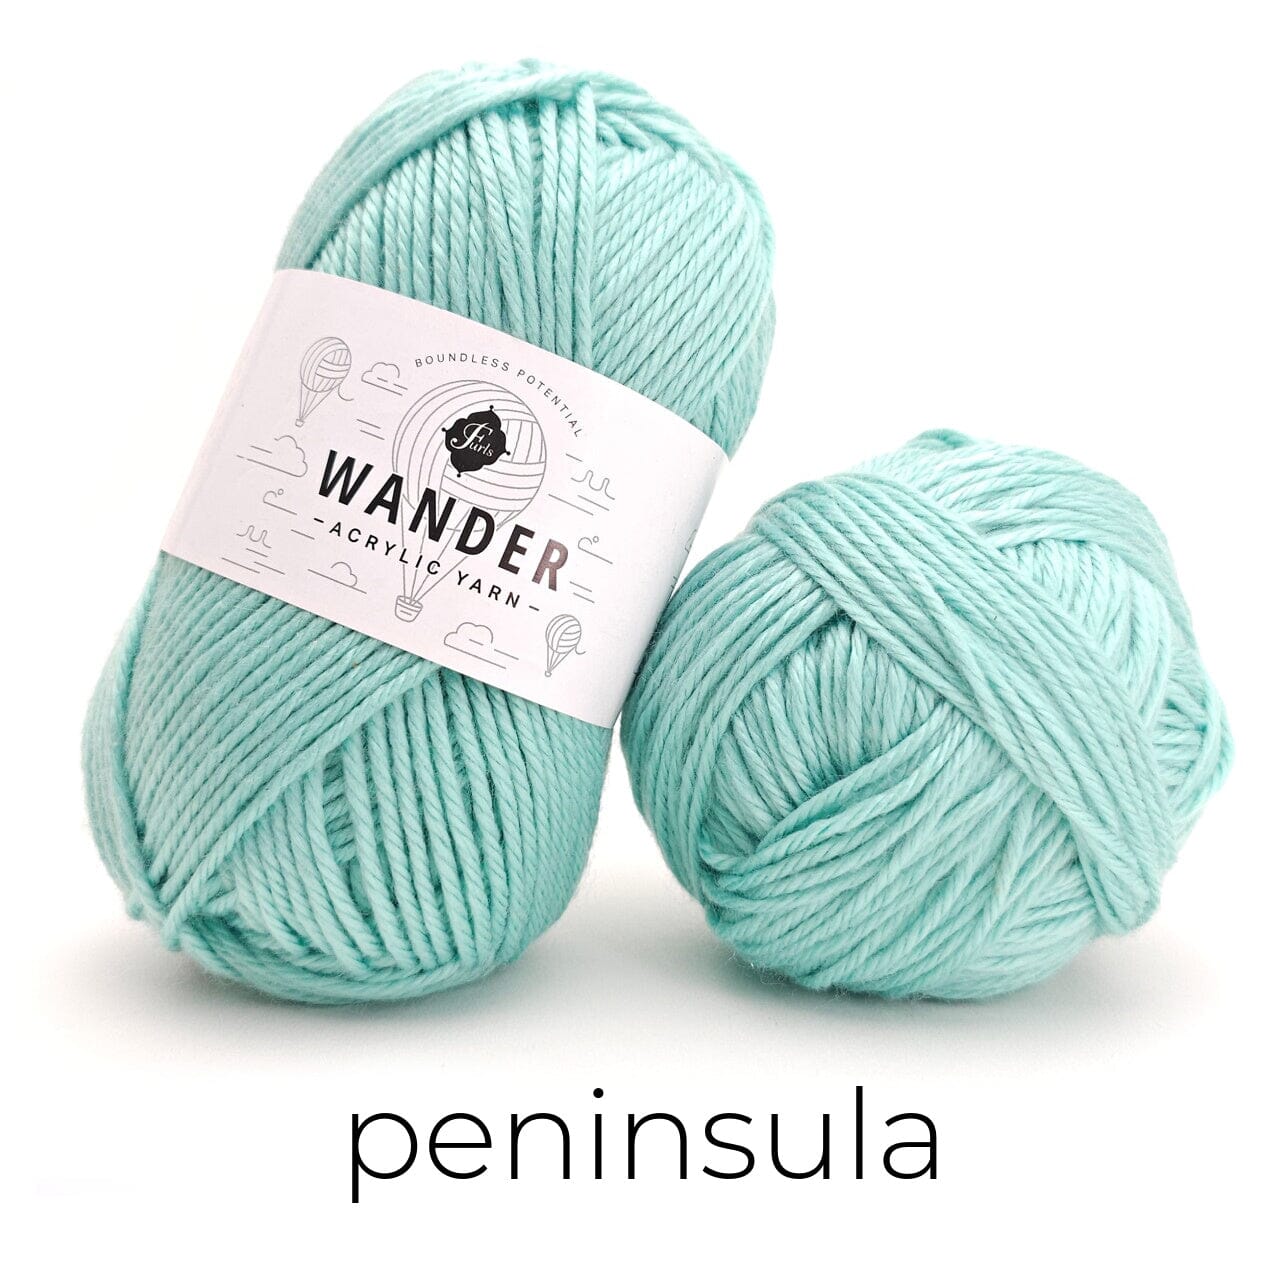
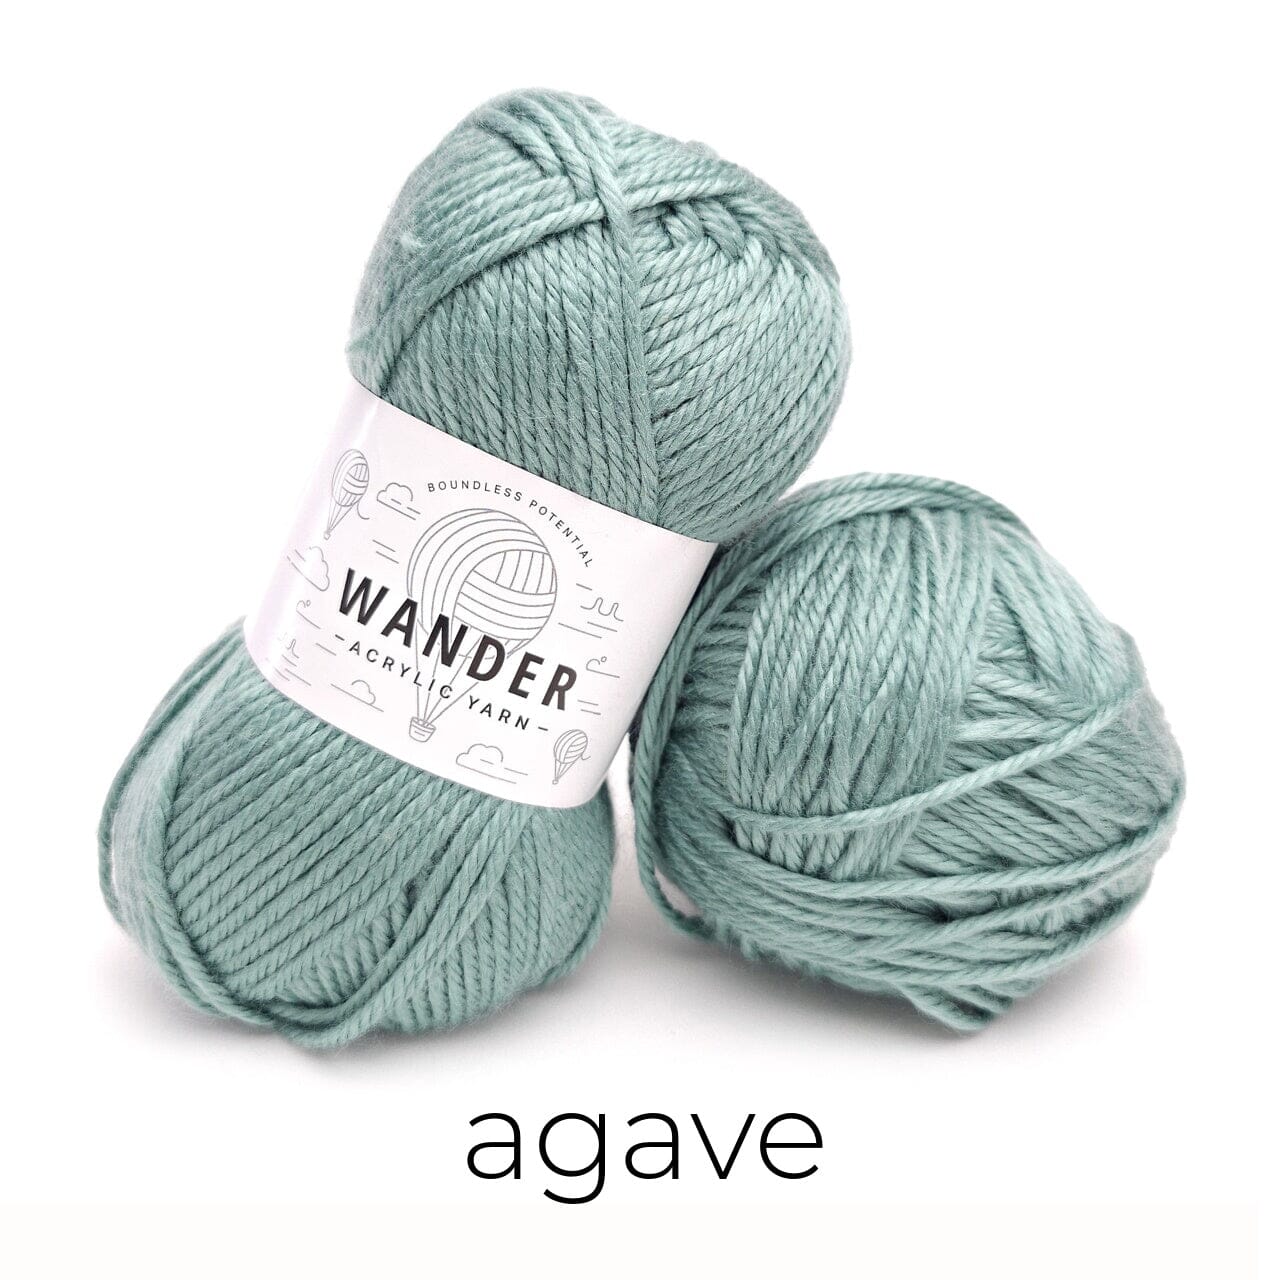
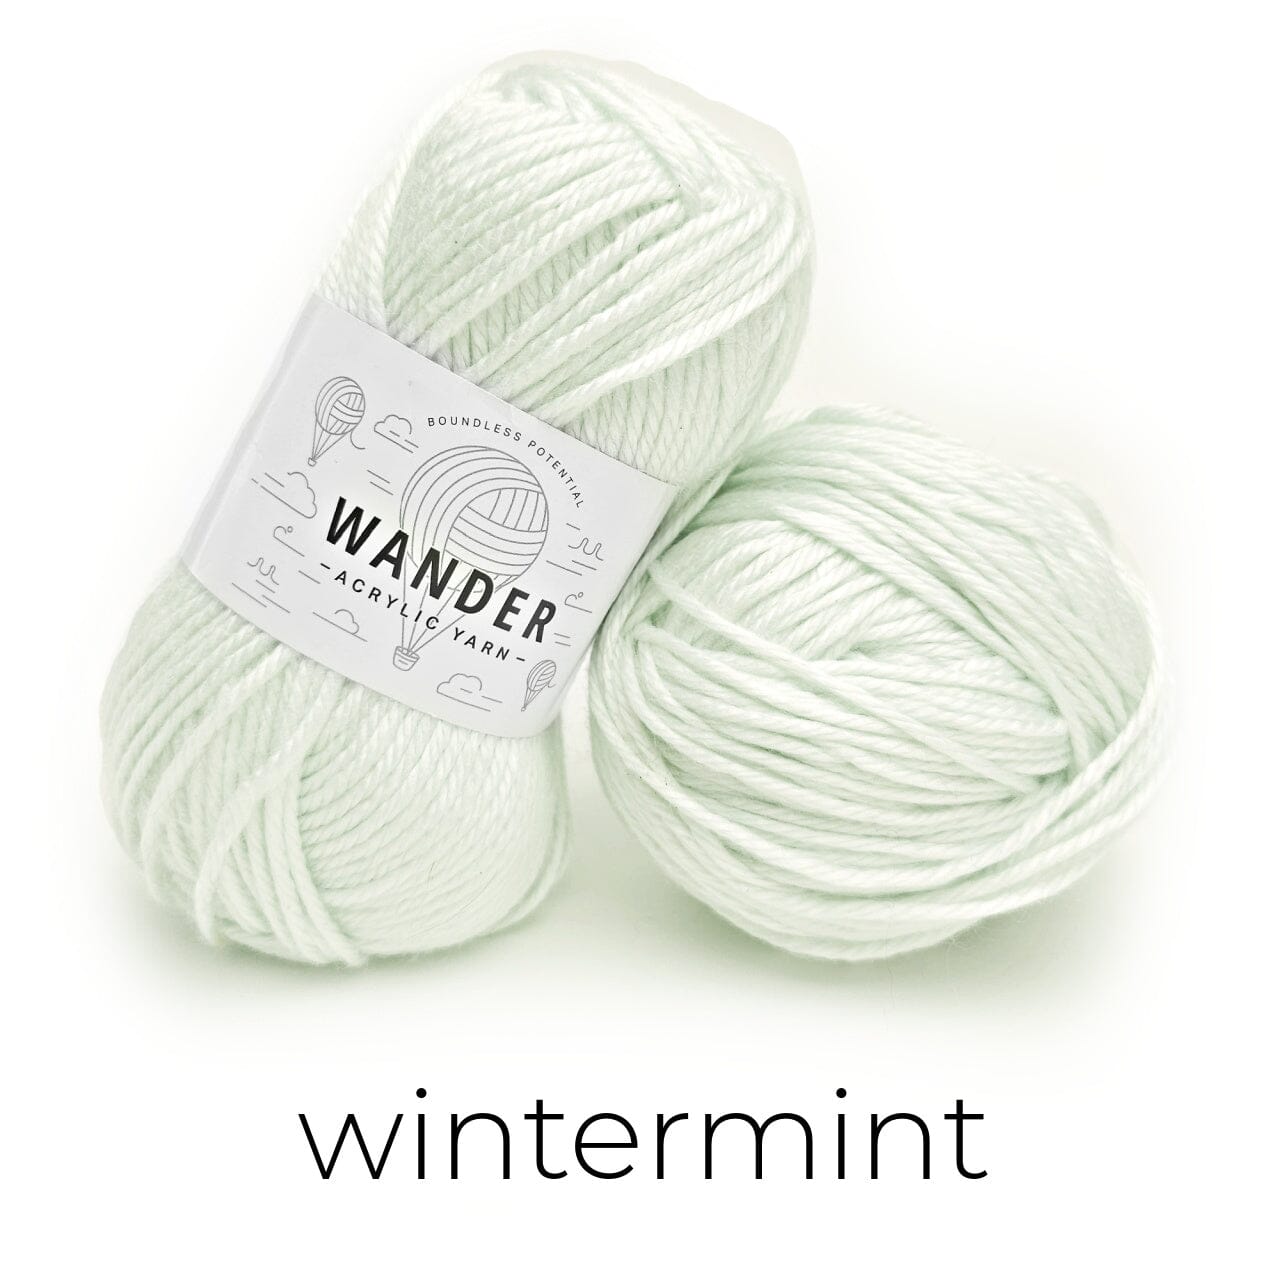
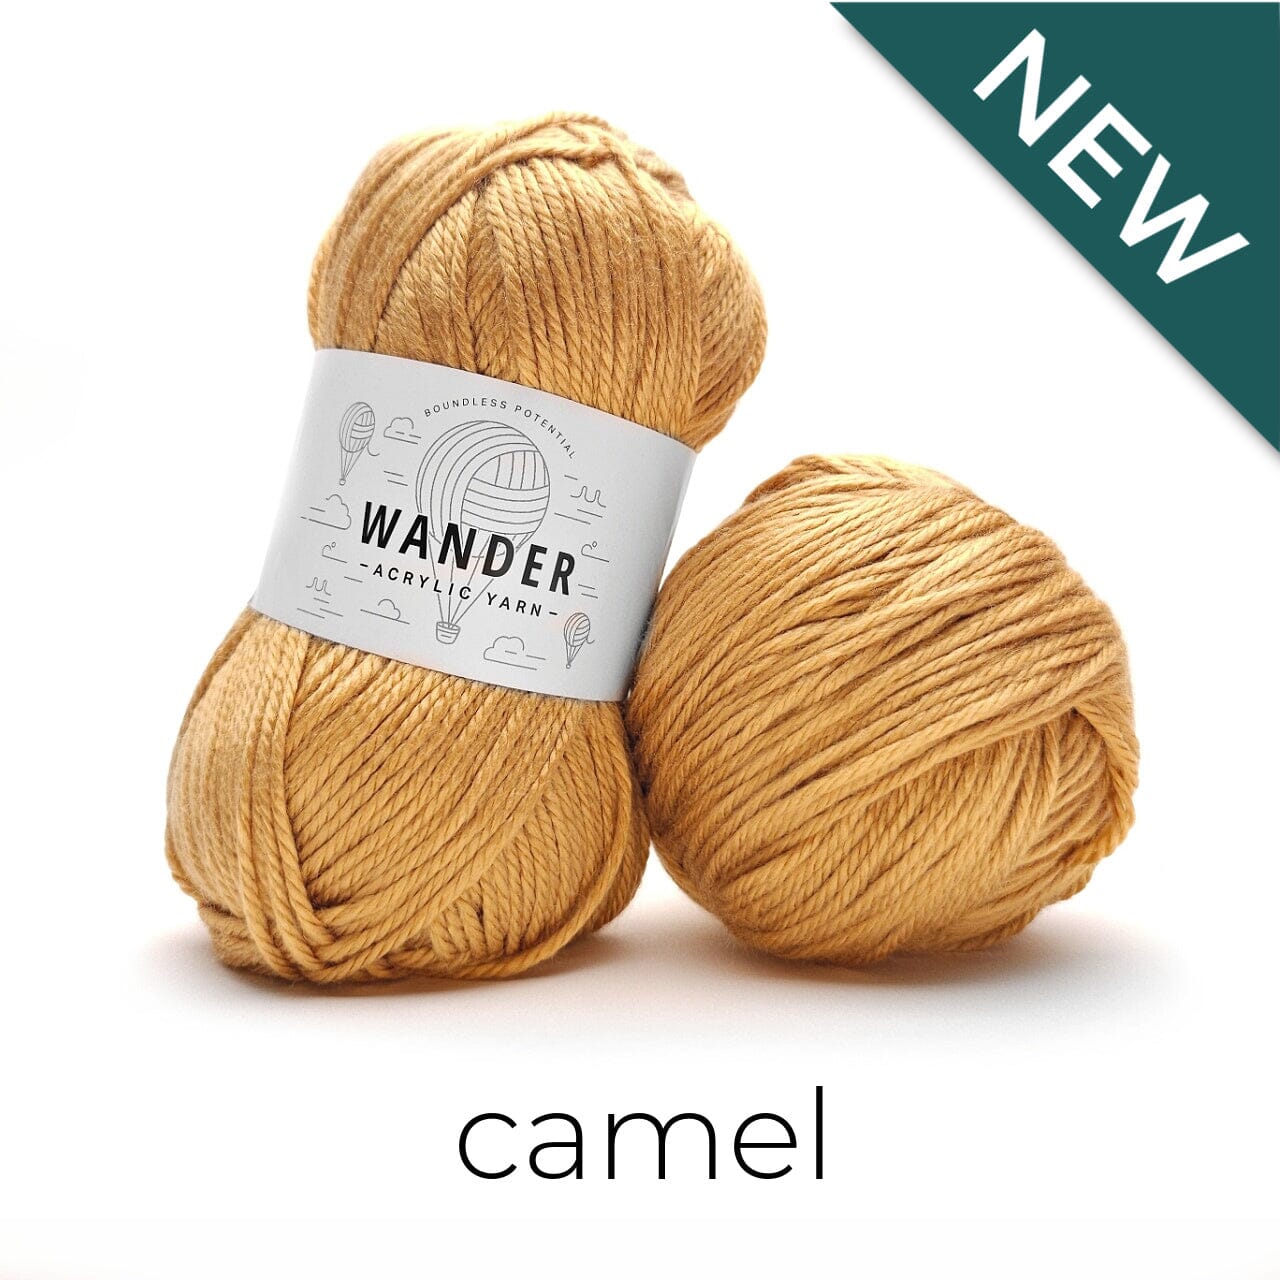
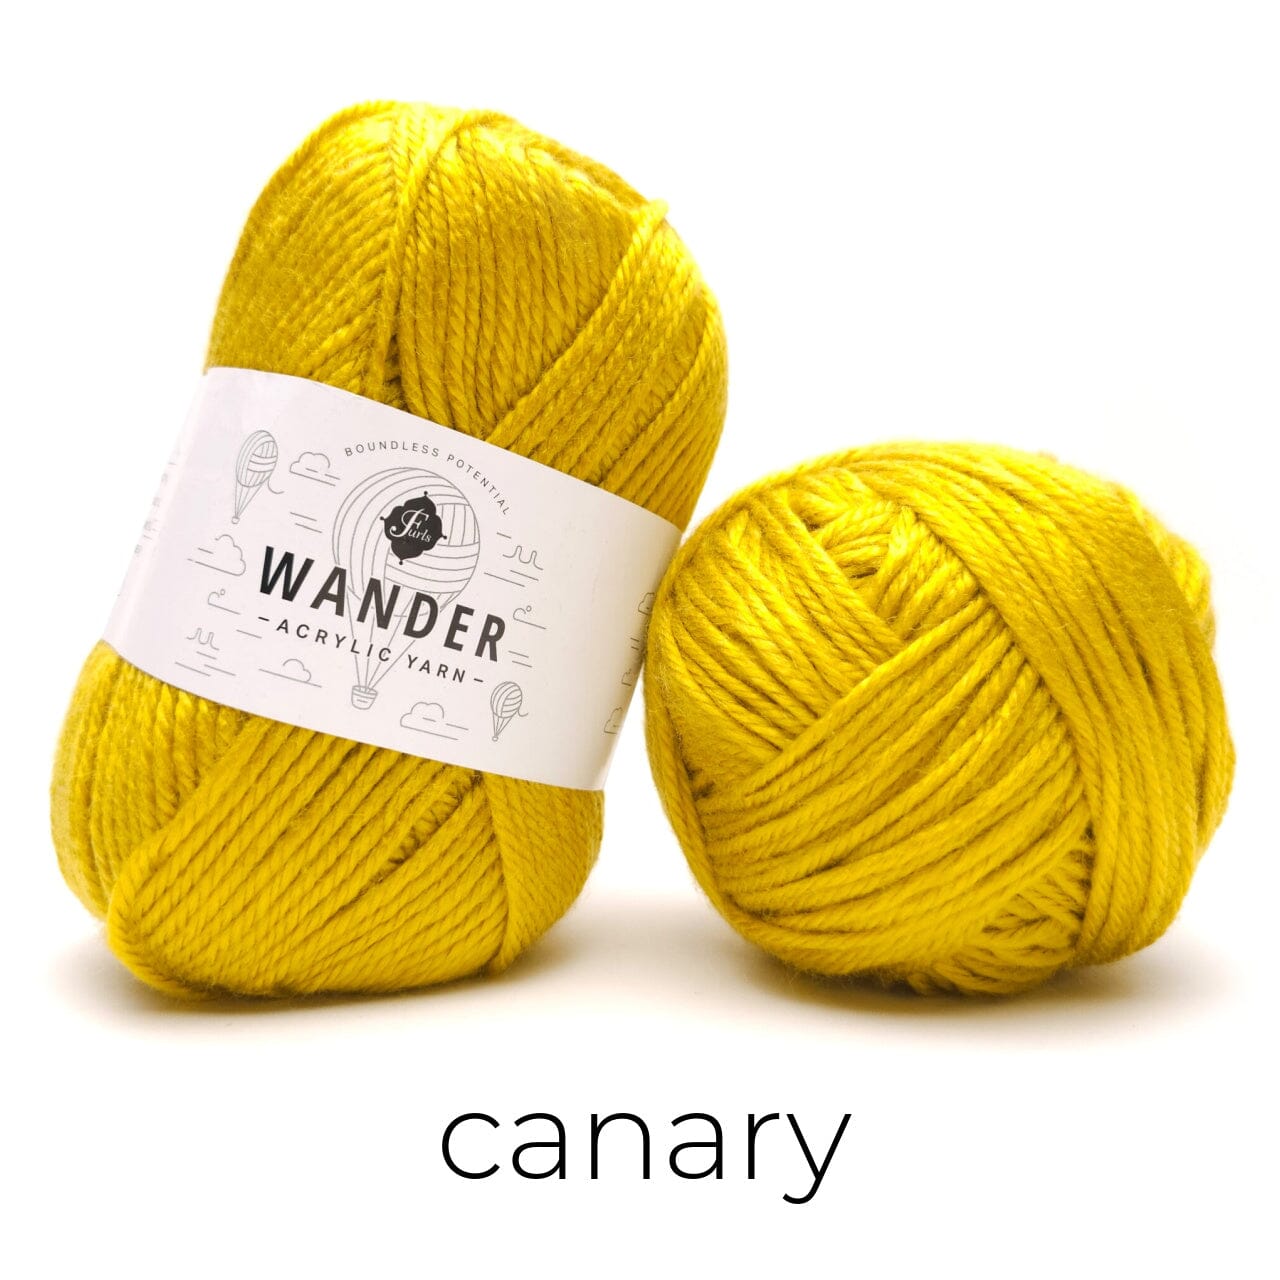
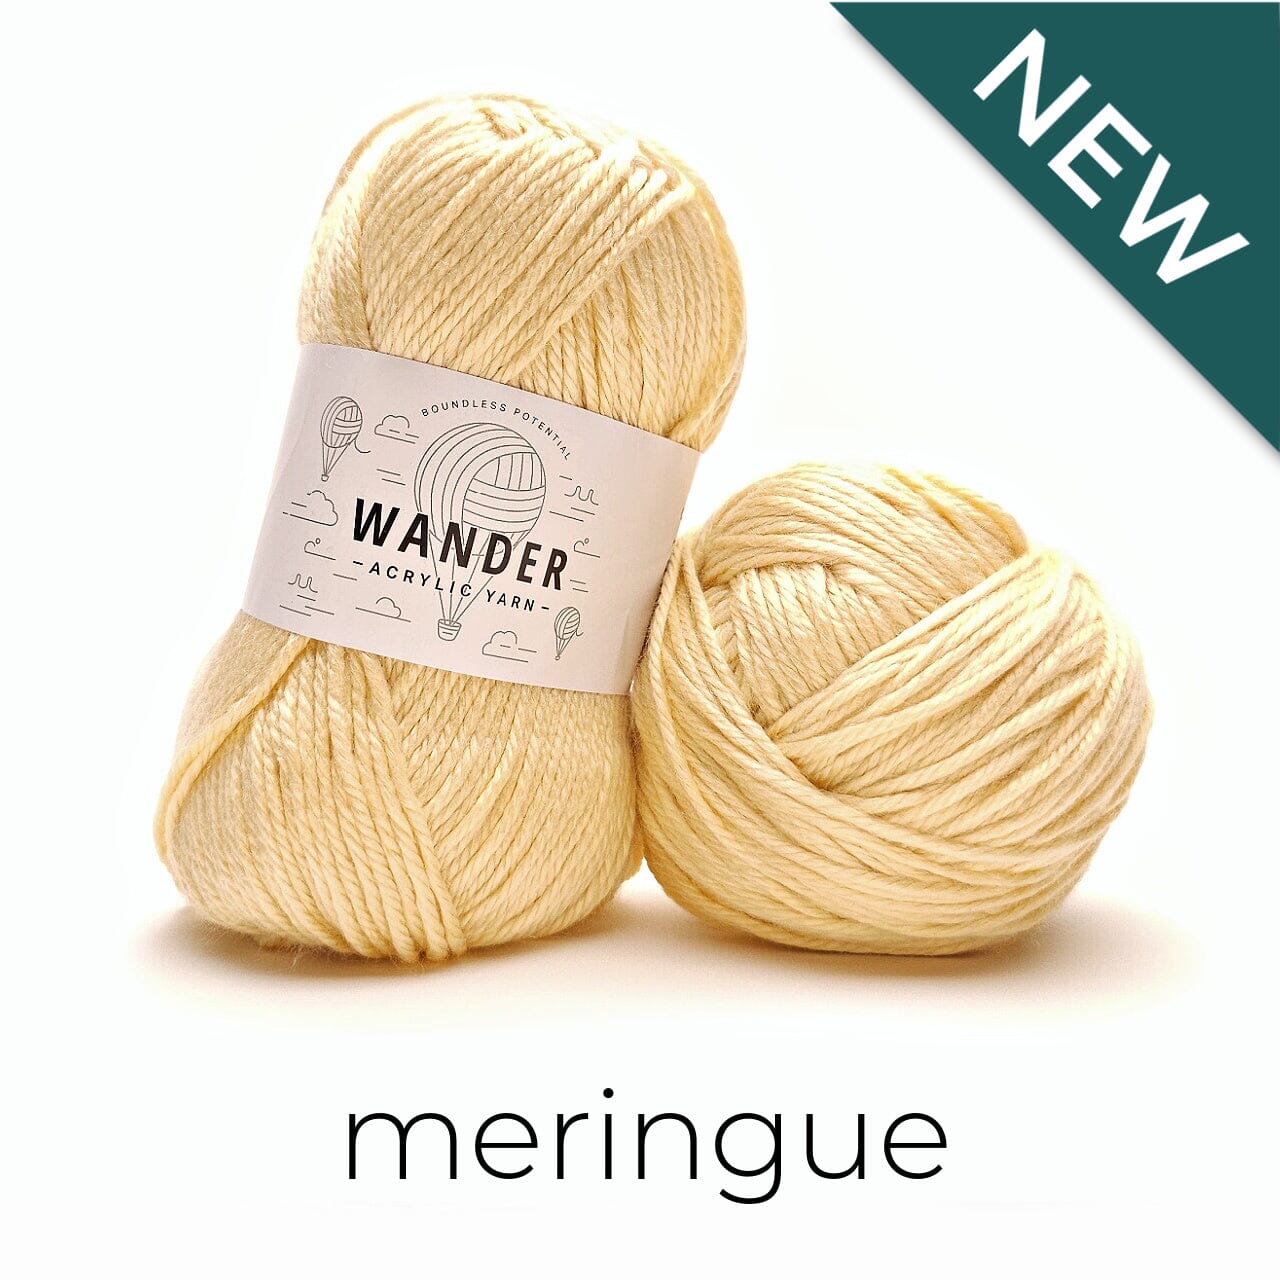
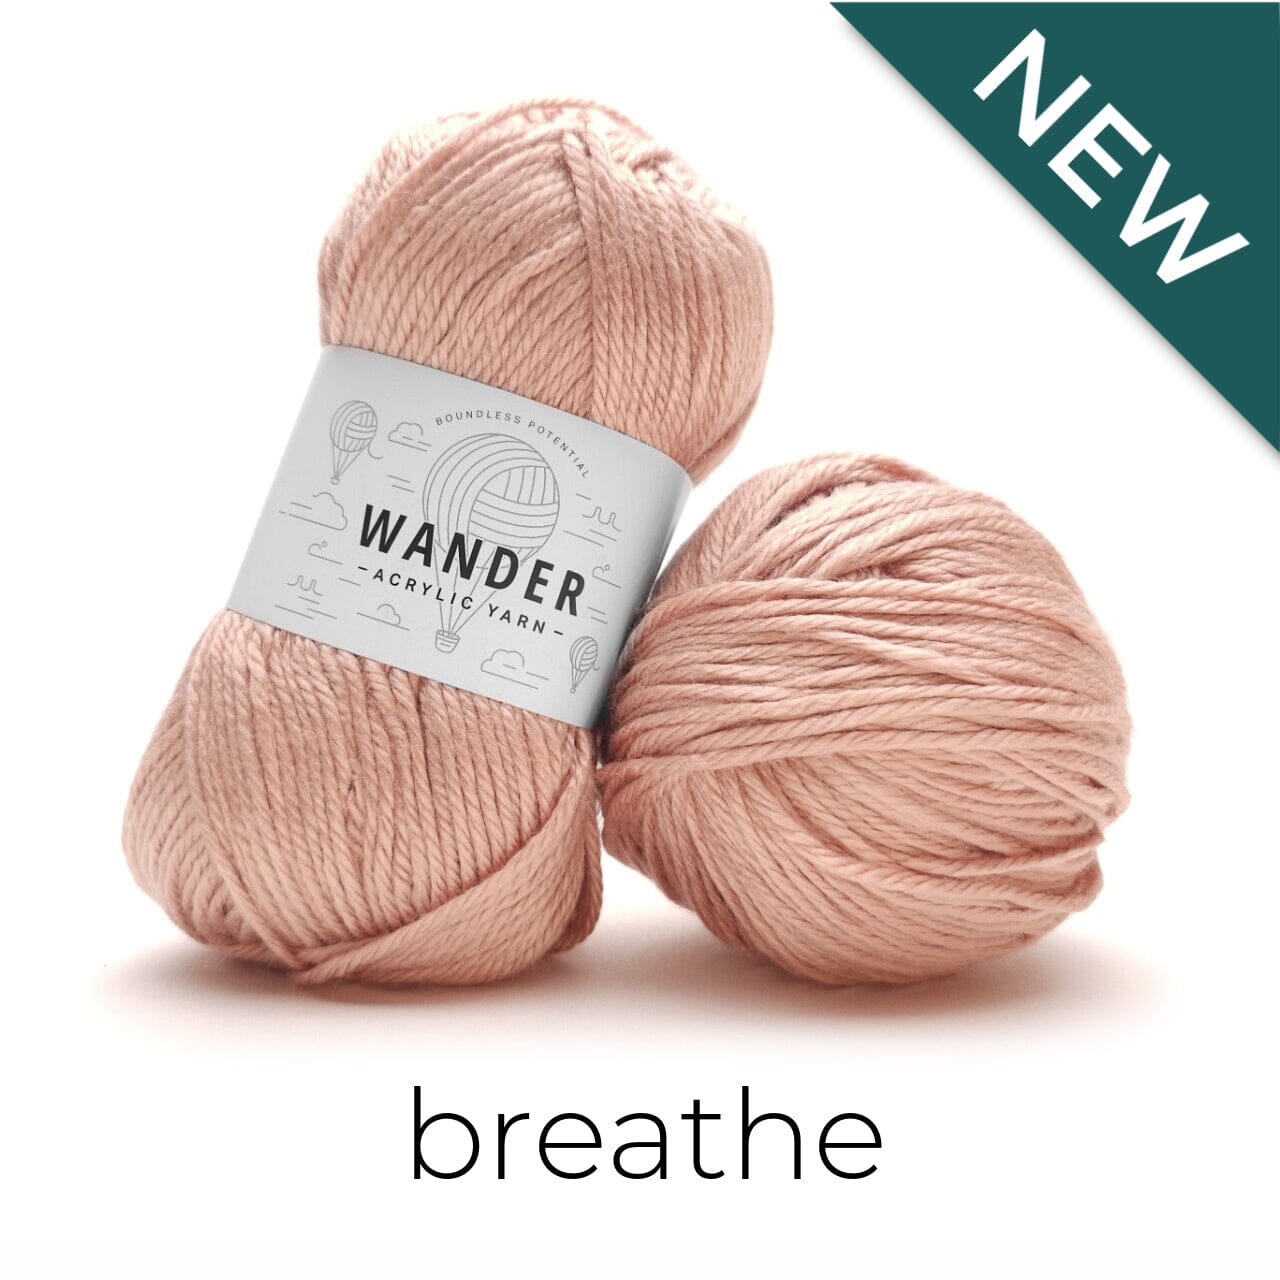
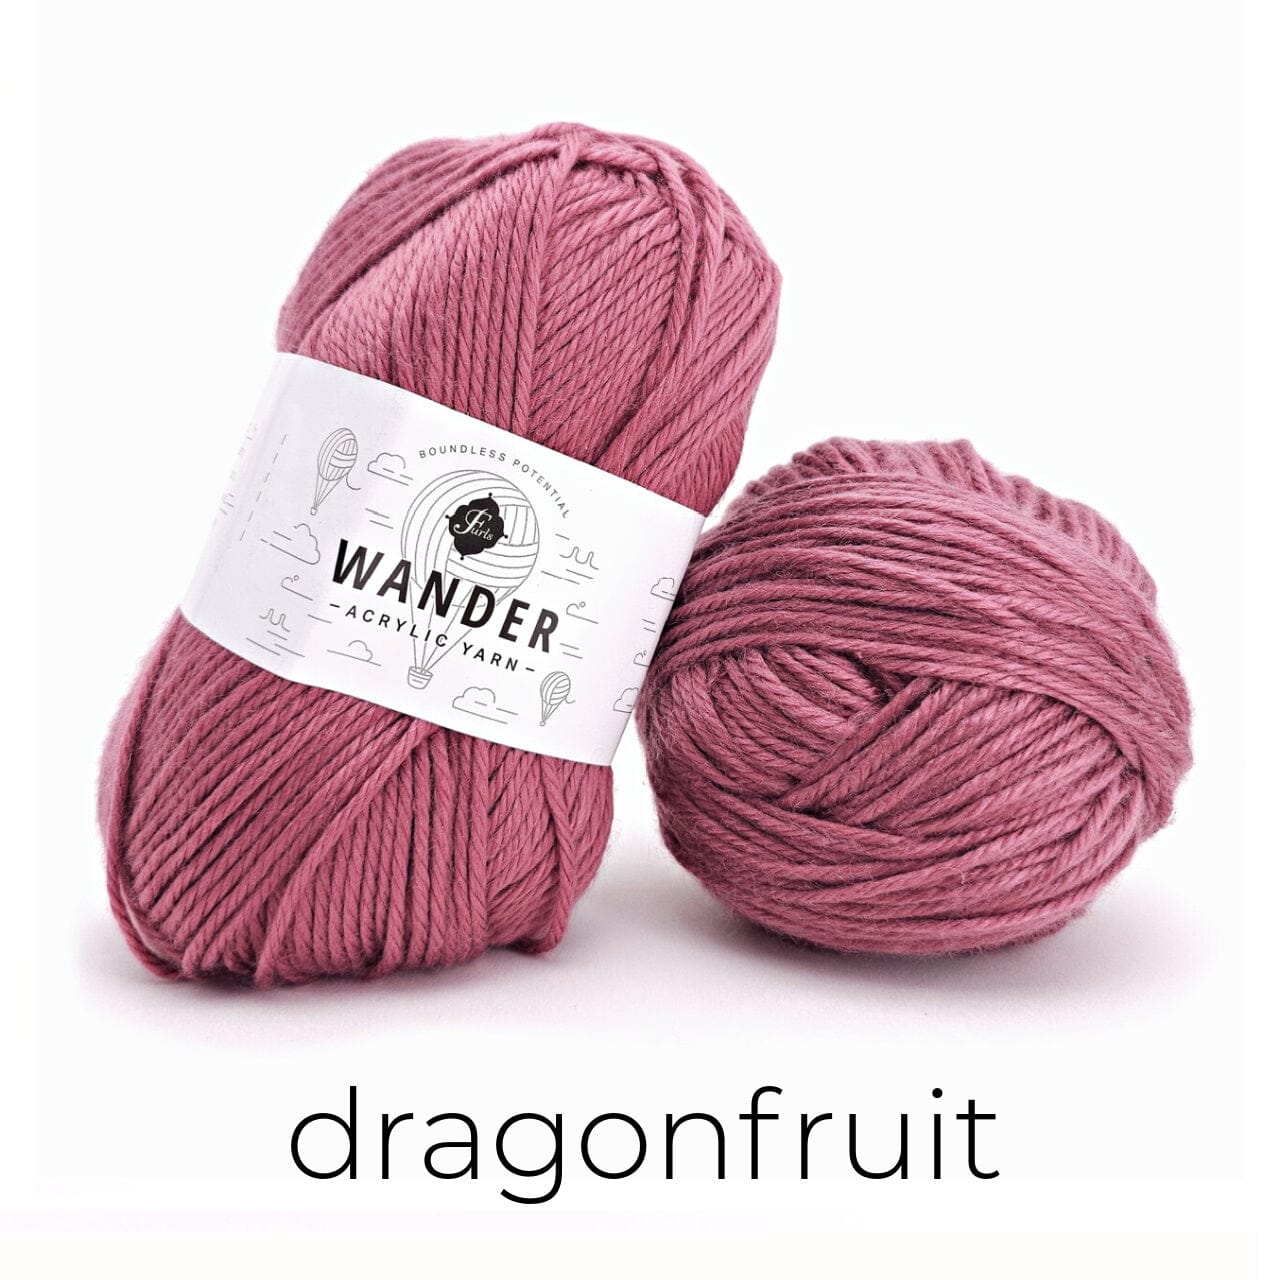
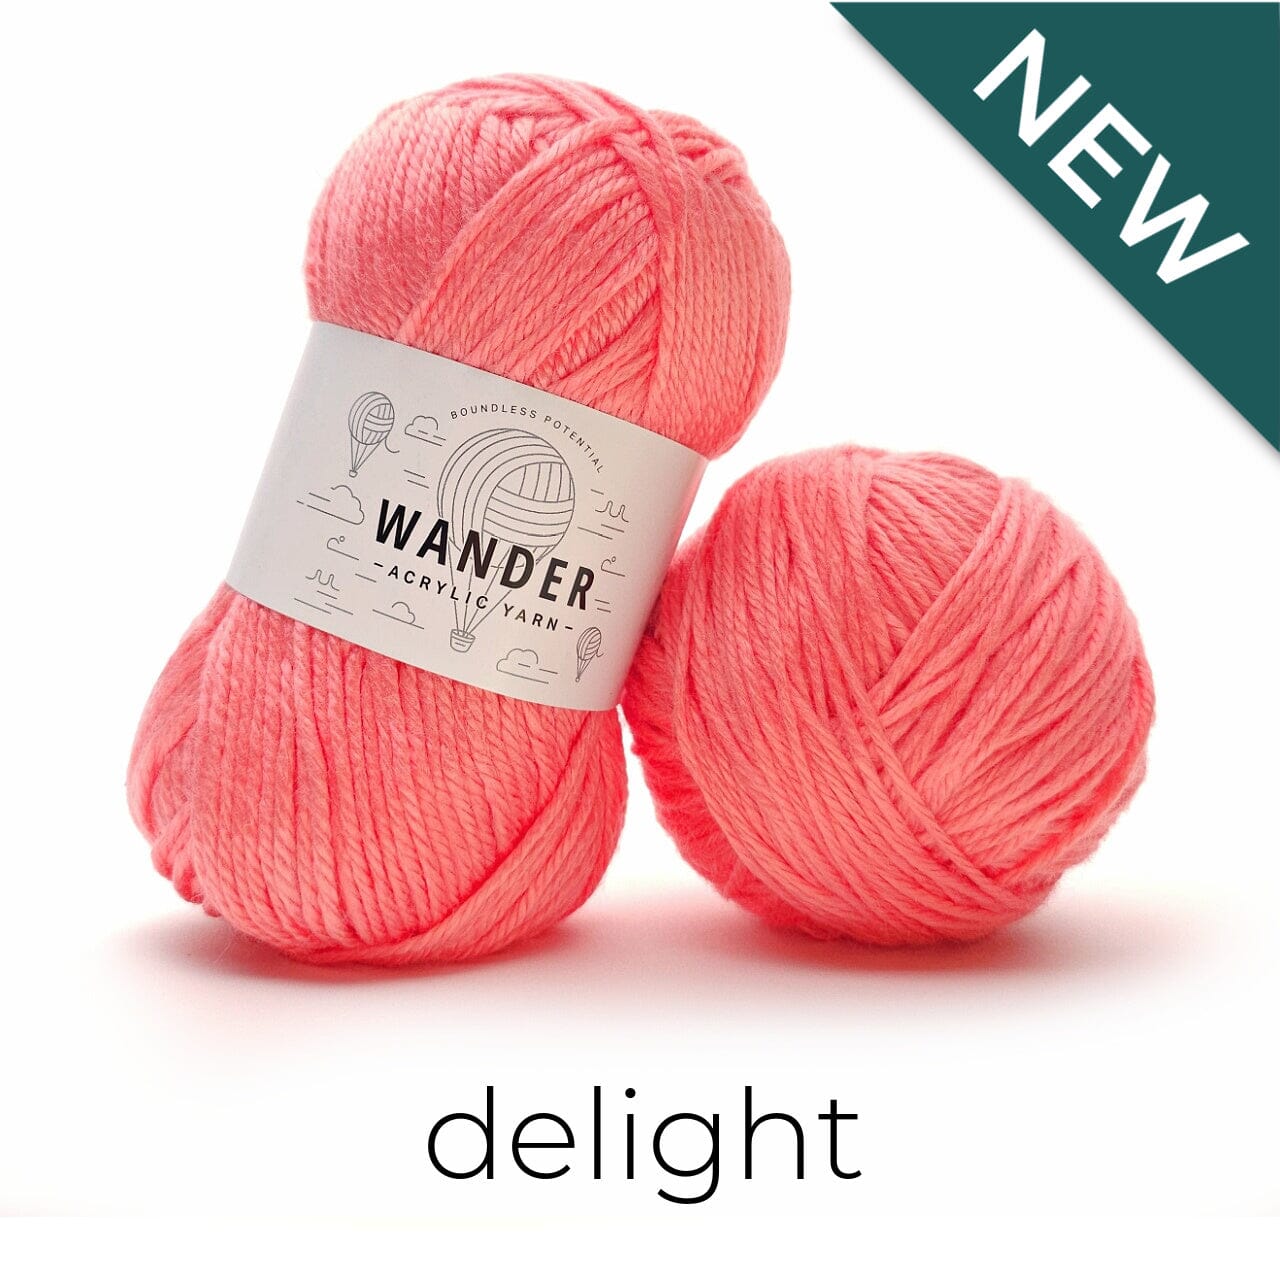
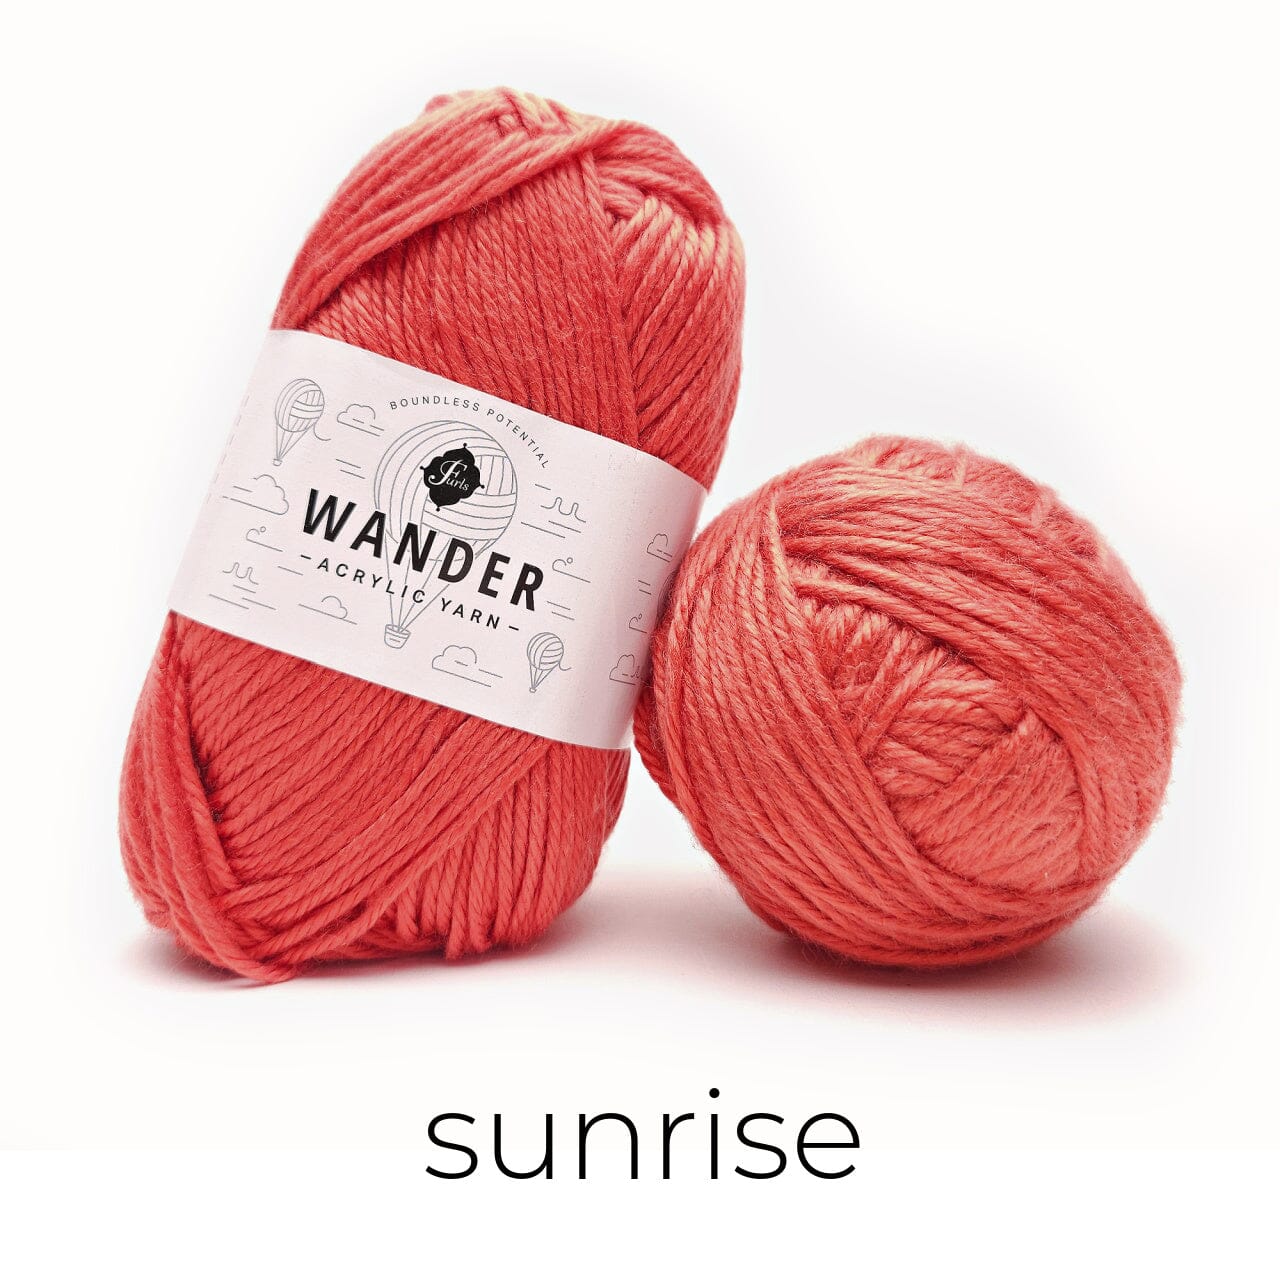
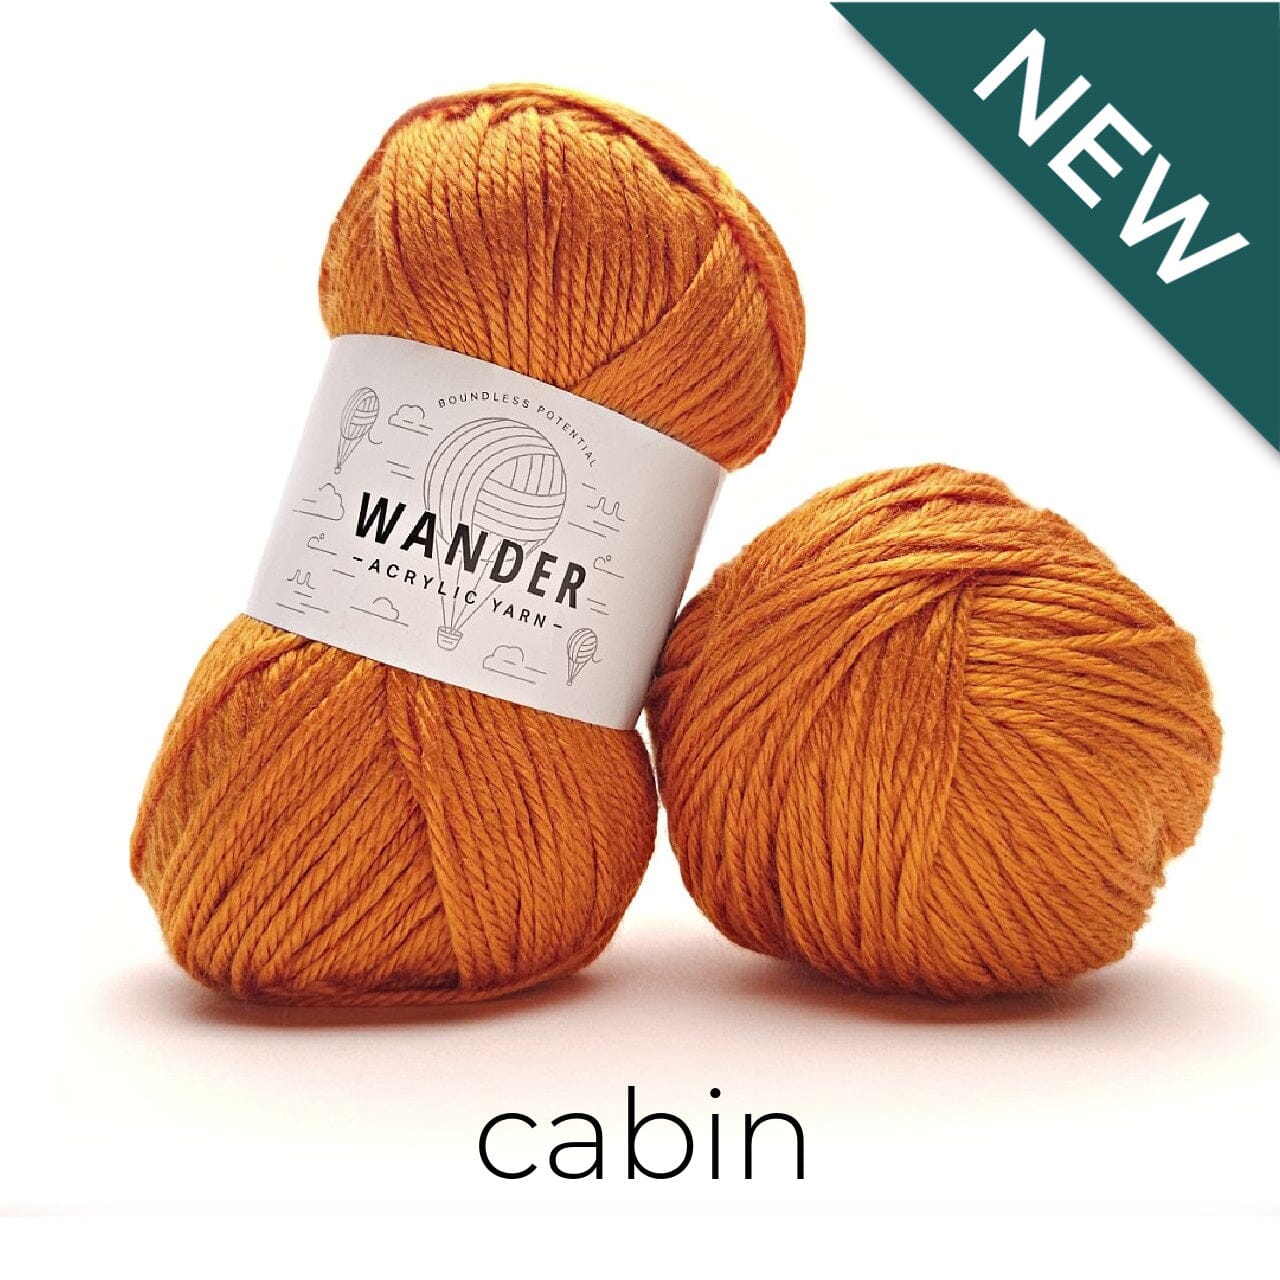
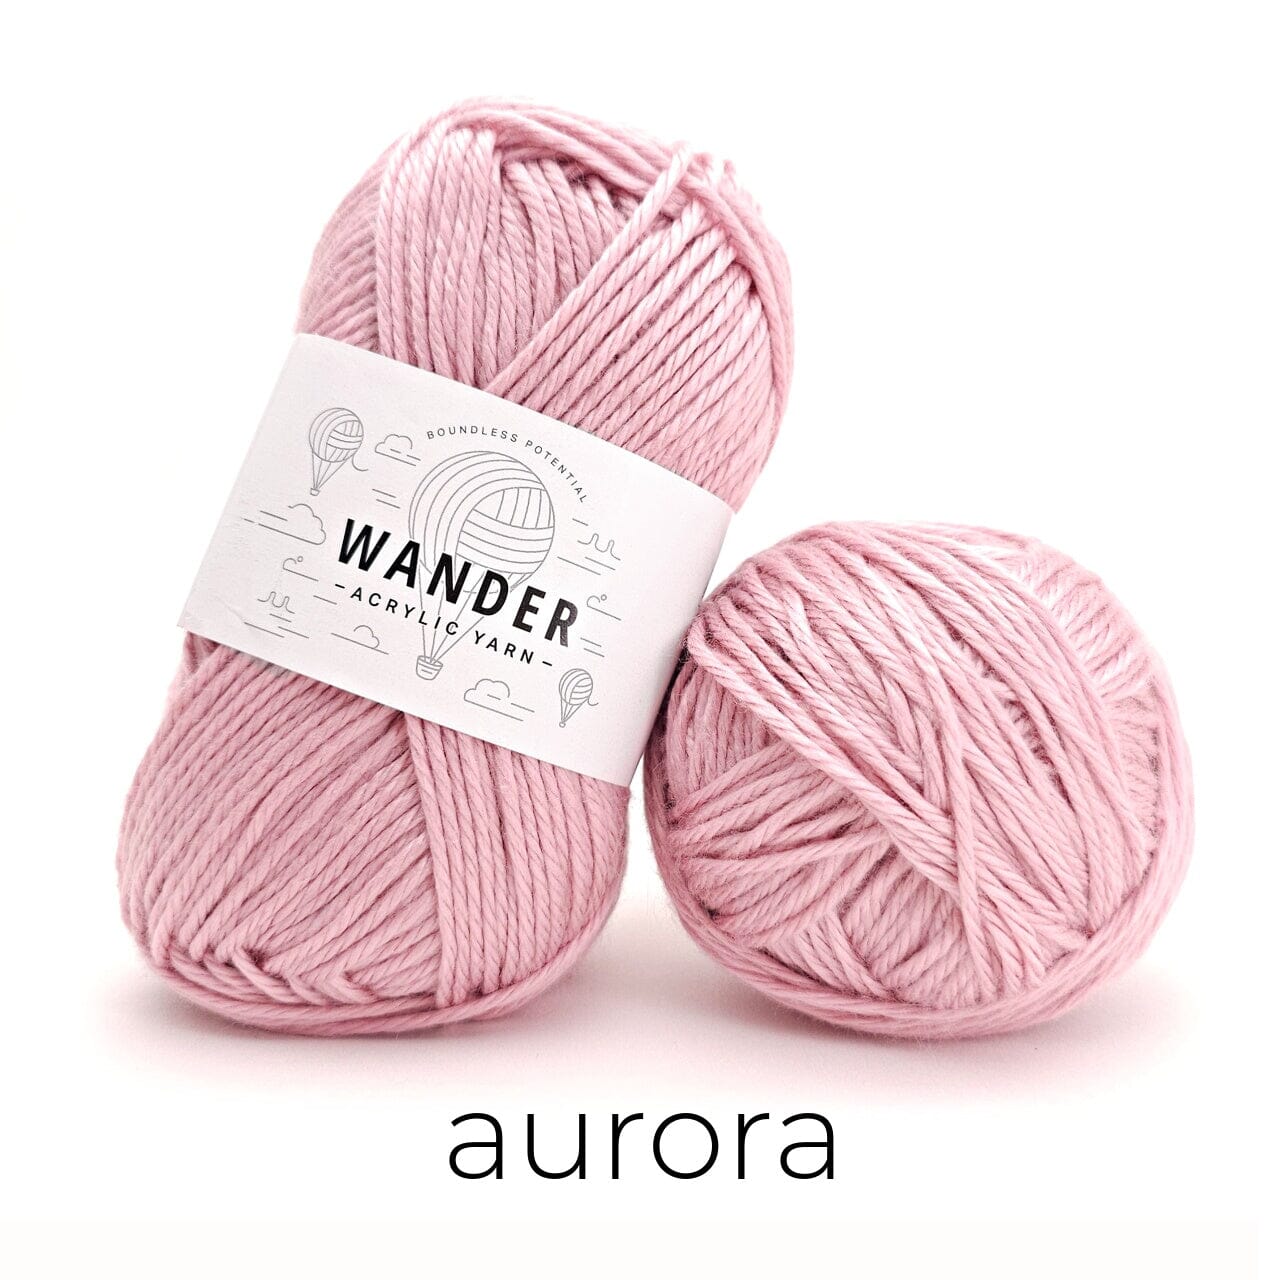
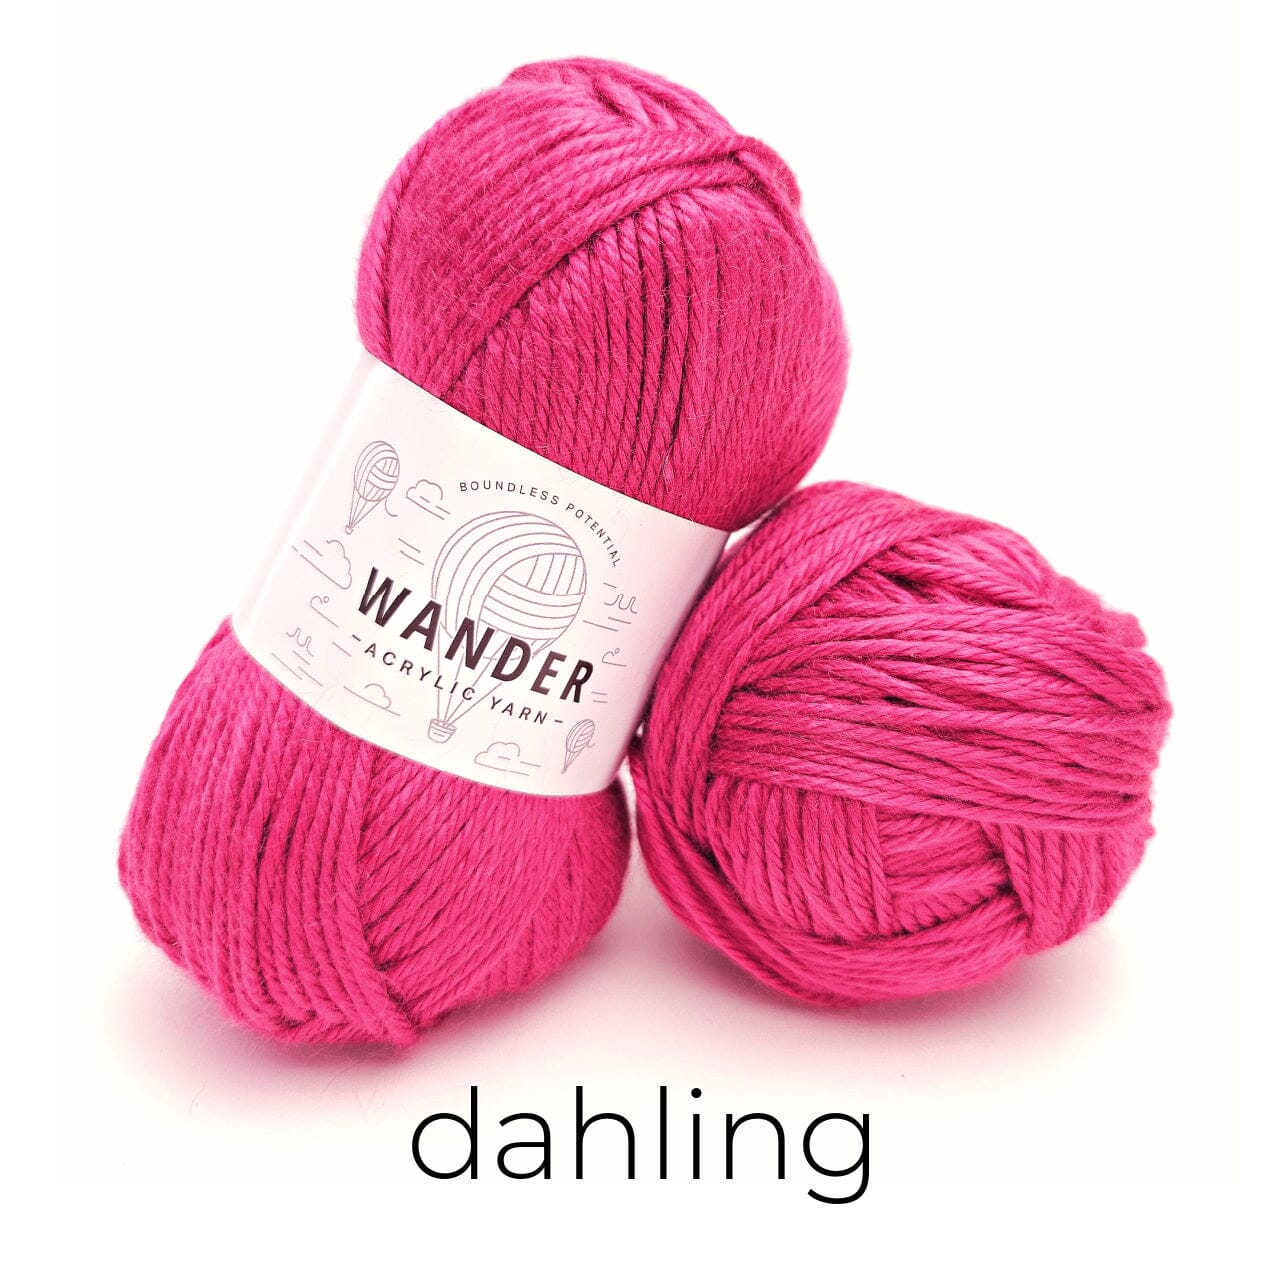
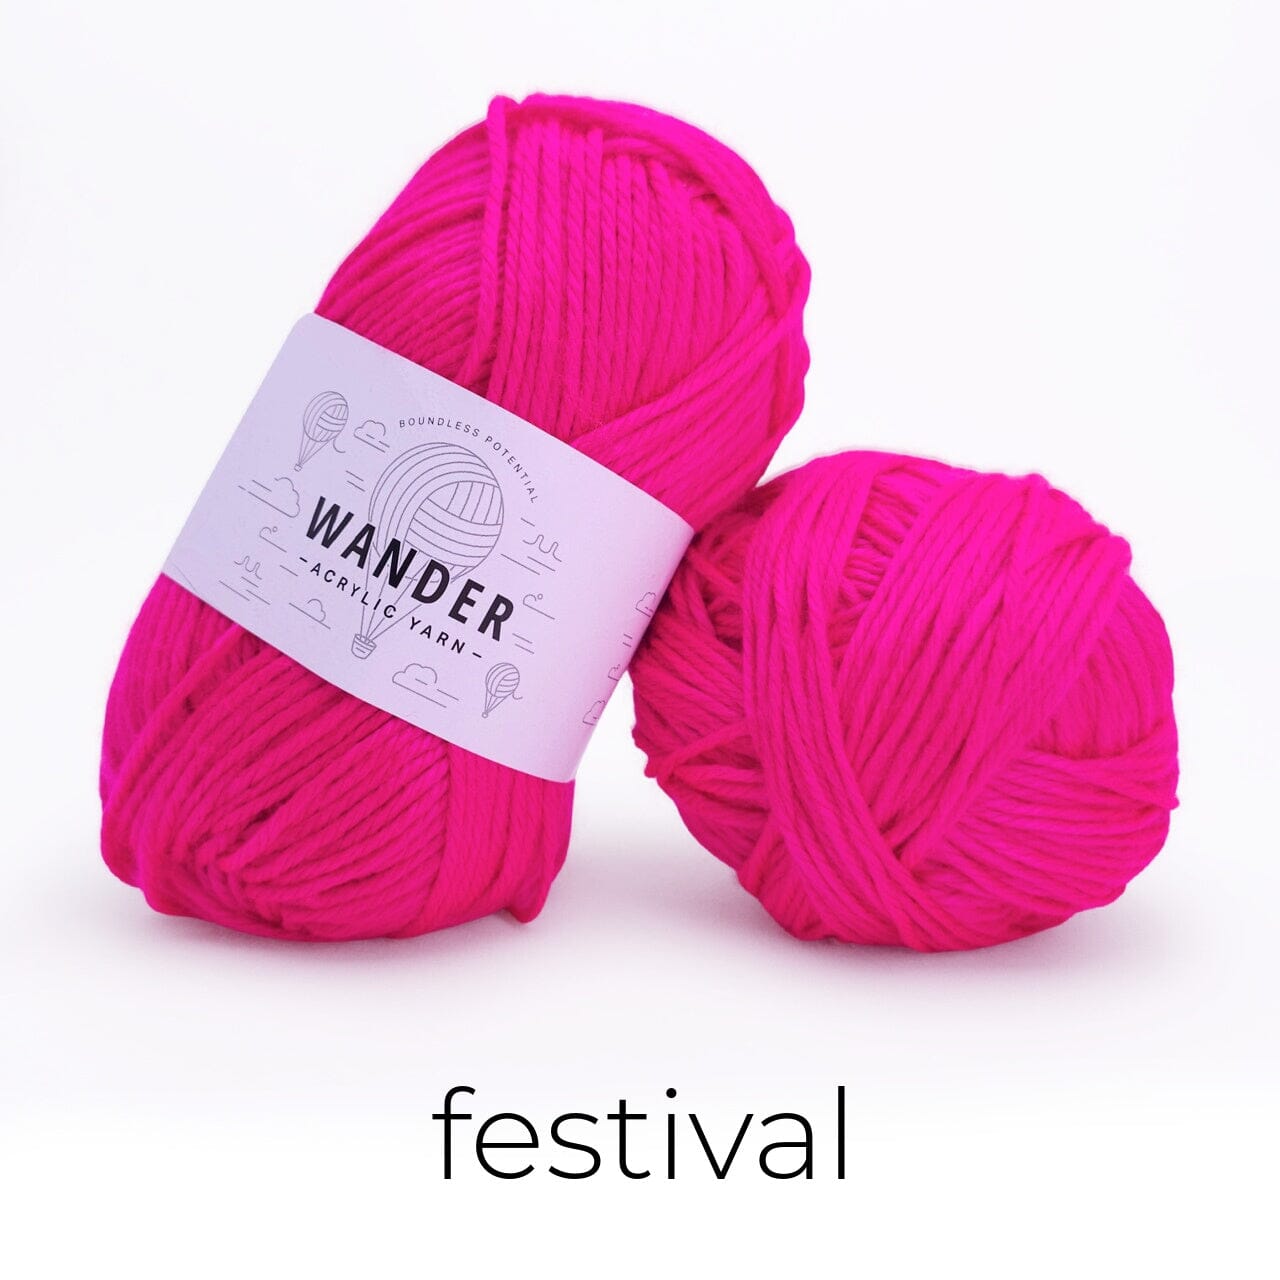
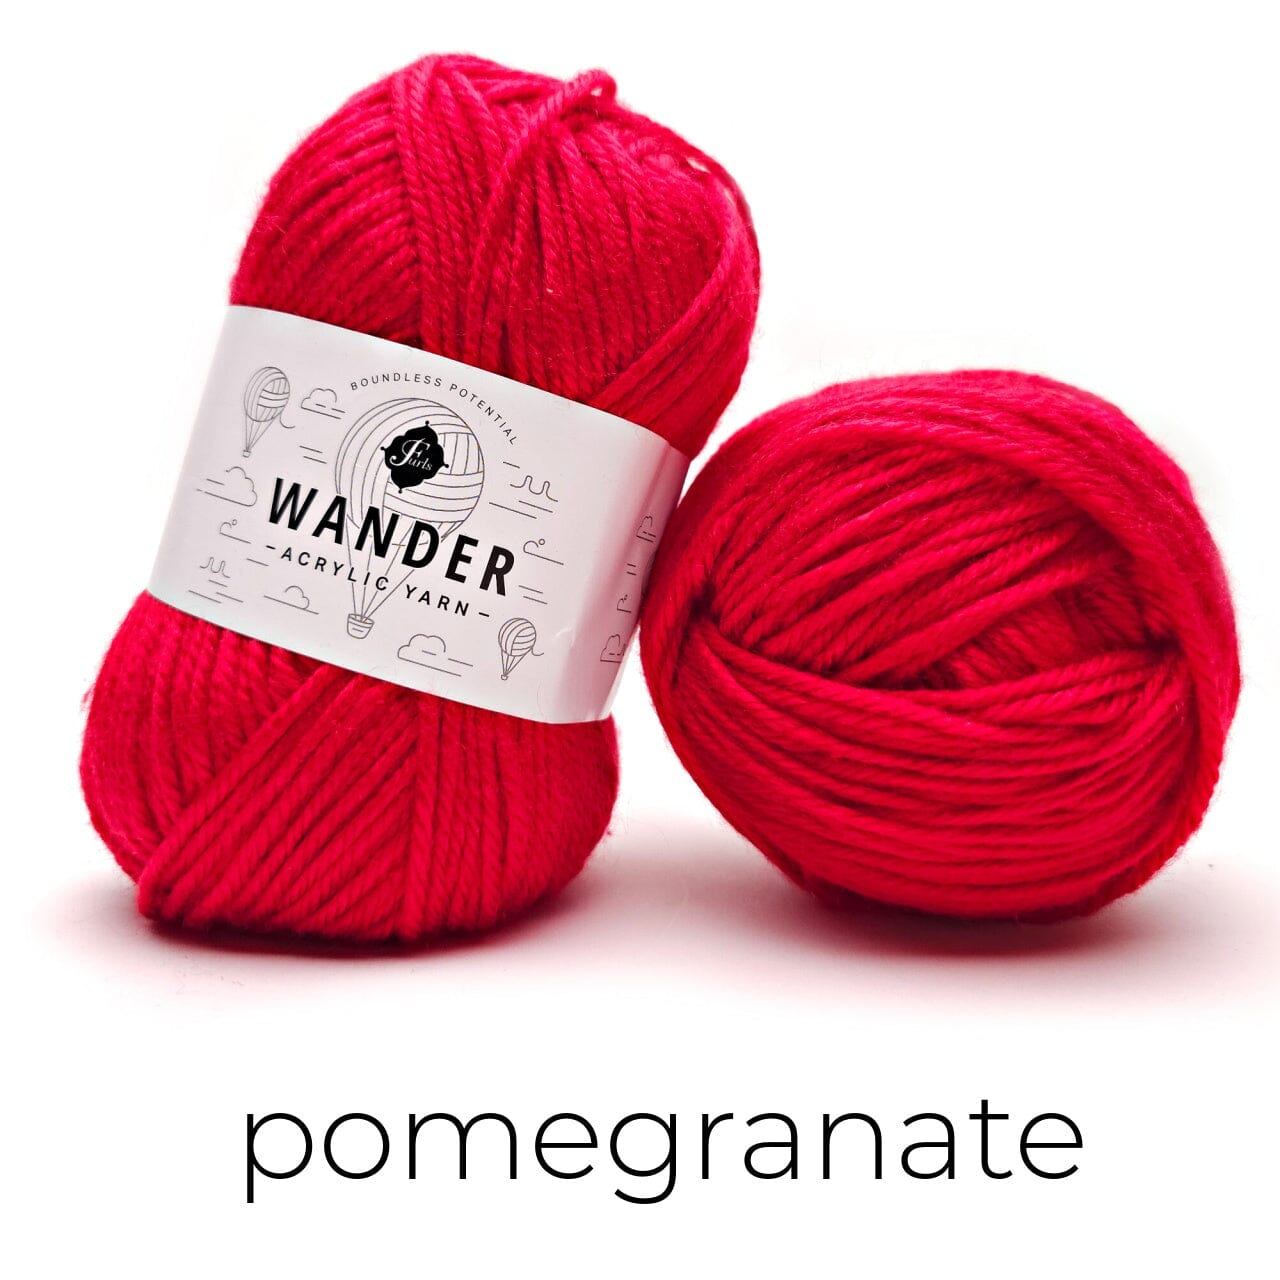
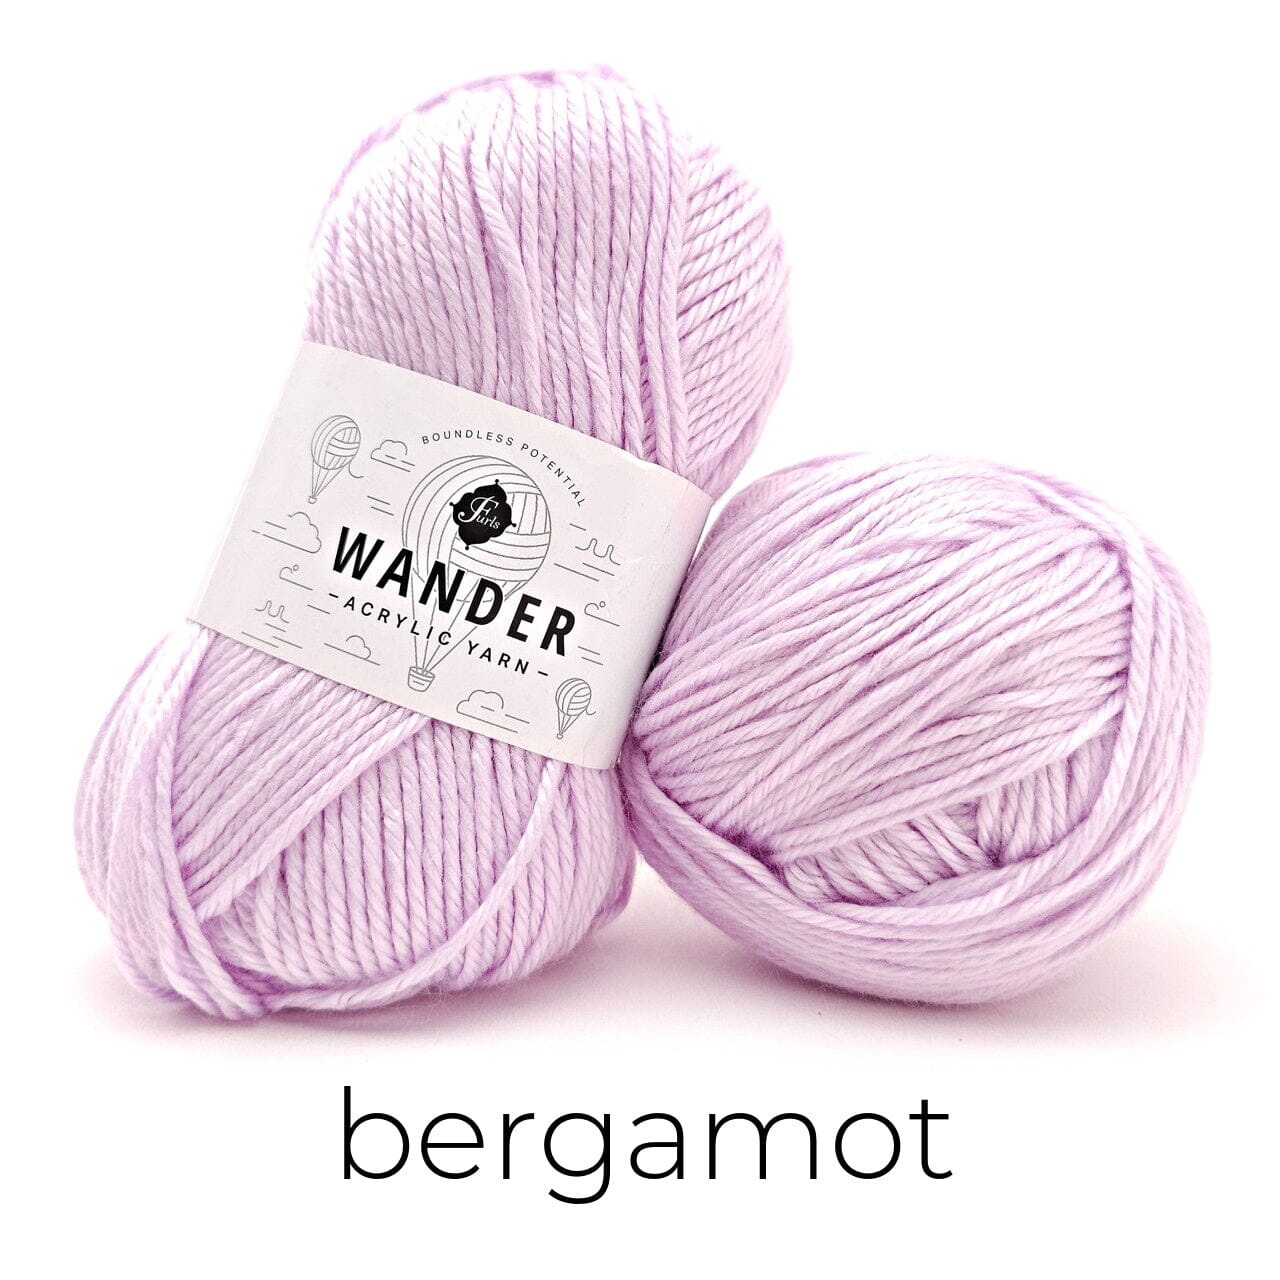
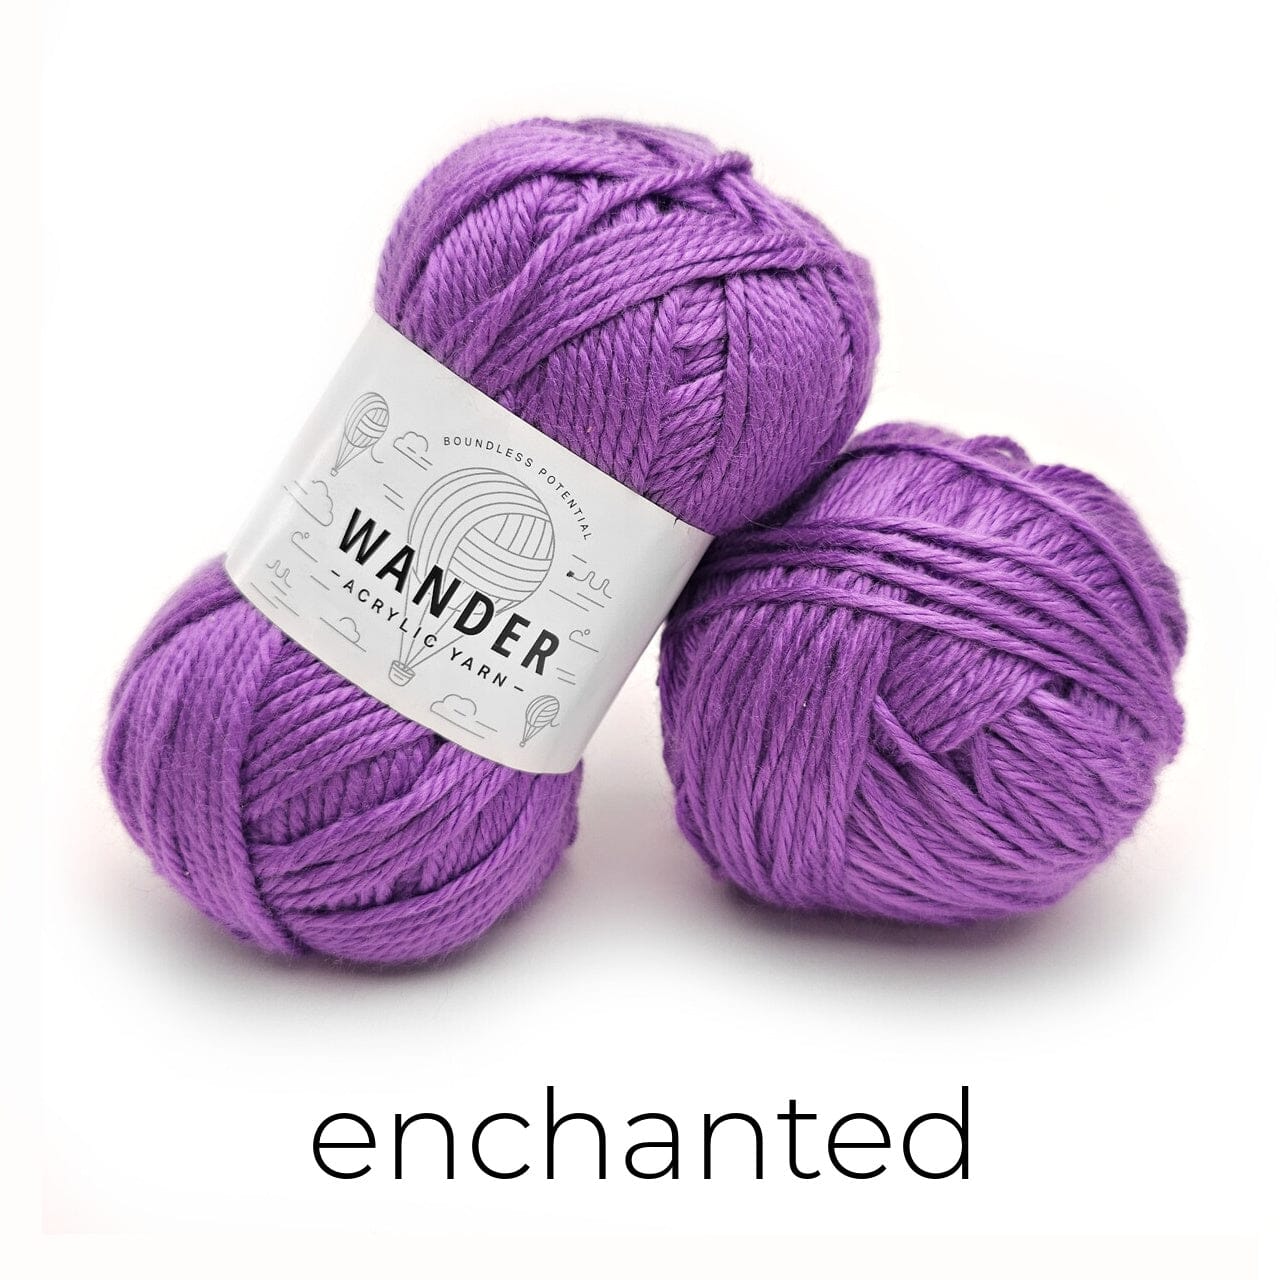
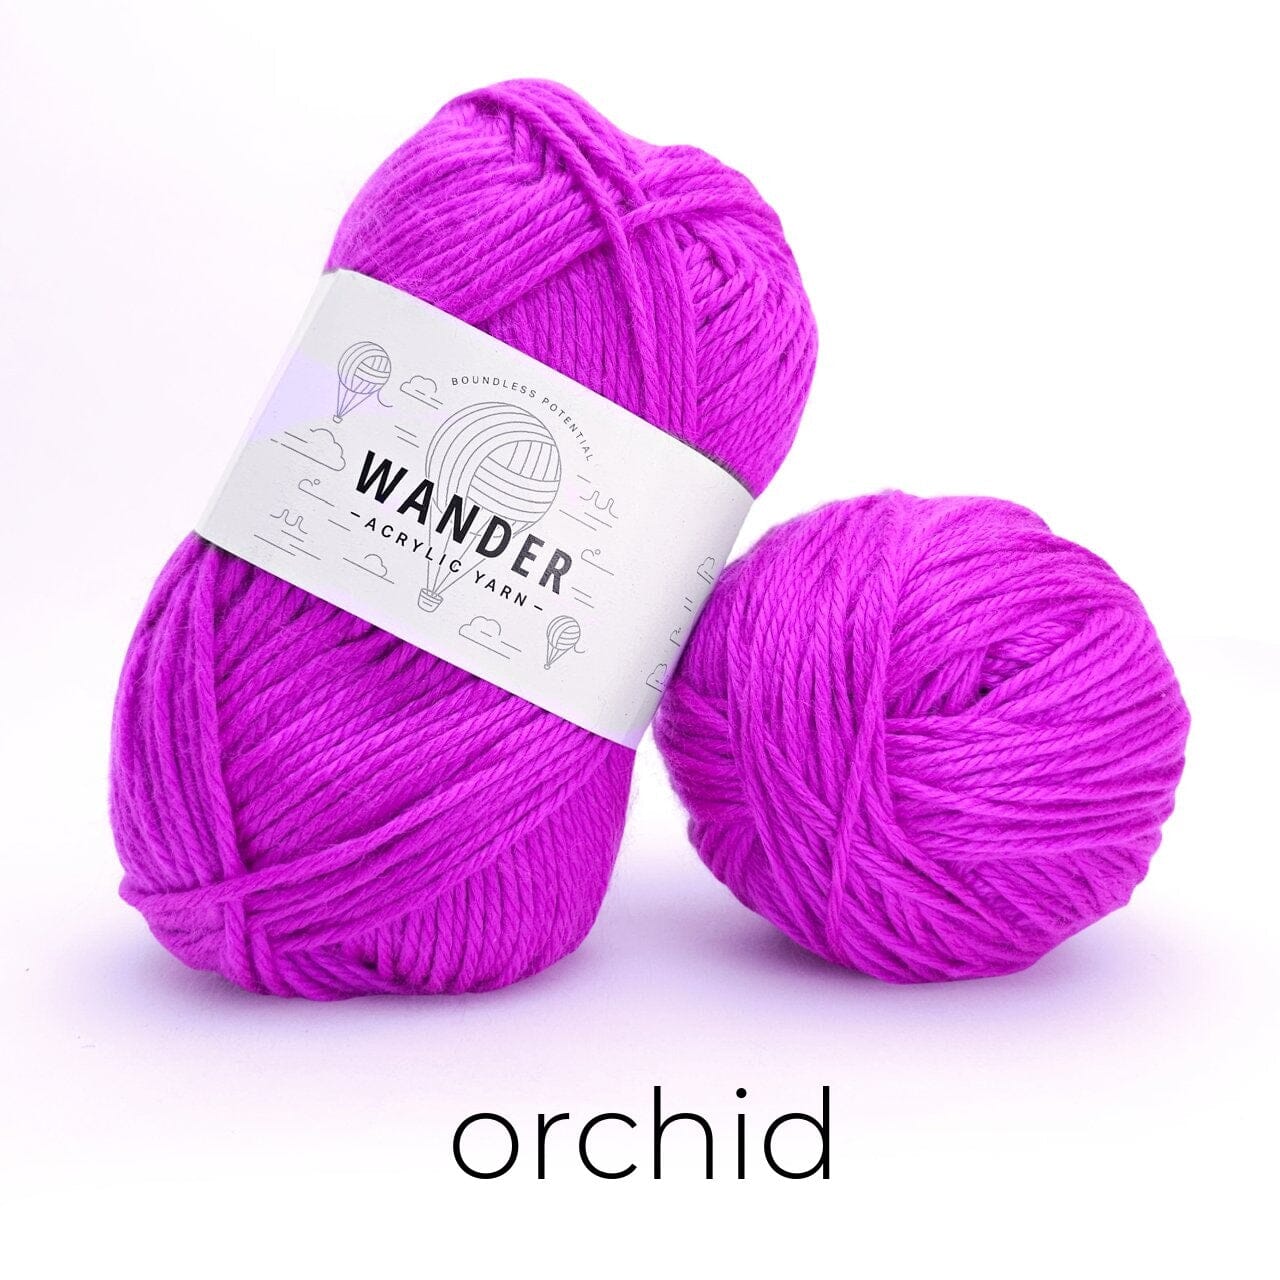
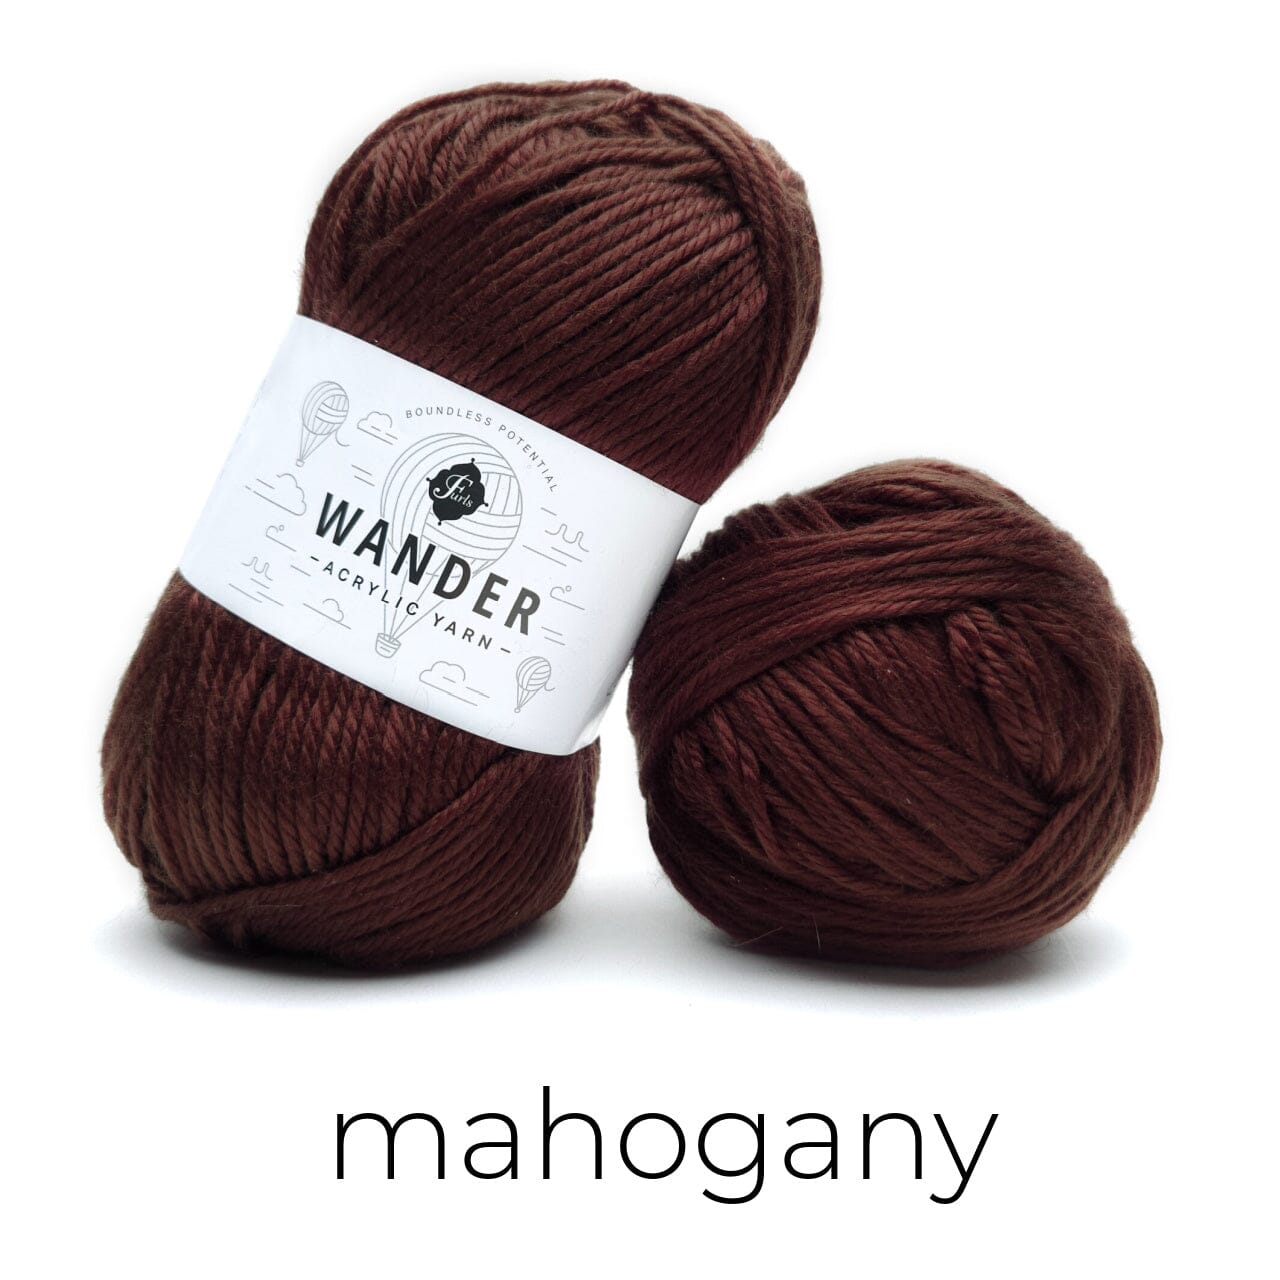
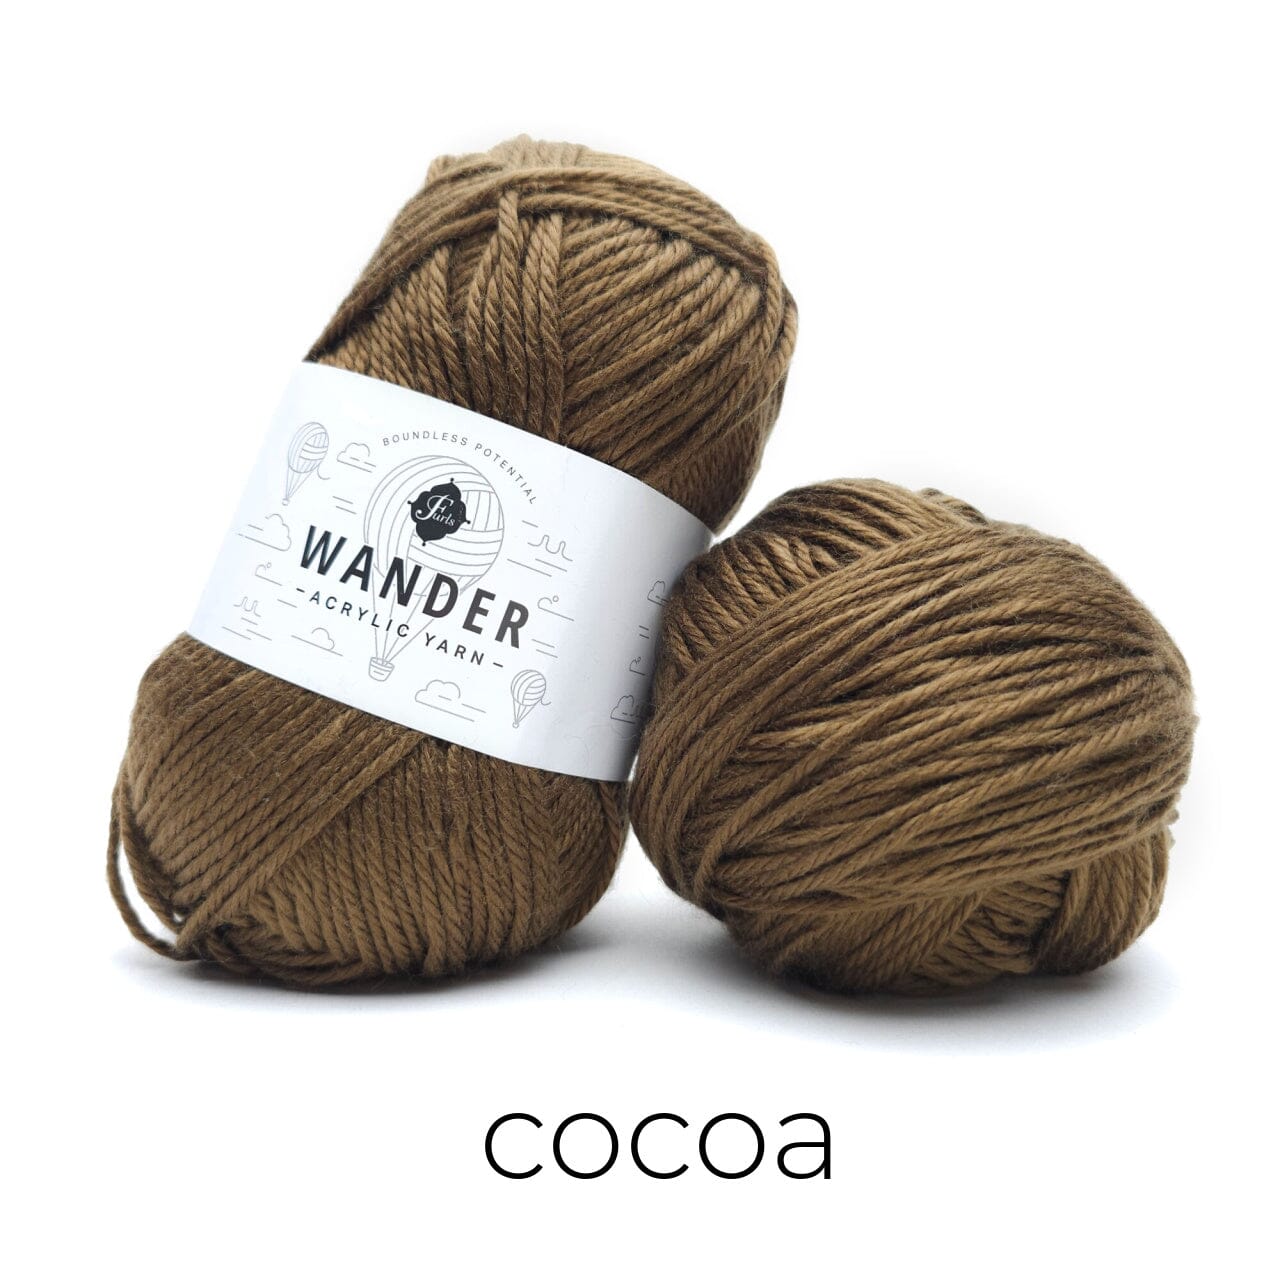
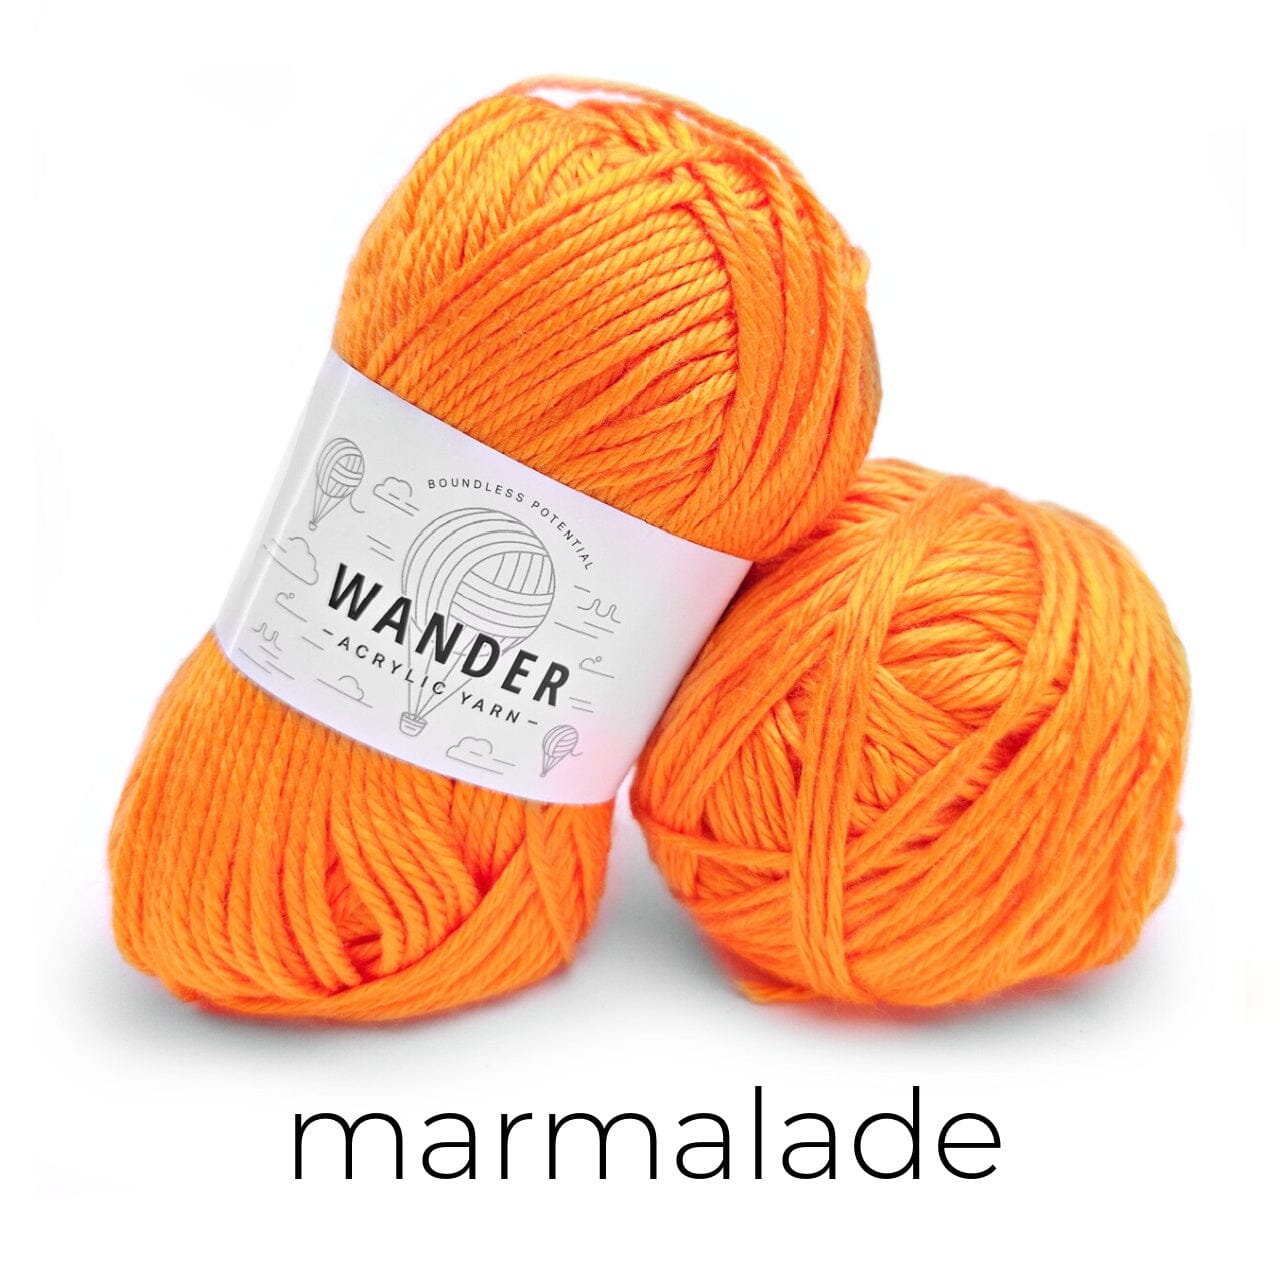
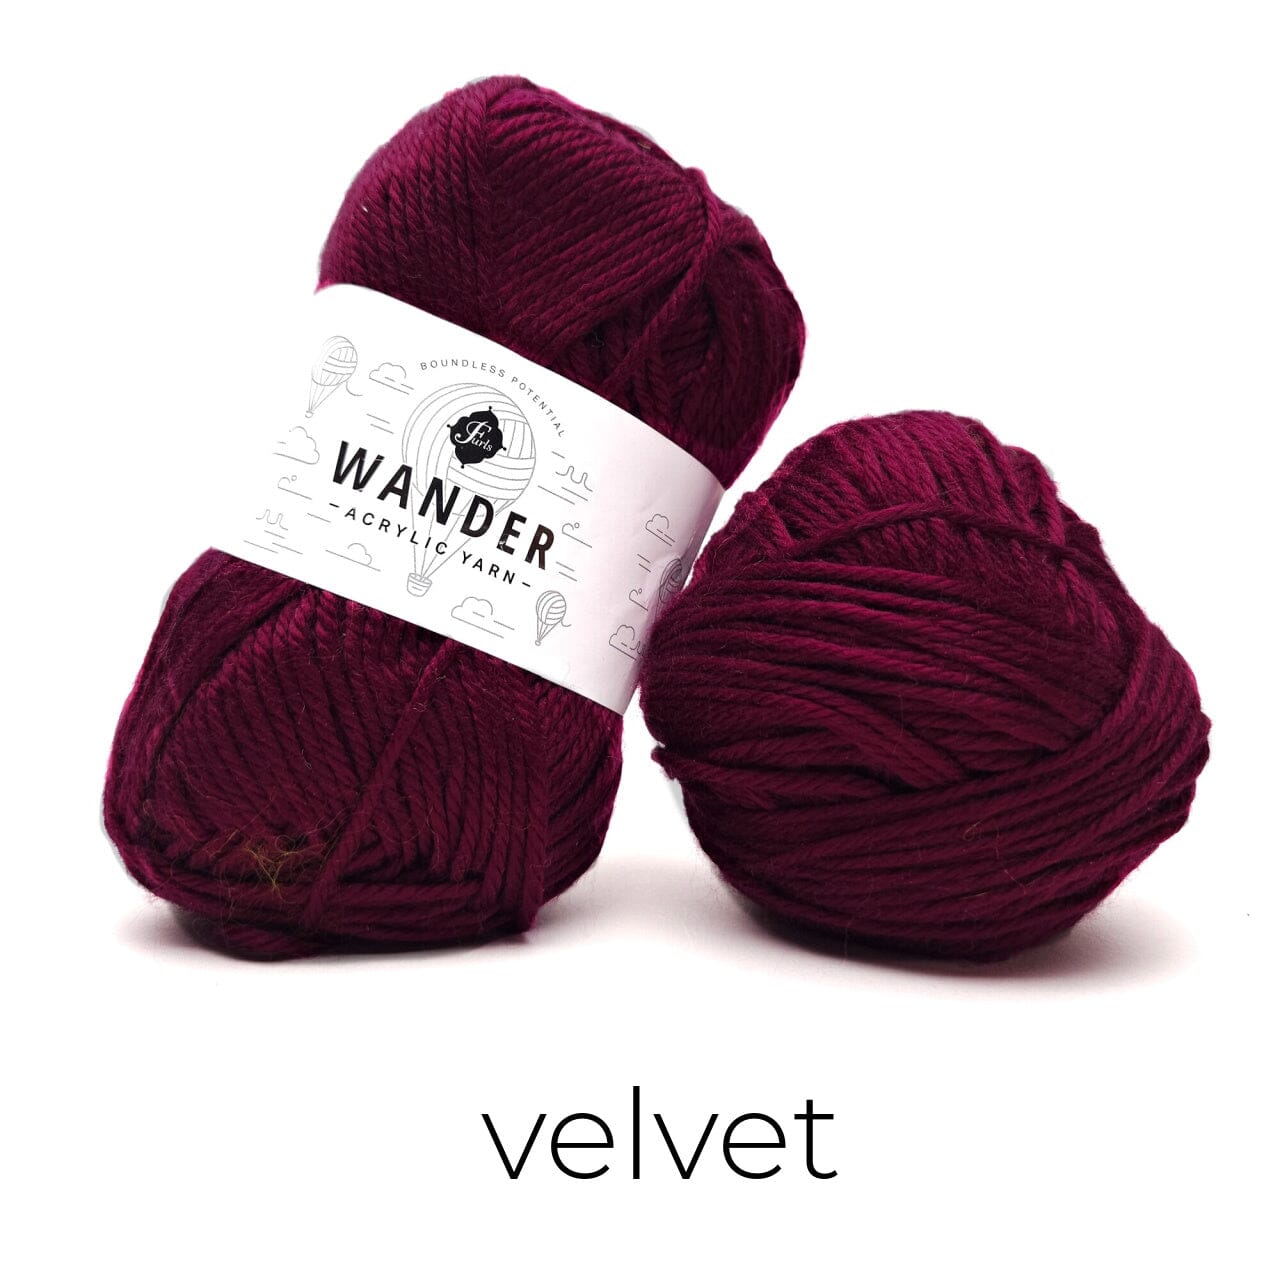
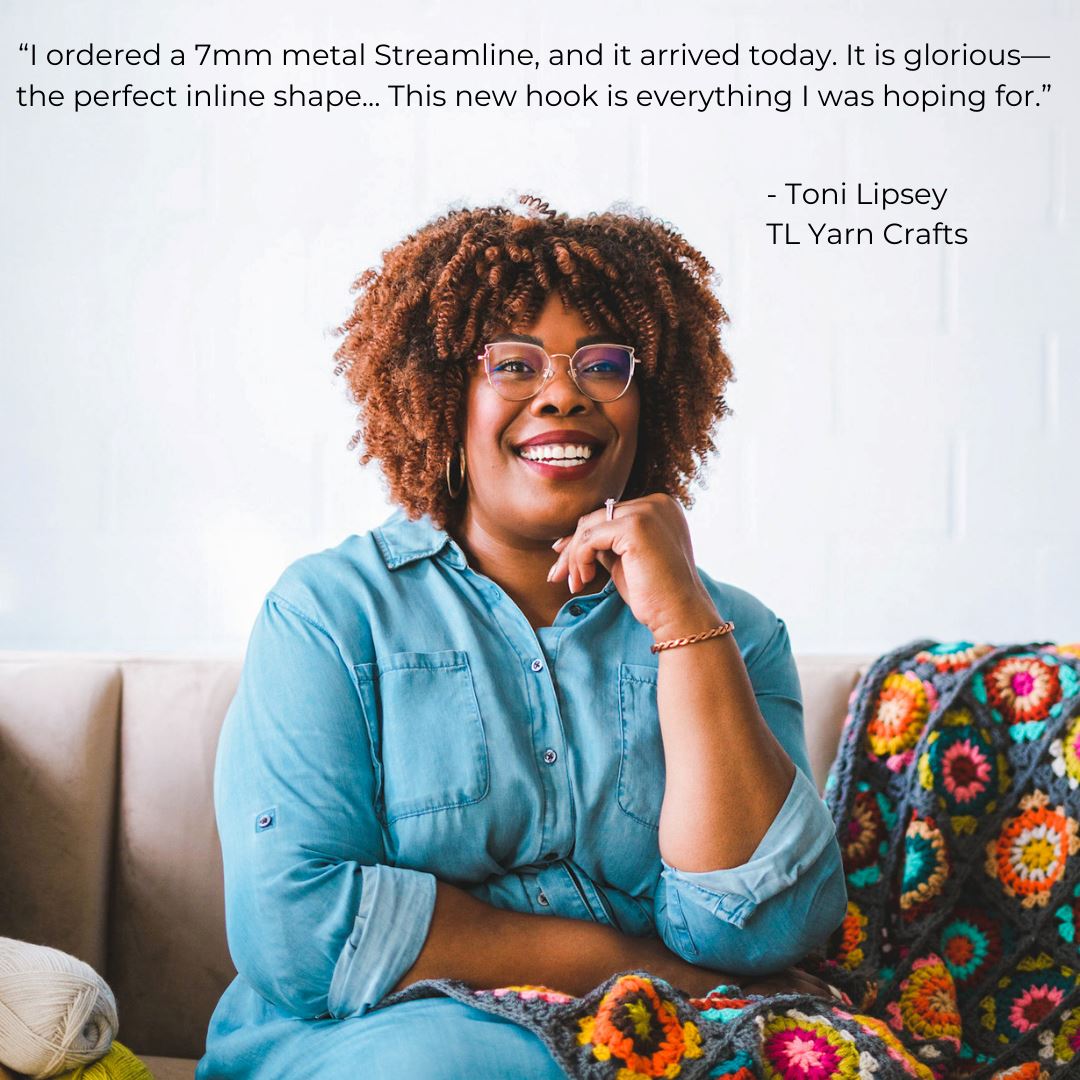
Size 5.00 mm crochet hook – Odyssey in White & Rose Gold
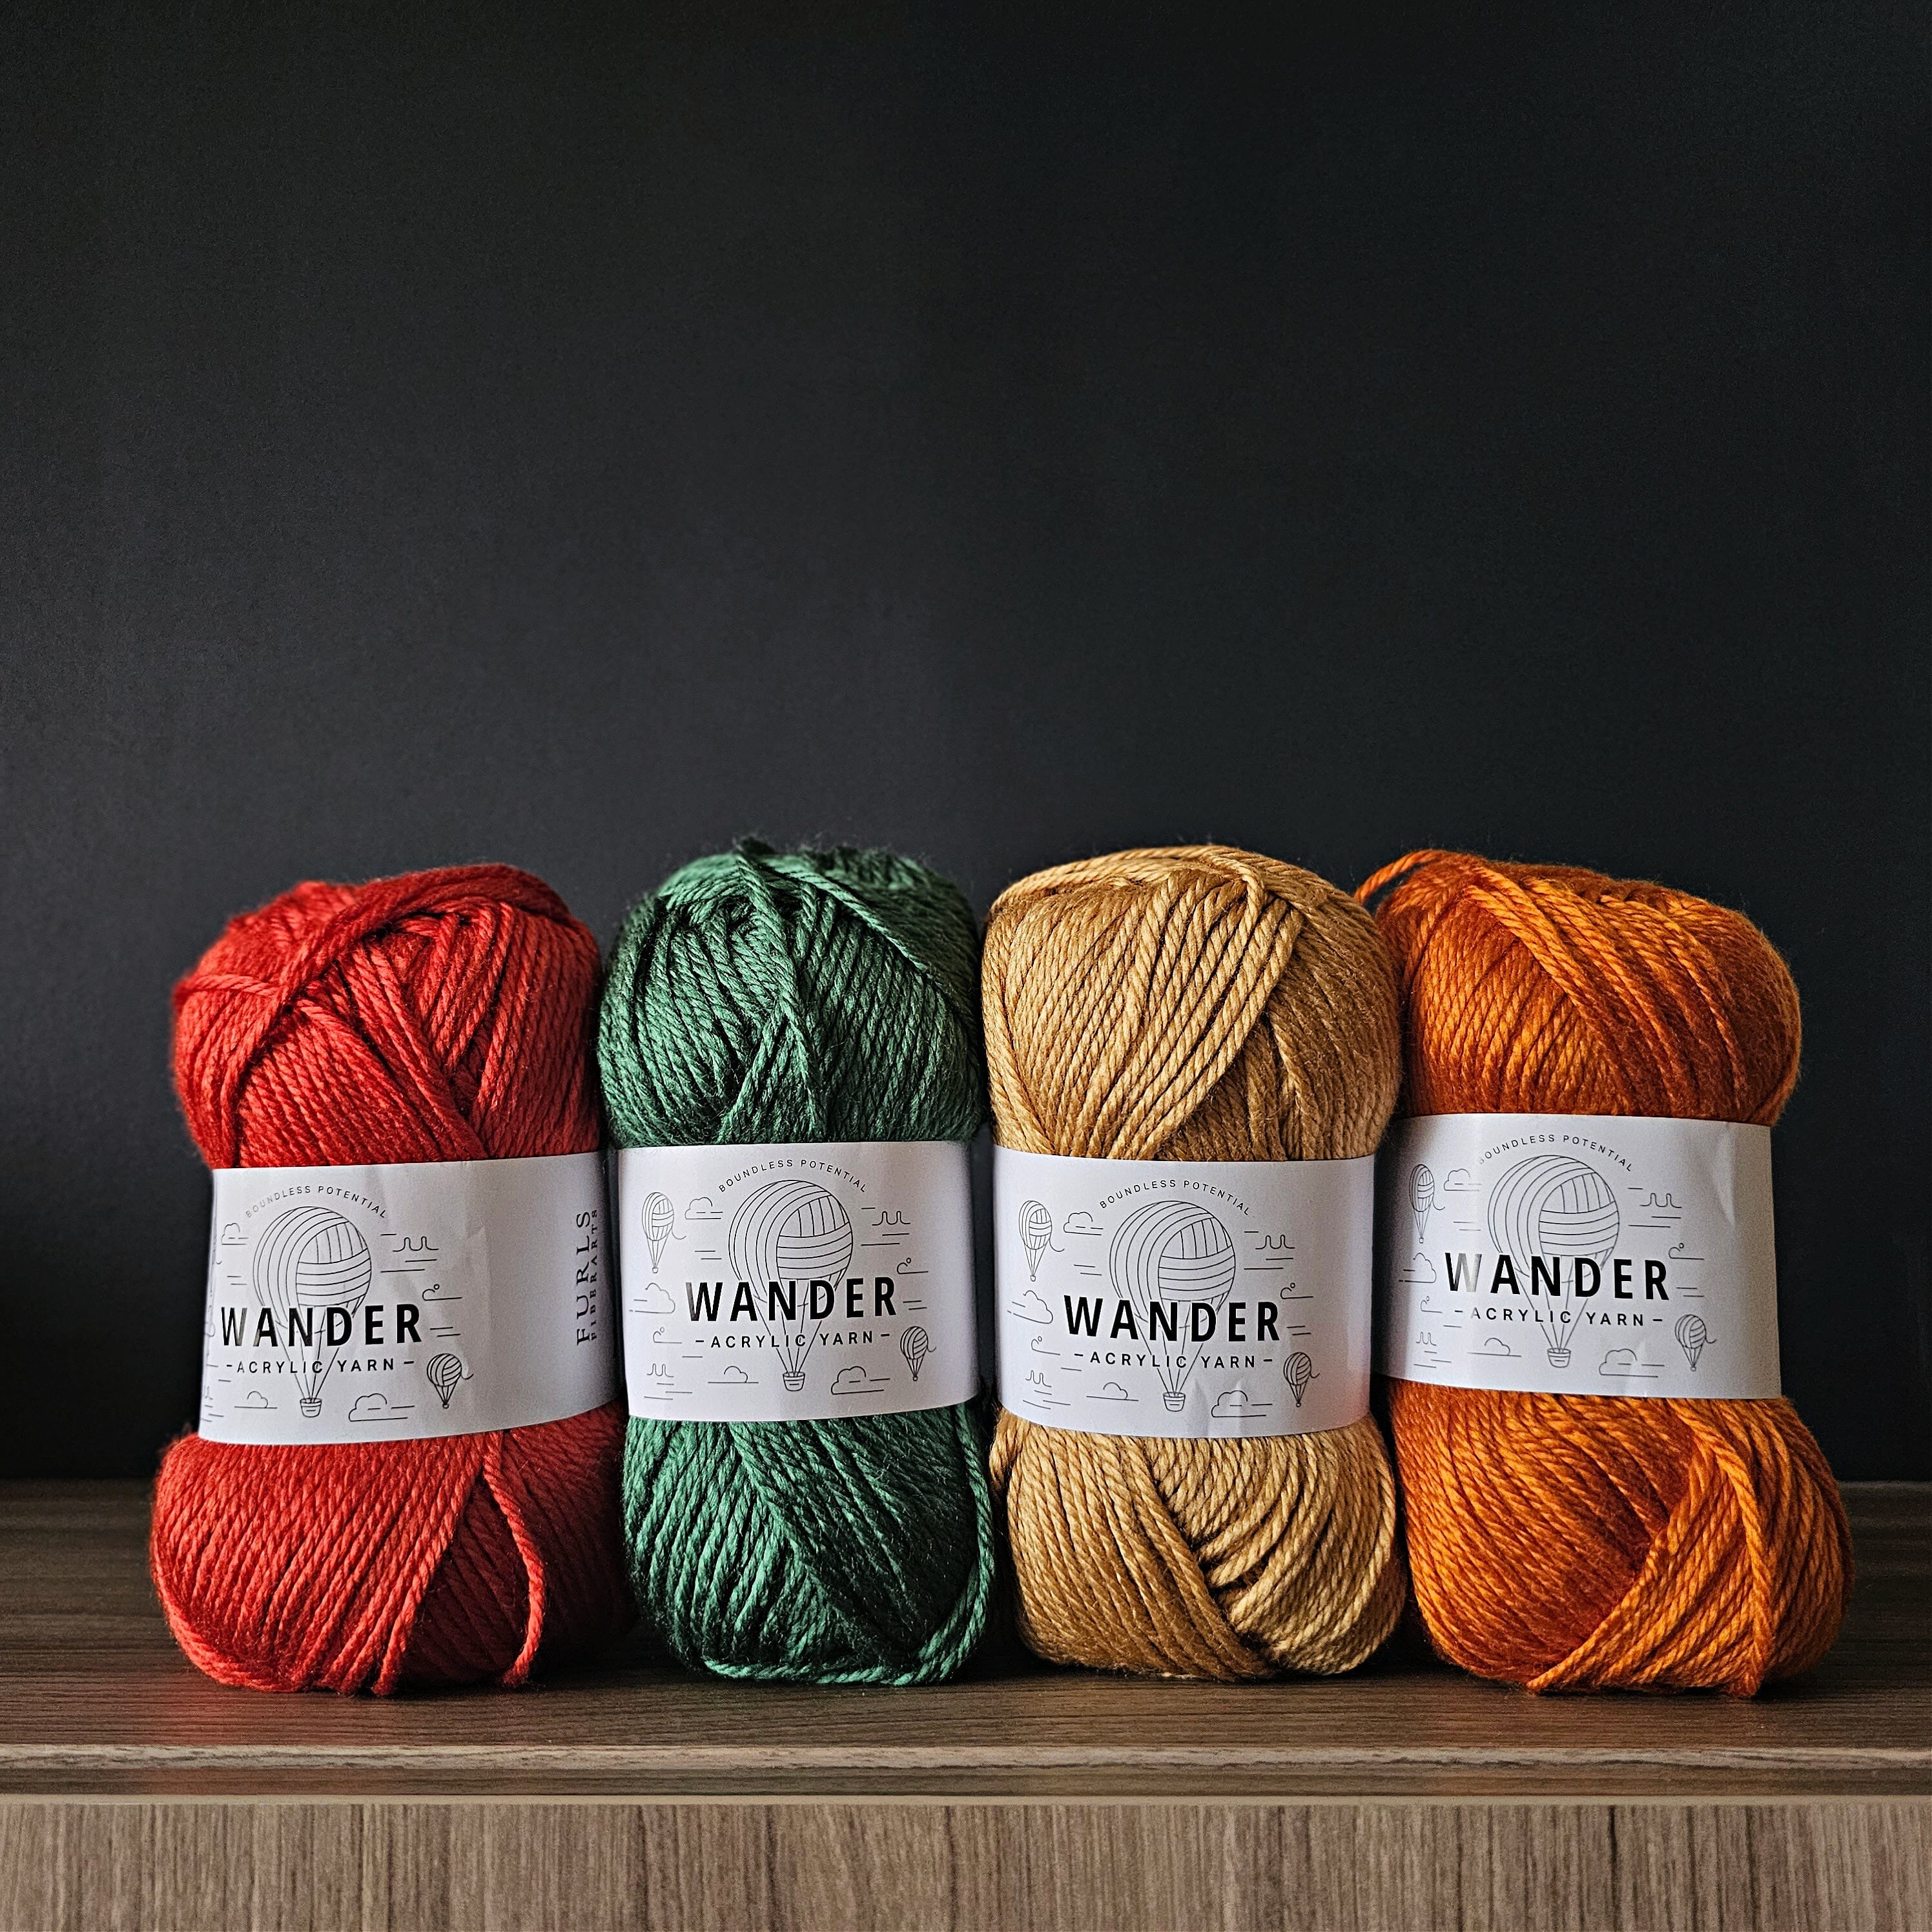
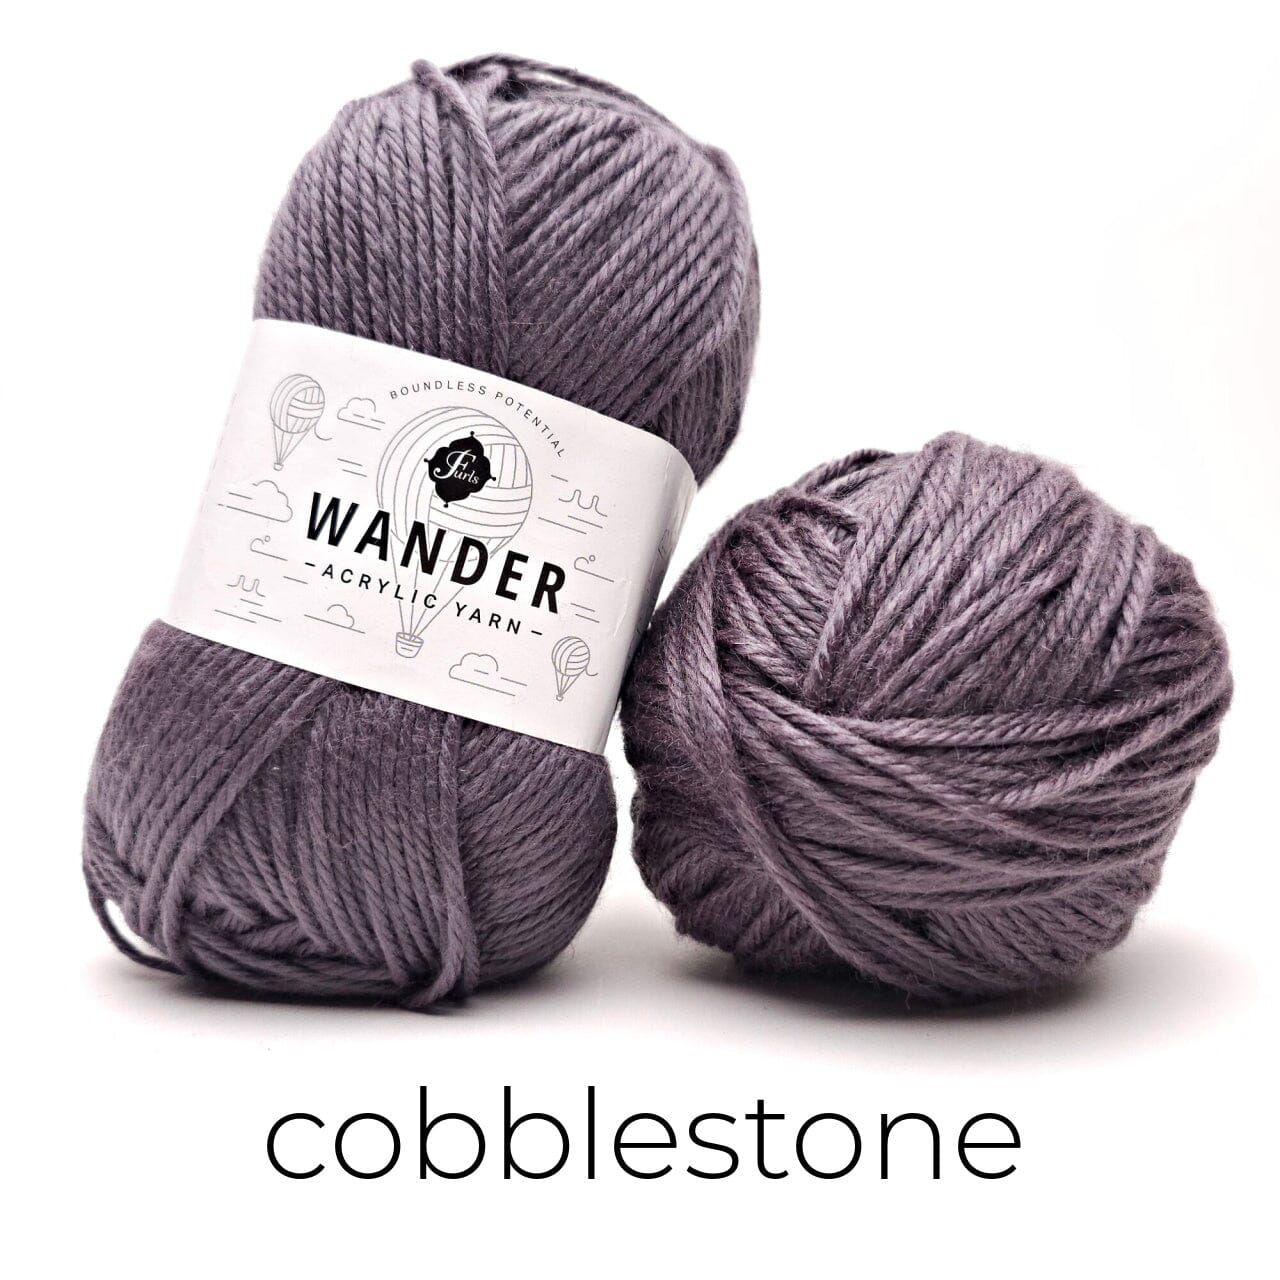
#3 DK Wt. Yarn – Furls Whims Merino 3 (4, 5, 6, 8, 8, 10) skeins or 588 (784, 980, 1176, 1568, 1568, 1960) yds

PATTERN DETAILS
Gauge
4” x 4” square 15 sts x 8 rows in dc with a size 5.00 mm crochet hook
Pattern Gauge
3” x 3” square 24 sts x 6 rows in pattern repeat PRE BLOCKED
3” x 4” square 24 sts x 6 rows in pattern repeat POST BLOCKED
*Please be aware that all yarns behave differently, adjust accordingly if not using Whims Merino.
Abbreviations and Special Stitches
Chain Stitch - ch / Slip Stitch - Sl St / Single Crochet - sc / Double Crochet – dc / Back Loop Only - BLO
Foundation Single Crochet – Fsc
Chain 2, insert hook into 2nd chain from hook, yarn over and pull up a loop (2 loops on hook) yarn over, draw through 1 loop, (2 loops on hook with 1 ch created), yarn over, draw through all loops (1 loop on hook, 1 foundation single crochet with chain at the bottom) *Insert hook to the bottom of the stitch you just made, it will look like the top or “V” of a stitch, yarn over, pull up 1 loop (2 loops on hook), yarn over, draw through 1 loop (2 loops on hook with 1 ch created), yarn over, draw through all loops repeat from * to * for desired amount of stitches.
Sizing

Notes
- 2/4 (6-8, 10/12, 14/16, Petit, Standard, Plus) – Use corresponding number for your size.
- Stitch pattern is worked in multiples of 12.
- * Designates a repeat
We will begin with choosing your yarn and swatching to ensure that you meet gauge. Please note, the make up of the Whims Merino Yarn is a 50/50 wool-nylon blend. This yarn significantly opens up when blocked with this particular lacy shell stitch. If you choose to not use the Whims Merino, please be sure to do a swatch in the pattern to ensure that your stitches open up enough after blocking. If not, you may have to add an additional set of row repeats to each of your panels. Width of the panels should not be an issue.
For Part One we will be making the front and back panels. We will also seam them together in preparation for the following week.

PART ONE
Ready to get started? I hope you have all of your supplies! If you haven’t swatched yet what are you waiting for? The second part of the Aria Poncho CAL is starting!
If you did swatch then you are almost ready to go! If you are using Furls Whims Merino, great! If not, you should swatch in the pattern repeat and check that you will be able to block for added length! Let’s get started!
Front and Back Panel
Row 1: Fsc 96 (120, 144, 156, 156, 180, 180) stitches, ch 5, turn.
Row 2: Sk 1st st, sc in next st, *skip next 3 sts, (dc, ch 2, dc, ch 2, dc, ch 2, dc) in next st, skip next 3 sts, sc in next st, ch 5, skip next 3 sts, sc in next st, repeat from * until 10 sts remain, skip next 3 sts, (dc, ch 2, dc, ch 2, dc, ch 2, dc) in next st, skip next 3 sts, sc in next st, ch2 , skip 1 st, dc in last st, turn.
Row 3: Ch 3, sc in next ch-2 sp, 3 dc in next ch-2 sp, (ch 2, 3 dc) in each next ch-2 sps, *(sc, ch 3, sc) in next ch-5 sp, 3 dc in next ch-2 sp, (ch 2, 3 dc) in each next ch-2 sps, repeat from * to last sc of previous row, (sc, ch 1, hdc) in turning ch-5, turn. See diagram for clarity.
Row 4: Ch 4, (dc, ch 2, dc) in next ch-1 sp, sc in next ch-2 sp, ch 5, sc in next ch-2 sp, *(dc, ch 2, dc, ch 2, dc, ch 2, dc) in ch-3 sp, sc in next ch-2 sp, ch 5, sc in next ch-2 sp, repeat from * to last ch-2 sp, (dc, ch 2, dc, ch 1, dc) in turning ch-3, turn.
Row 5: Ch 3, dc in next ch-1 sp, ch 2, 3 dc in next ch-2 sp, *(sc, ch 3, sc) in ch-5 sp, 3 dc in next ch-2 sp, (ch 2, 3 dc) in each next ch-2 sp, repeat from * to last ch-5 sp, *(sc, ch 3, sc) in ch-5 sp, 3 dc in next ch-2 sp, ch 2, 2 dc in turn ch-4, turn.
Row 6: Ch 5, sc in next ch-2 sp, *(dc, ch 2, dc, ch 2, dc, ch 2, dc) in ch-3 sp, sc in next ch-2 sp, ch 5, sc in next ch-2 sp, repeat from * to last ch-3, (dc, ch 2, dc, ch 2, dc, ch 2, dc) in ch-3 sp, sc in next ch-2 sp, ch 2, dc in turning ch-3, turn.
Rows 7 – 11 (15, 19, 23, 31, 35, 43): Repeat Rows 3-6.
See Diagram Below for Clarity.

*When blocked this stitch pattern opens up significantly to add more length. If you feel that you would like your piece longer, you may add more row repeats, but me sure to account for extra yardage.
Assembly

Lay your panels with right sides facing up if using a mattress stitch.
Begin seaming from the outer most corners in 36 (48, 58, 62, 60, 72, 70) stitches on the Fsc side so that you will be leaving a space in the middle to create the neck where the collar will be attached.

*If you feel that you would like a larger or smaller neck opening you can add or subtract how many rows you seam up. However, you will need to adjust the number of rows for the collar.
Part Two will consist of making and assembling the collar in order to seam it to the body of the poncho that we assembled previously! See ya next week!
PART TWO
We are getting so close to done! By now you have probably finished your front and back panels and seamed them together! If not, that’s ok, keep going!
Now we will make the collar. If you decided to make your neck larger or smaller in Part 2 be sure to adjust the pattern that follows for the changes you made!

Collar
Row 1: Fsc 15 (20, 25, 30, 35, 35, 35) sts.
Row 2: Ch 1, turn, sc in first st, sc in BLO to next to last st, sc in last st.
Row 3- 48 (48, 56, 64, 72, 72, 80): Repeat Row 2, fold in half and sl st your last row to your first row, finish off.

Assembly
If you have not already, fold your collar in half and align the last row with the Fsc row and seam together. Be mindful of your tension so the seam does not pinch. Leave a tail 4 times the diameter of your collar.
Now that you have the body of your poncho assembled and the collar created it is time to attach it, again, be mindful of your seams.
Keep your poncho with right sides facing and place your collar in between the two panels with the collar seam on the outside (right side in on the collar) and centered at the back.
Begin to attach your collar to the neck opening you created being careful to align each stitch with a row. I highly suggest using a mattress stitch which will give you the best stretch for the neckline. Be very careful not to tighten your stitches.
Finish off and weave in any remaining ends!
I HIGHLY suggest wet blocking this poncho. That will really open up the lacy shell stitches and give the collar less structure to make it extra cozy!
*If you feel that you would like a larger or smaller neck opening you can add or subtract how many rows you seam up. However, you will need to adjust the number of rows for the collar.
This completes the Aria Poncho. We hope you love your new design. Be sure to share your poncho and use tag @life.and.yarn and @furlscrochet so that we can find them.