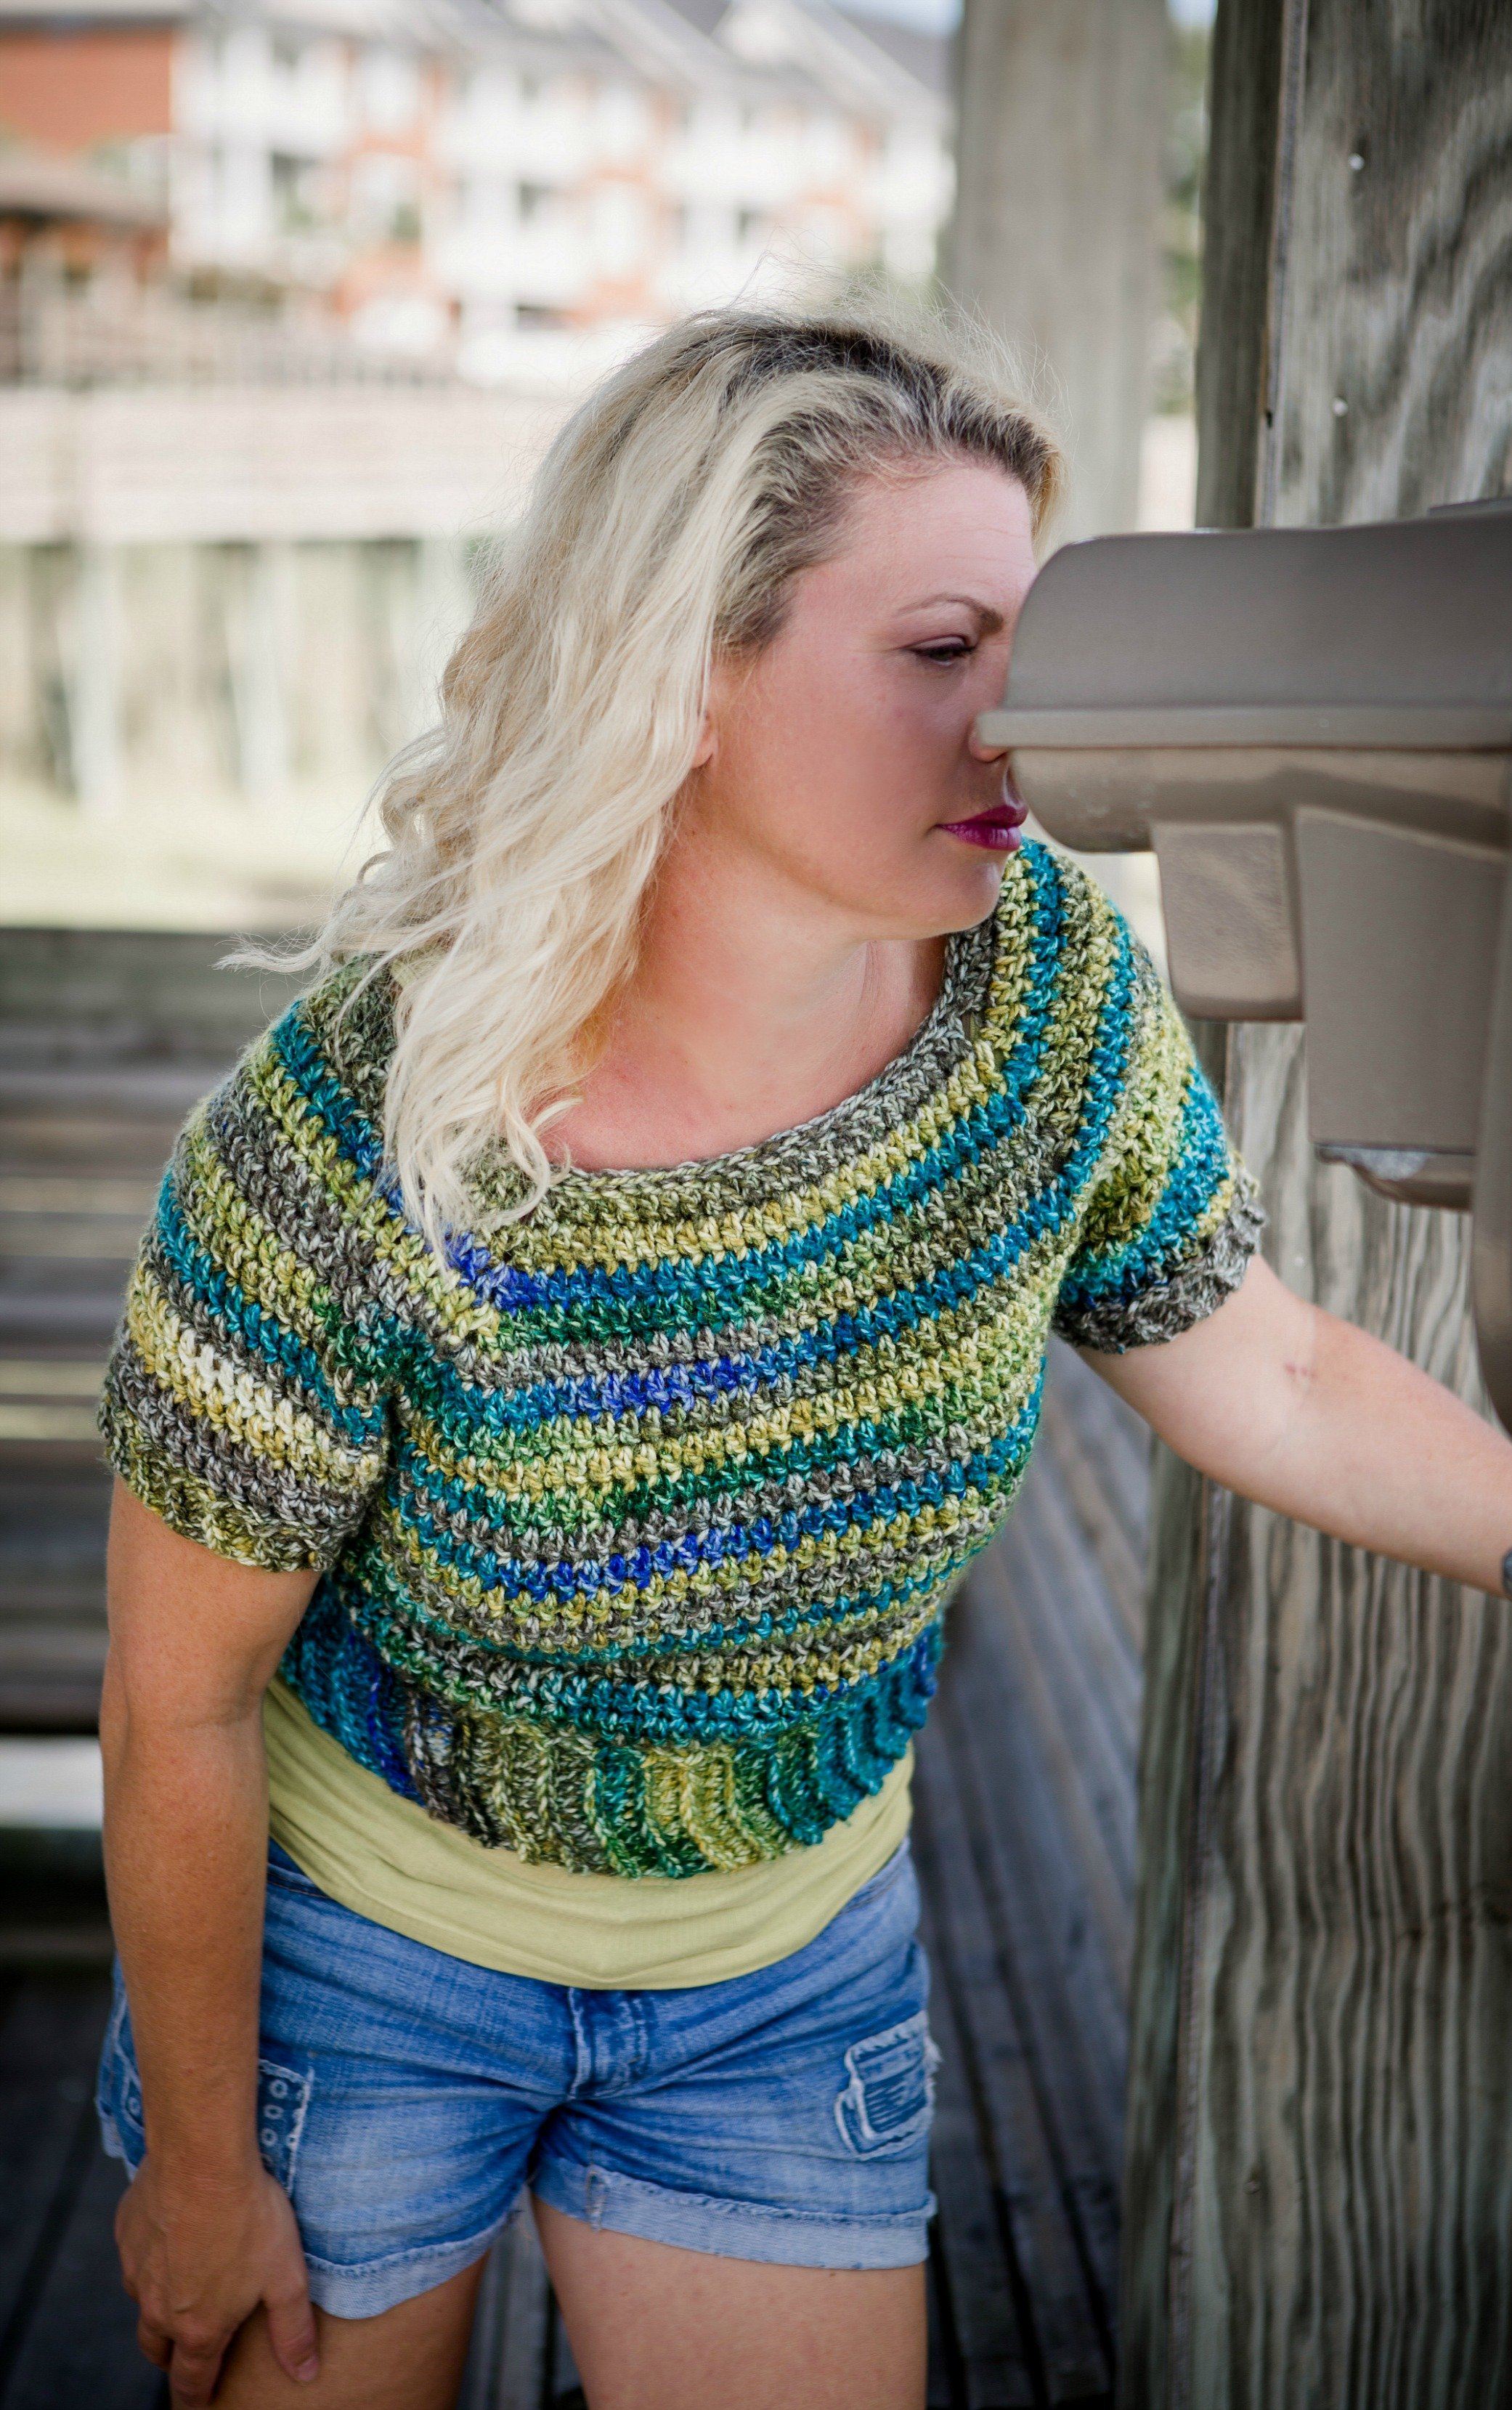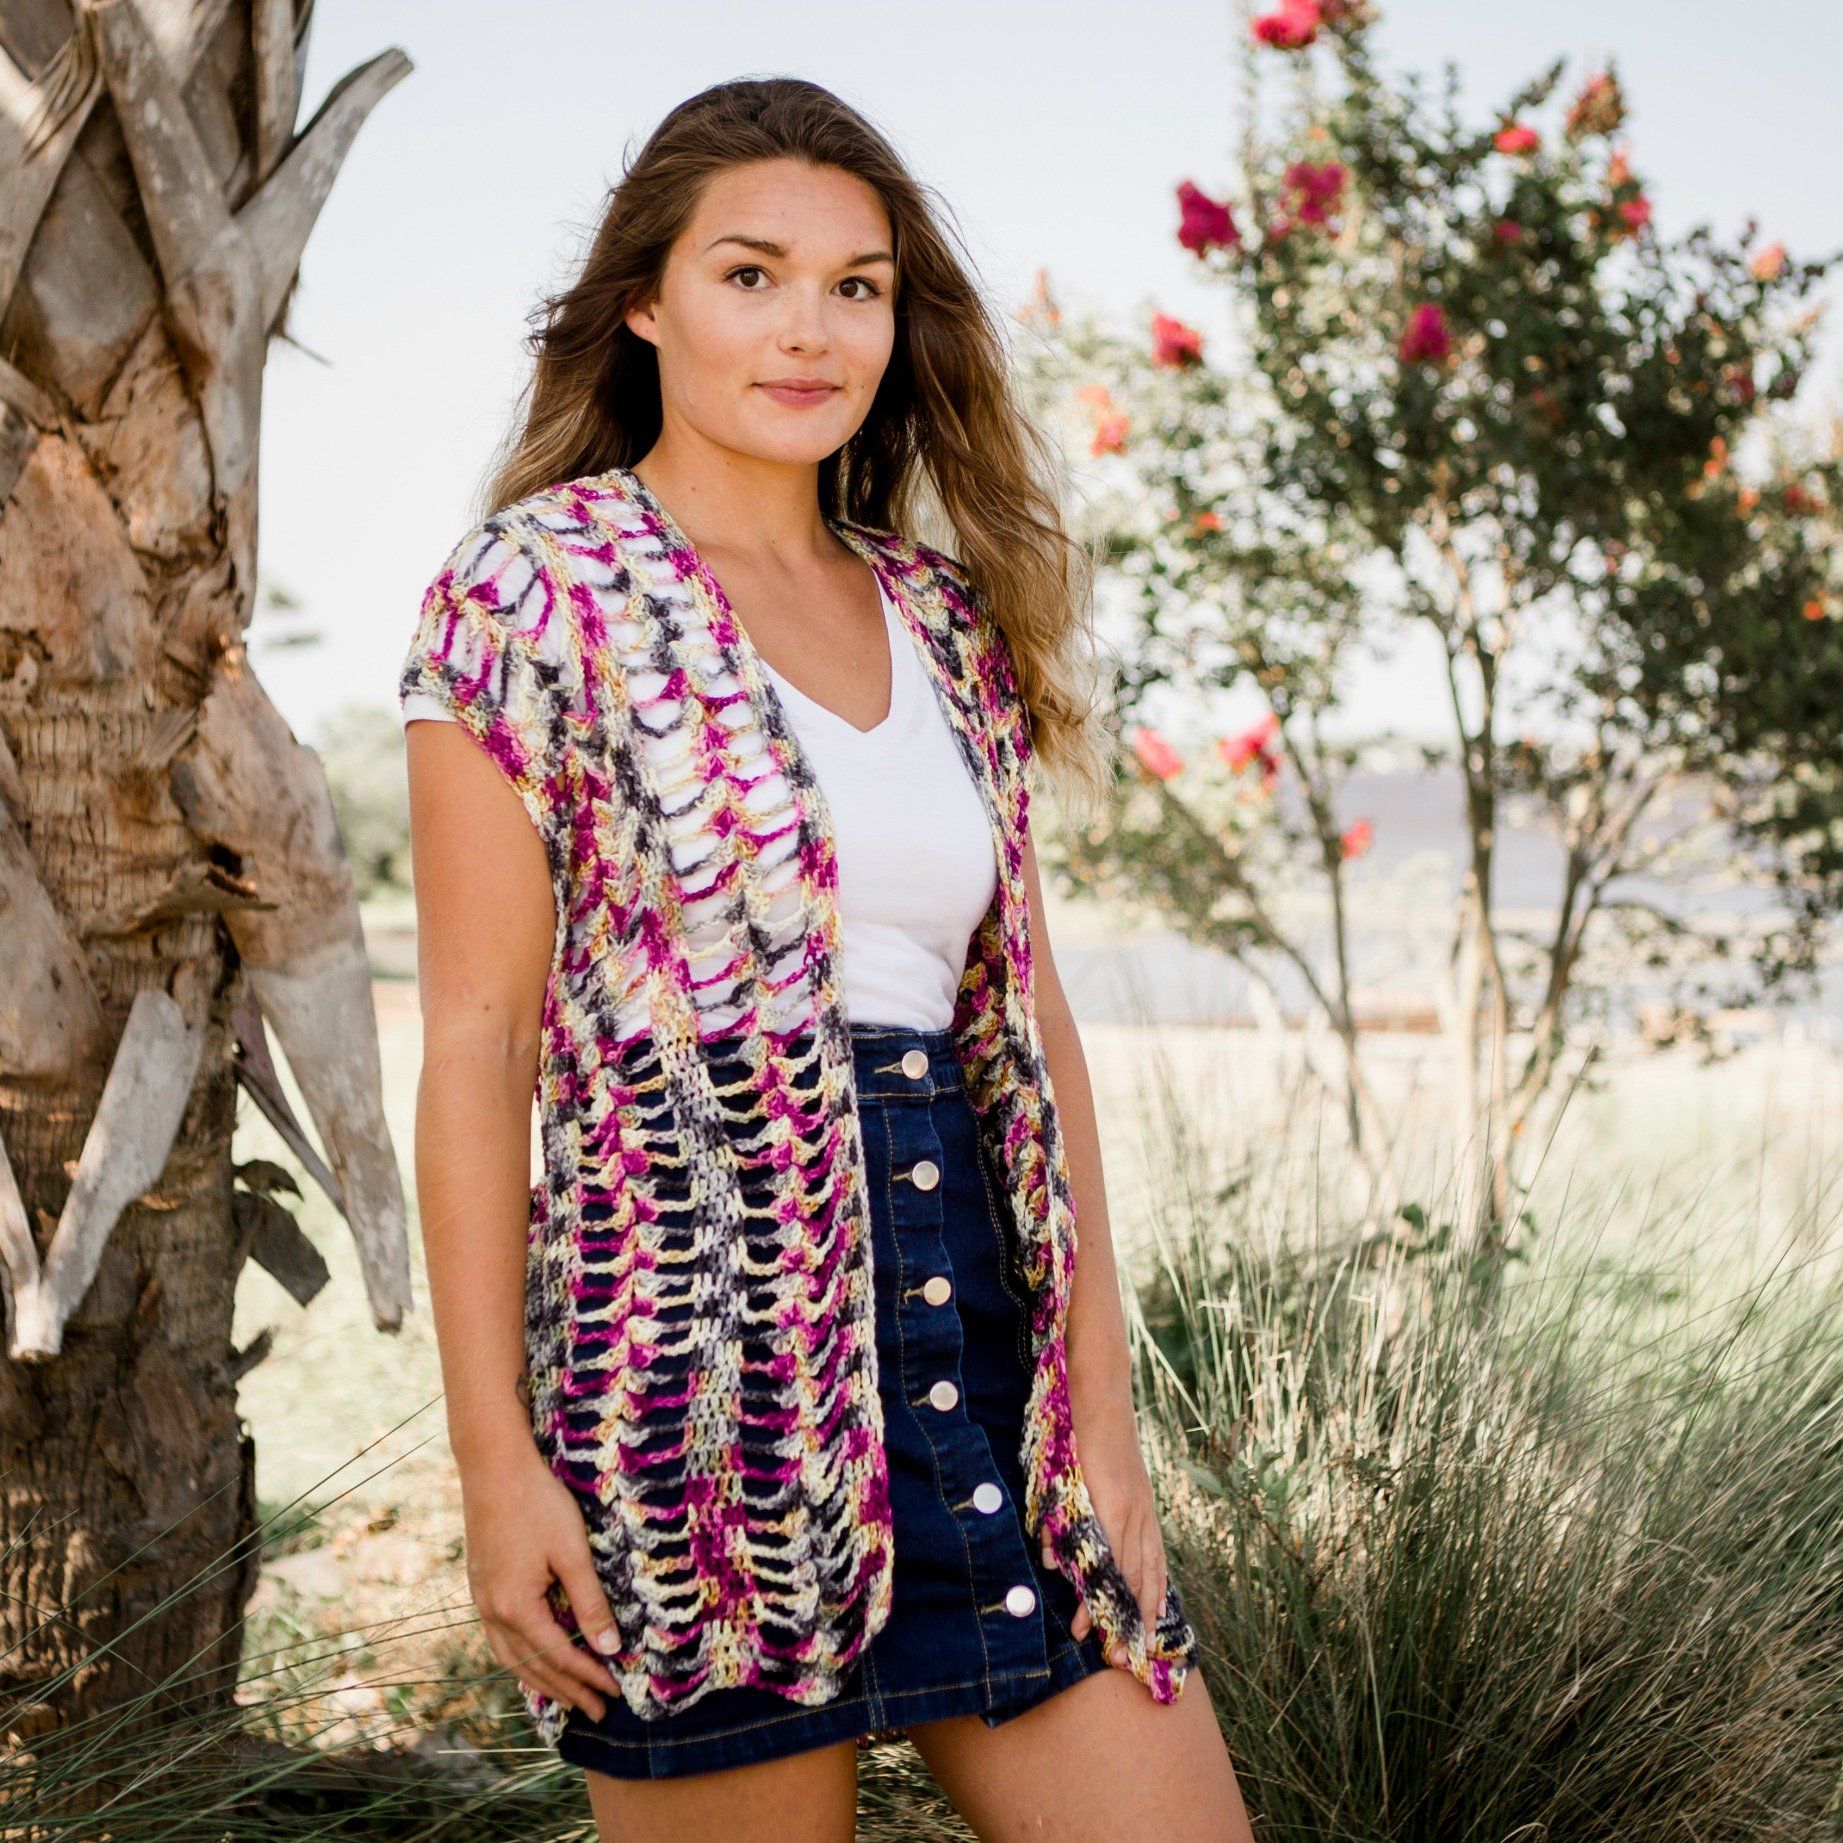
The Maria Vest is an easy detailed crochet vest that will be a perfect addition to your wardrobe. Layer it over a tank top and shorts, a bathing suit, or a t-shirt and jeans. The Maria Vest is perfect for a day at the beach or a Summer night out with your friends.
The Maria Vest crochet pattern has simple stitches that leave a gorgeous detail in every row. It’s a perfect beginner pattern that includes repeated stitches and mindless crocheting – the perfect project while you watch your favourite show.
This pattern will be memorized quite easily after the first few rows making this such a fun and easy Summer project.
ABOUT OUR DESIGNER
Hi! I’m April, the designer behind OTH Crochet Nook. My love for crochet was inspired by my Grandmother who I watched make beautiful things with her hands when I was a little girl. She showed me the basics of crochet when I was 10 years old. I didn’t pick it up again until 2014 when I started to make items for my family and friends. Once I started designing and writing my own patterns, I knew this was something I wanted to do forever! I love creating new pieces and coming up with creative ways to make patterns easy to read. I named this pattern “The Maria Vest,” after my Grandmother who recently passed away. During the last month I spent with her, I started and finished this vest. It’s very special to me and I hope you all enjoy making it as much as I did. All my patterns are free on my blog, follow me on social media to find a ton of free patterns that are all beginner friendly.
Follow April
Blog | Instagram | Facebook | Pinterest

SUPPLIES
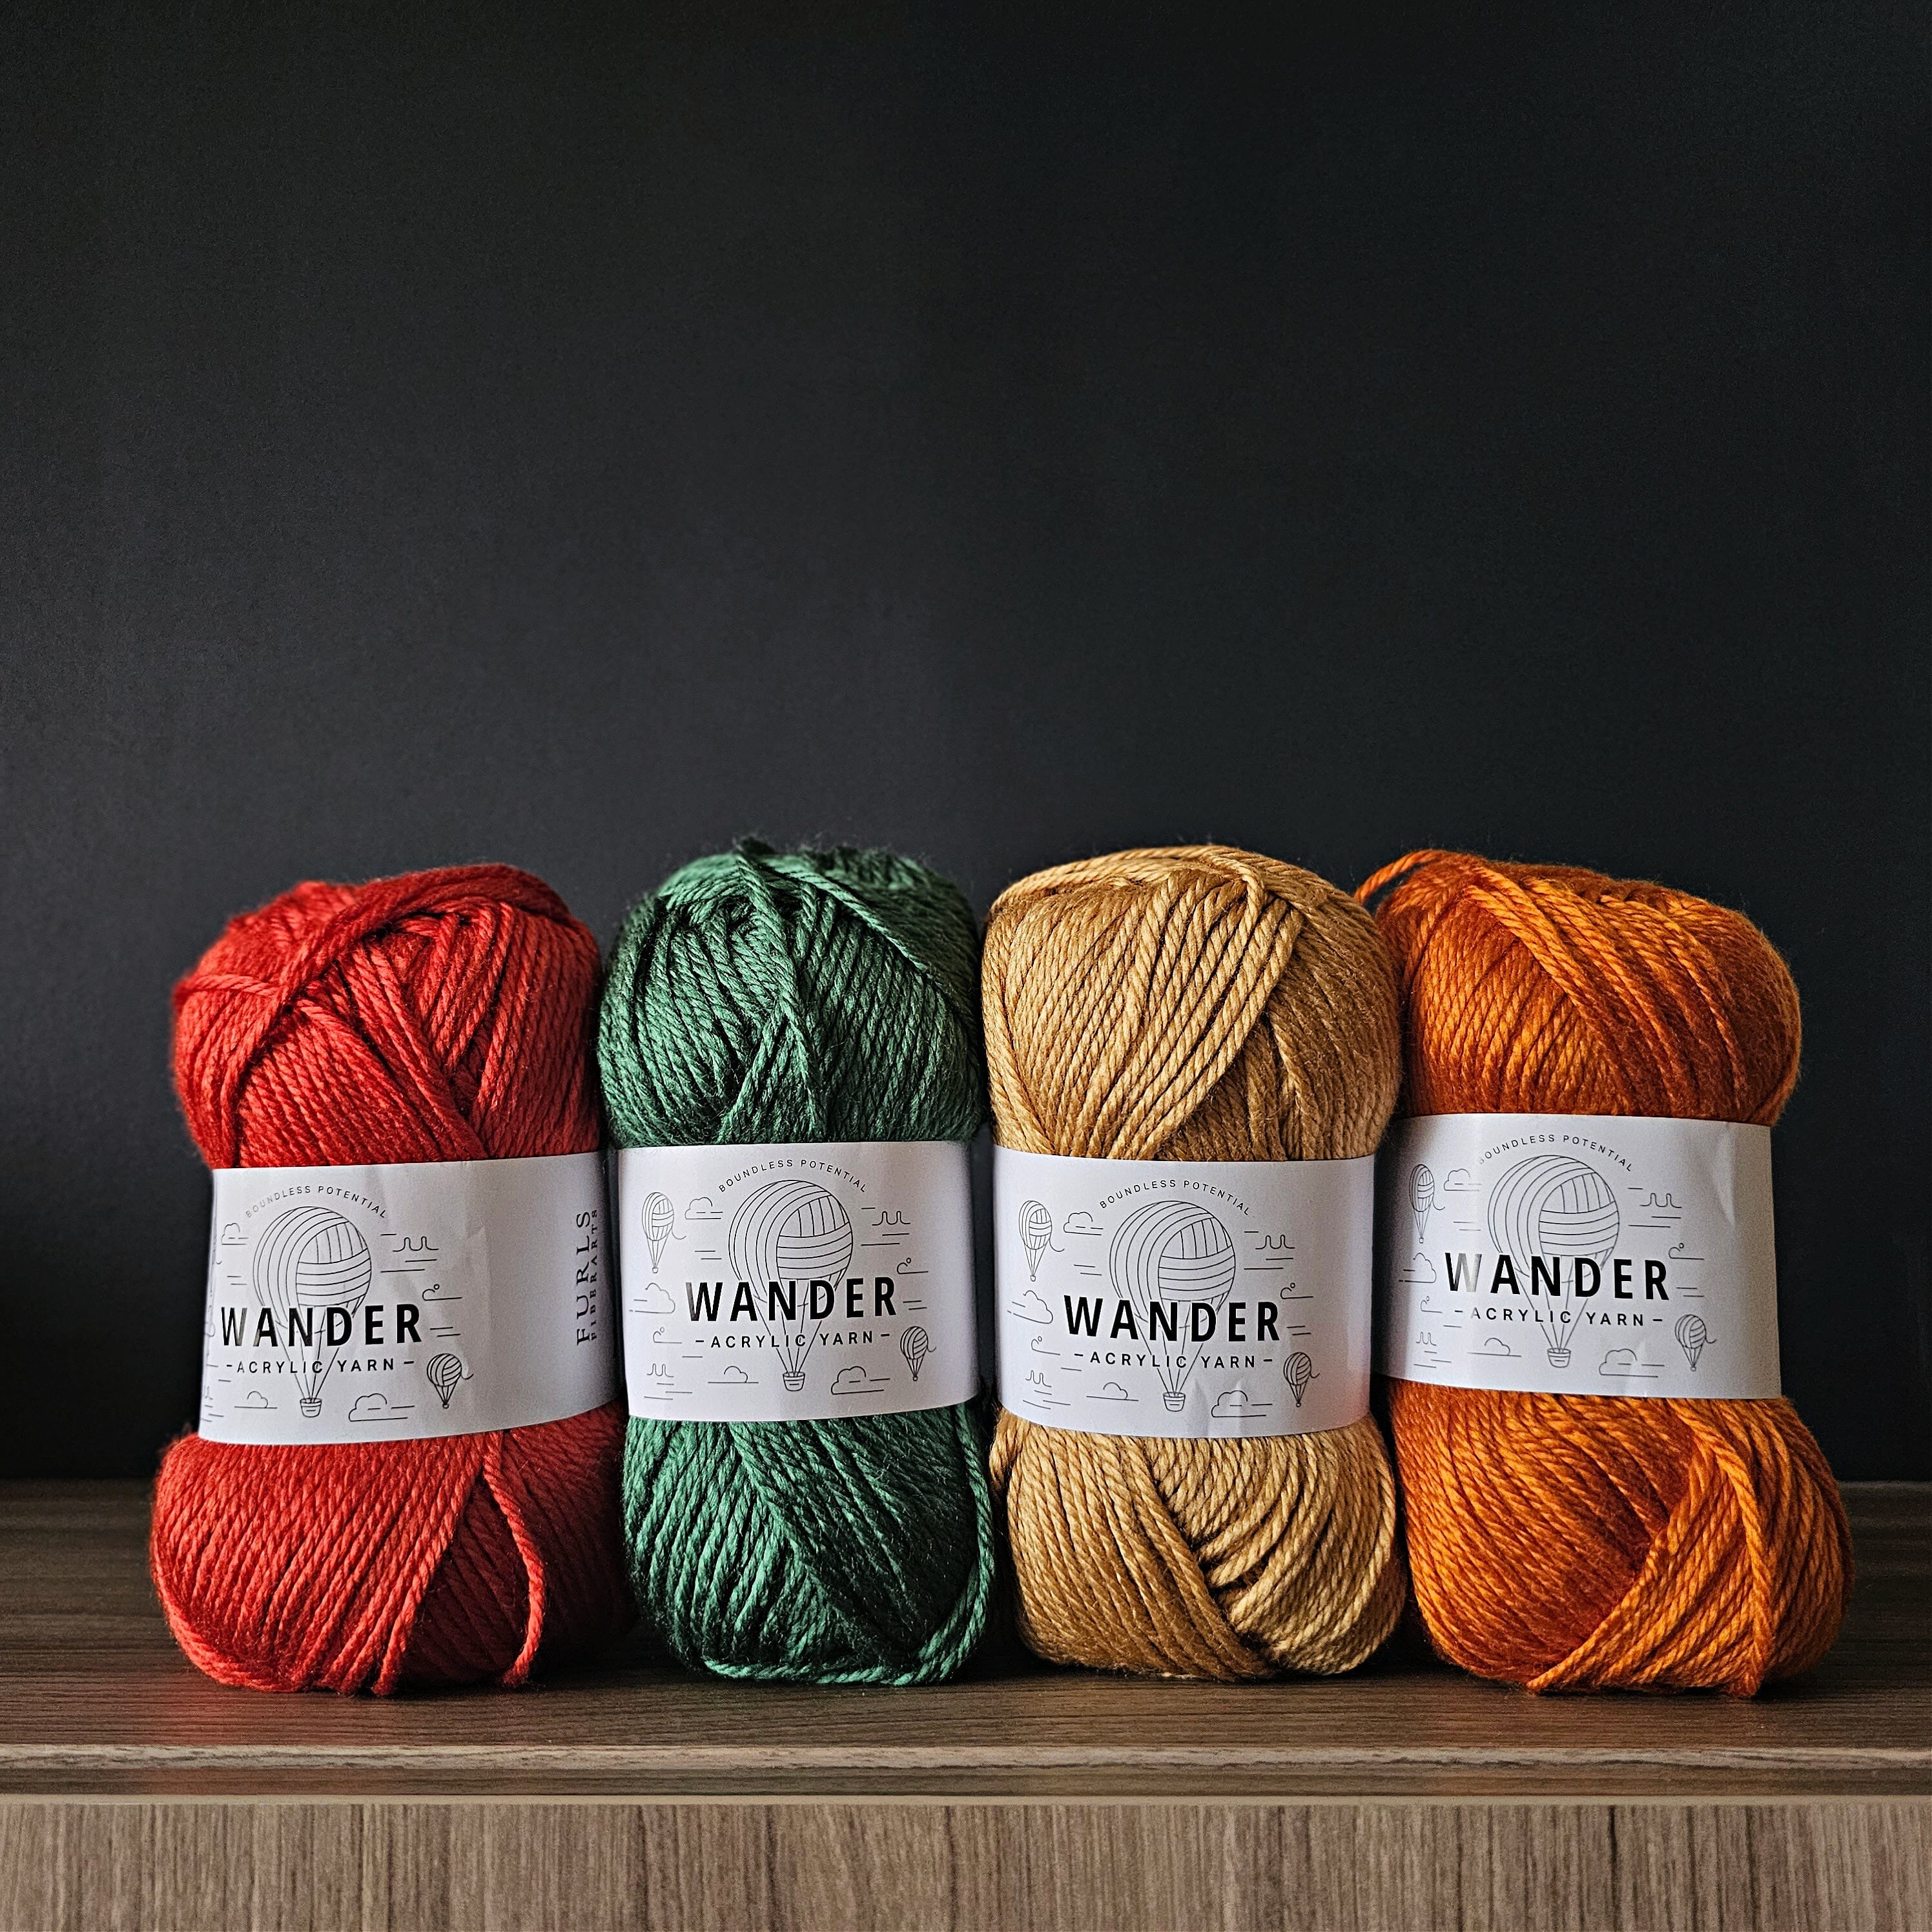
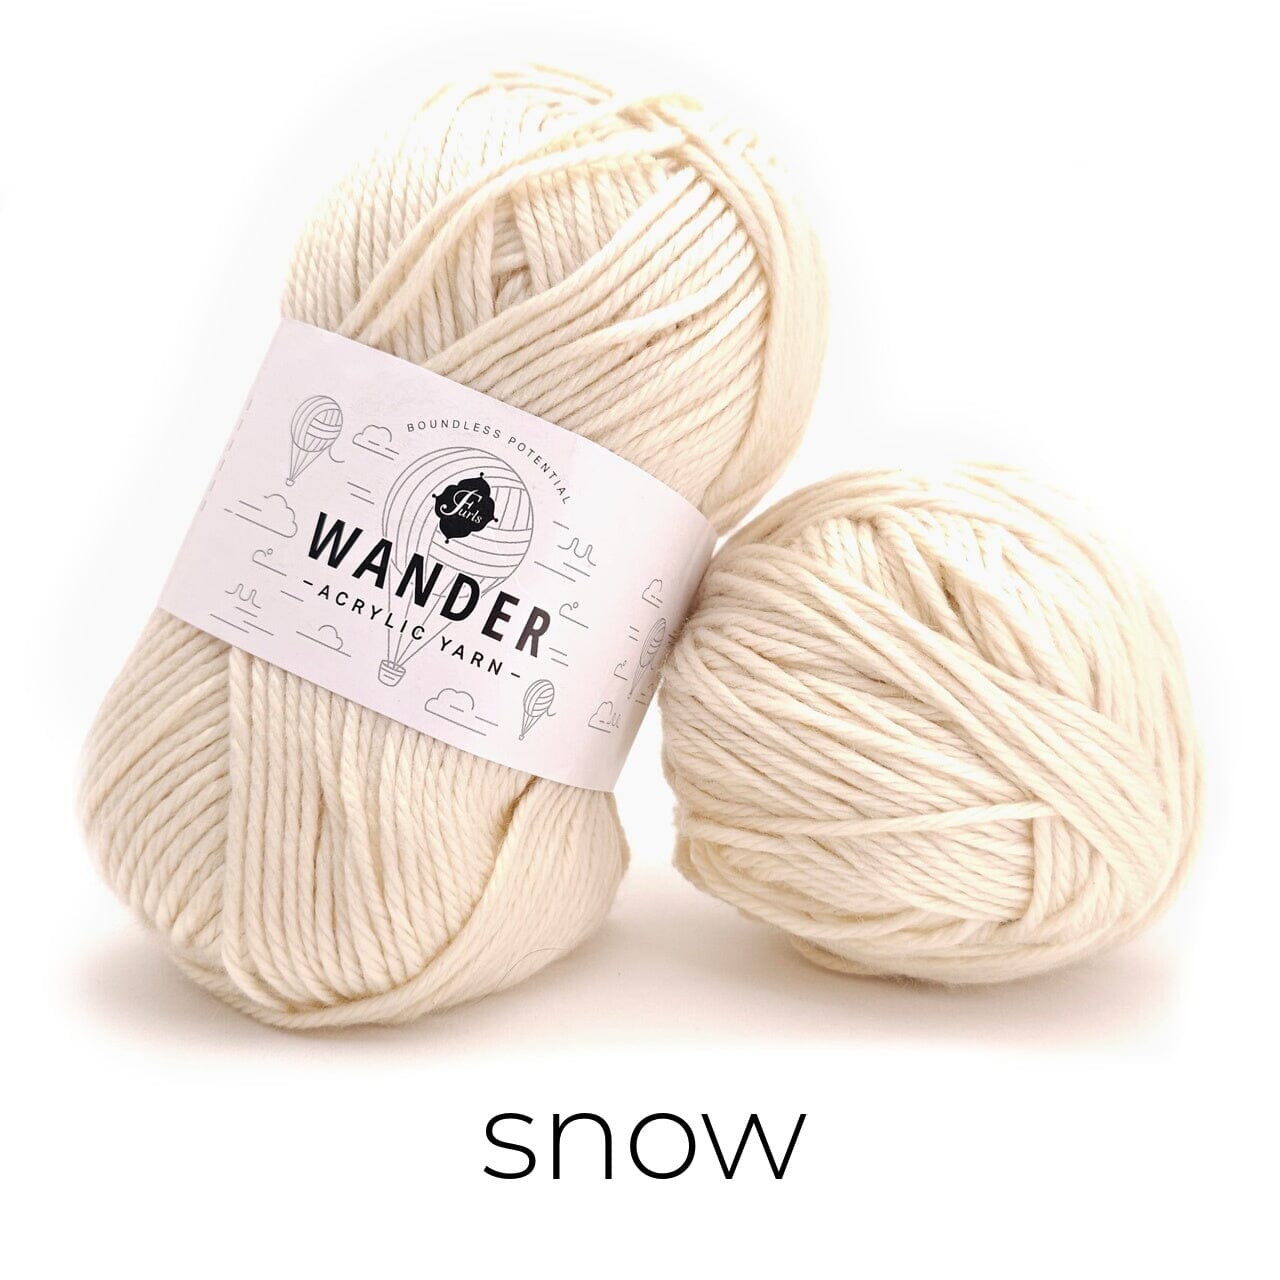
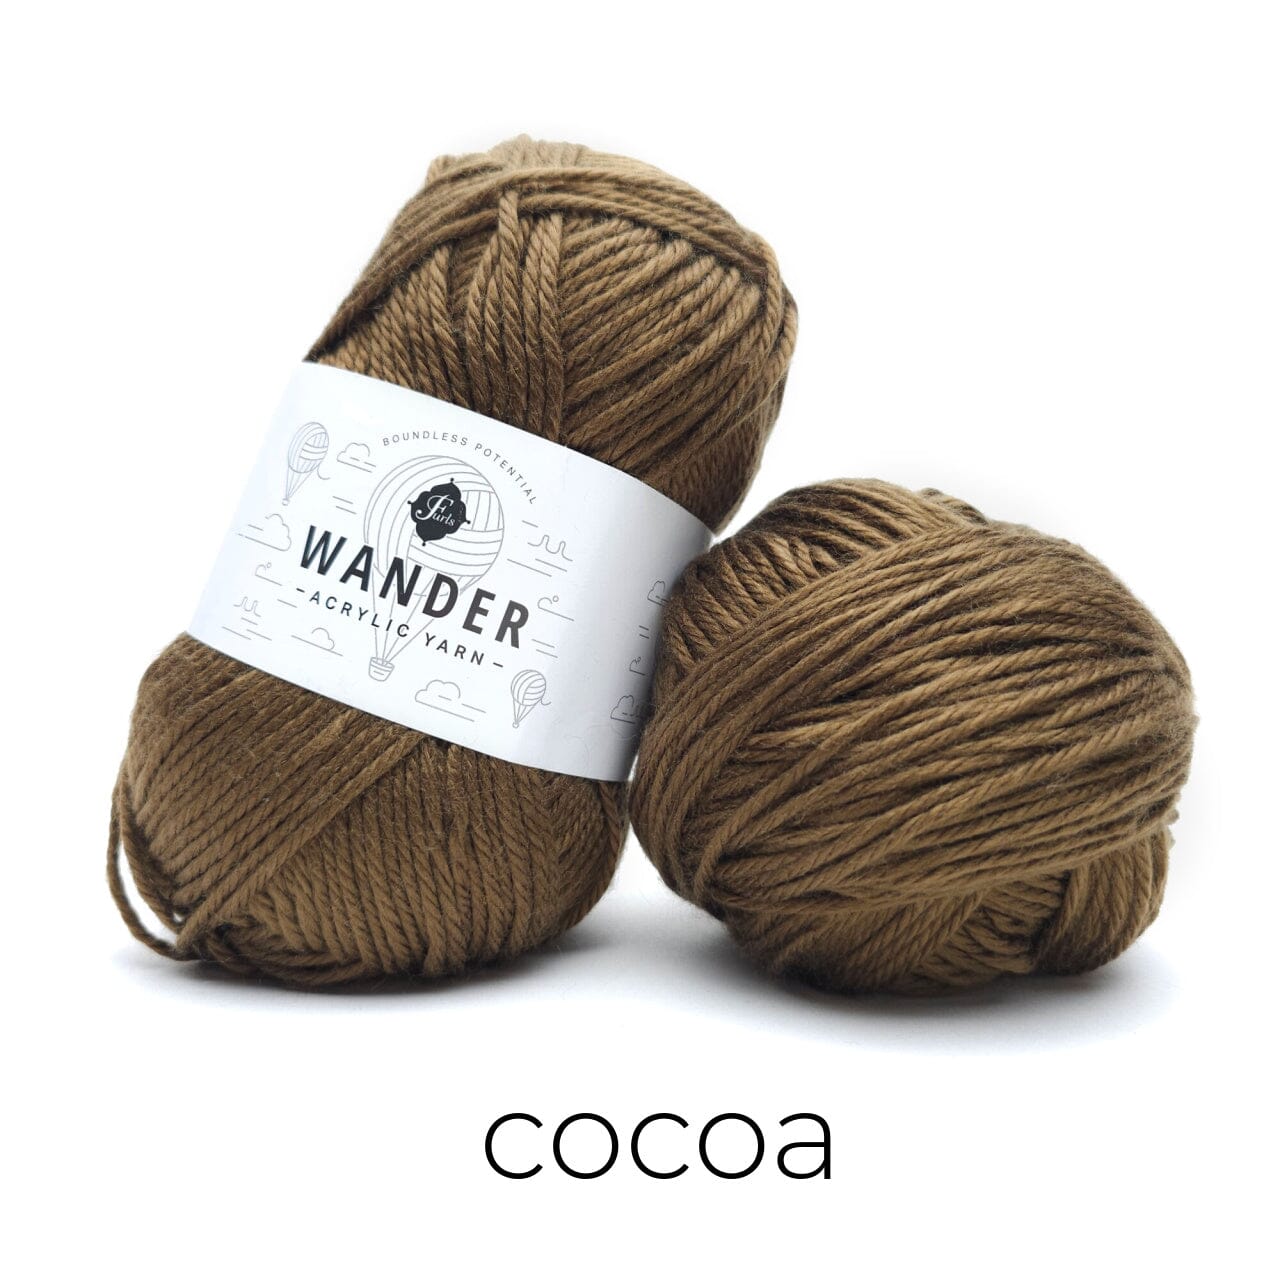
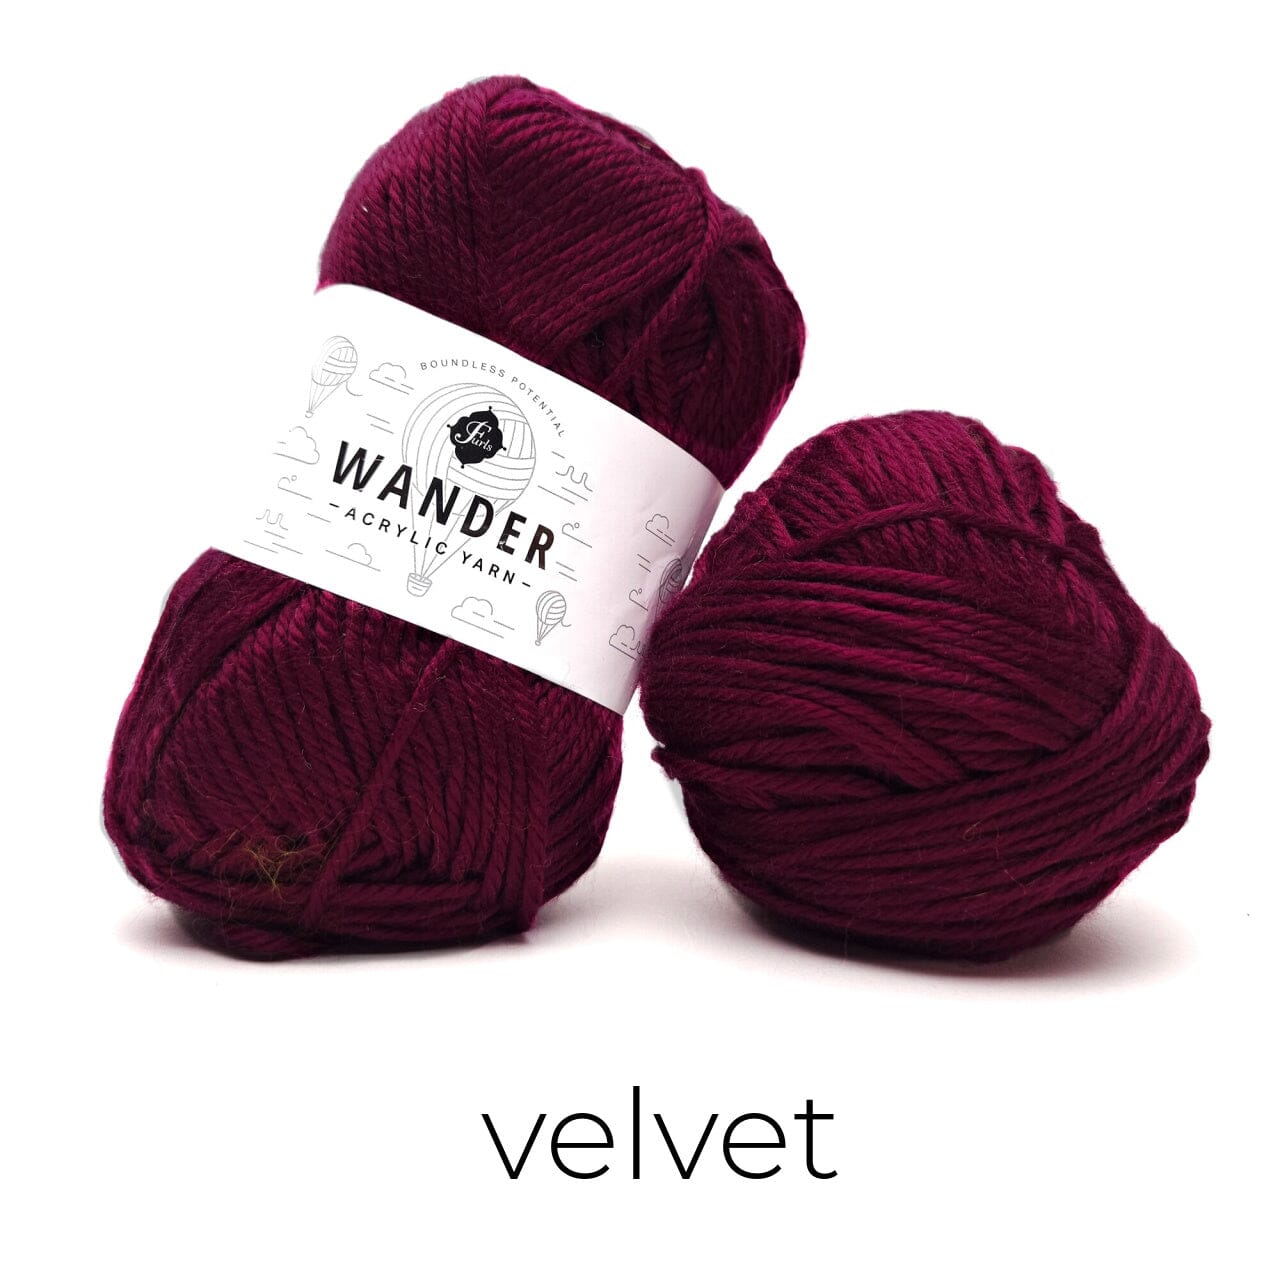
YARN
Sock weight yarn
-XS/S/M: 874 yards
-L/XL: 1092 yards
I used yarn from a local maker: Dover Street Supply
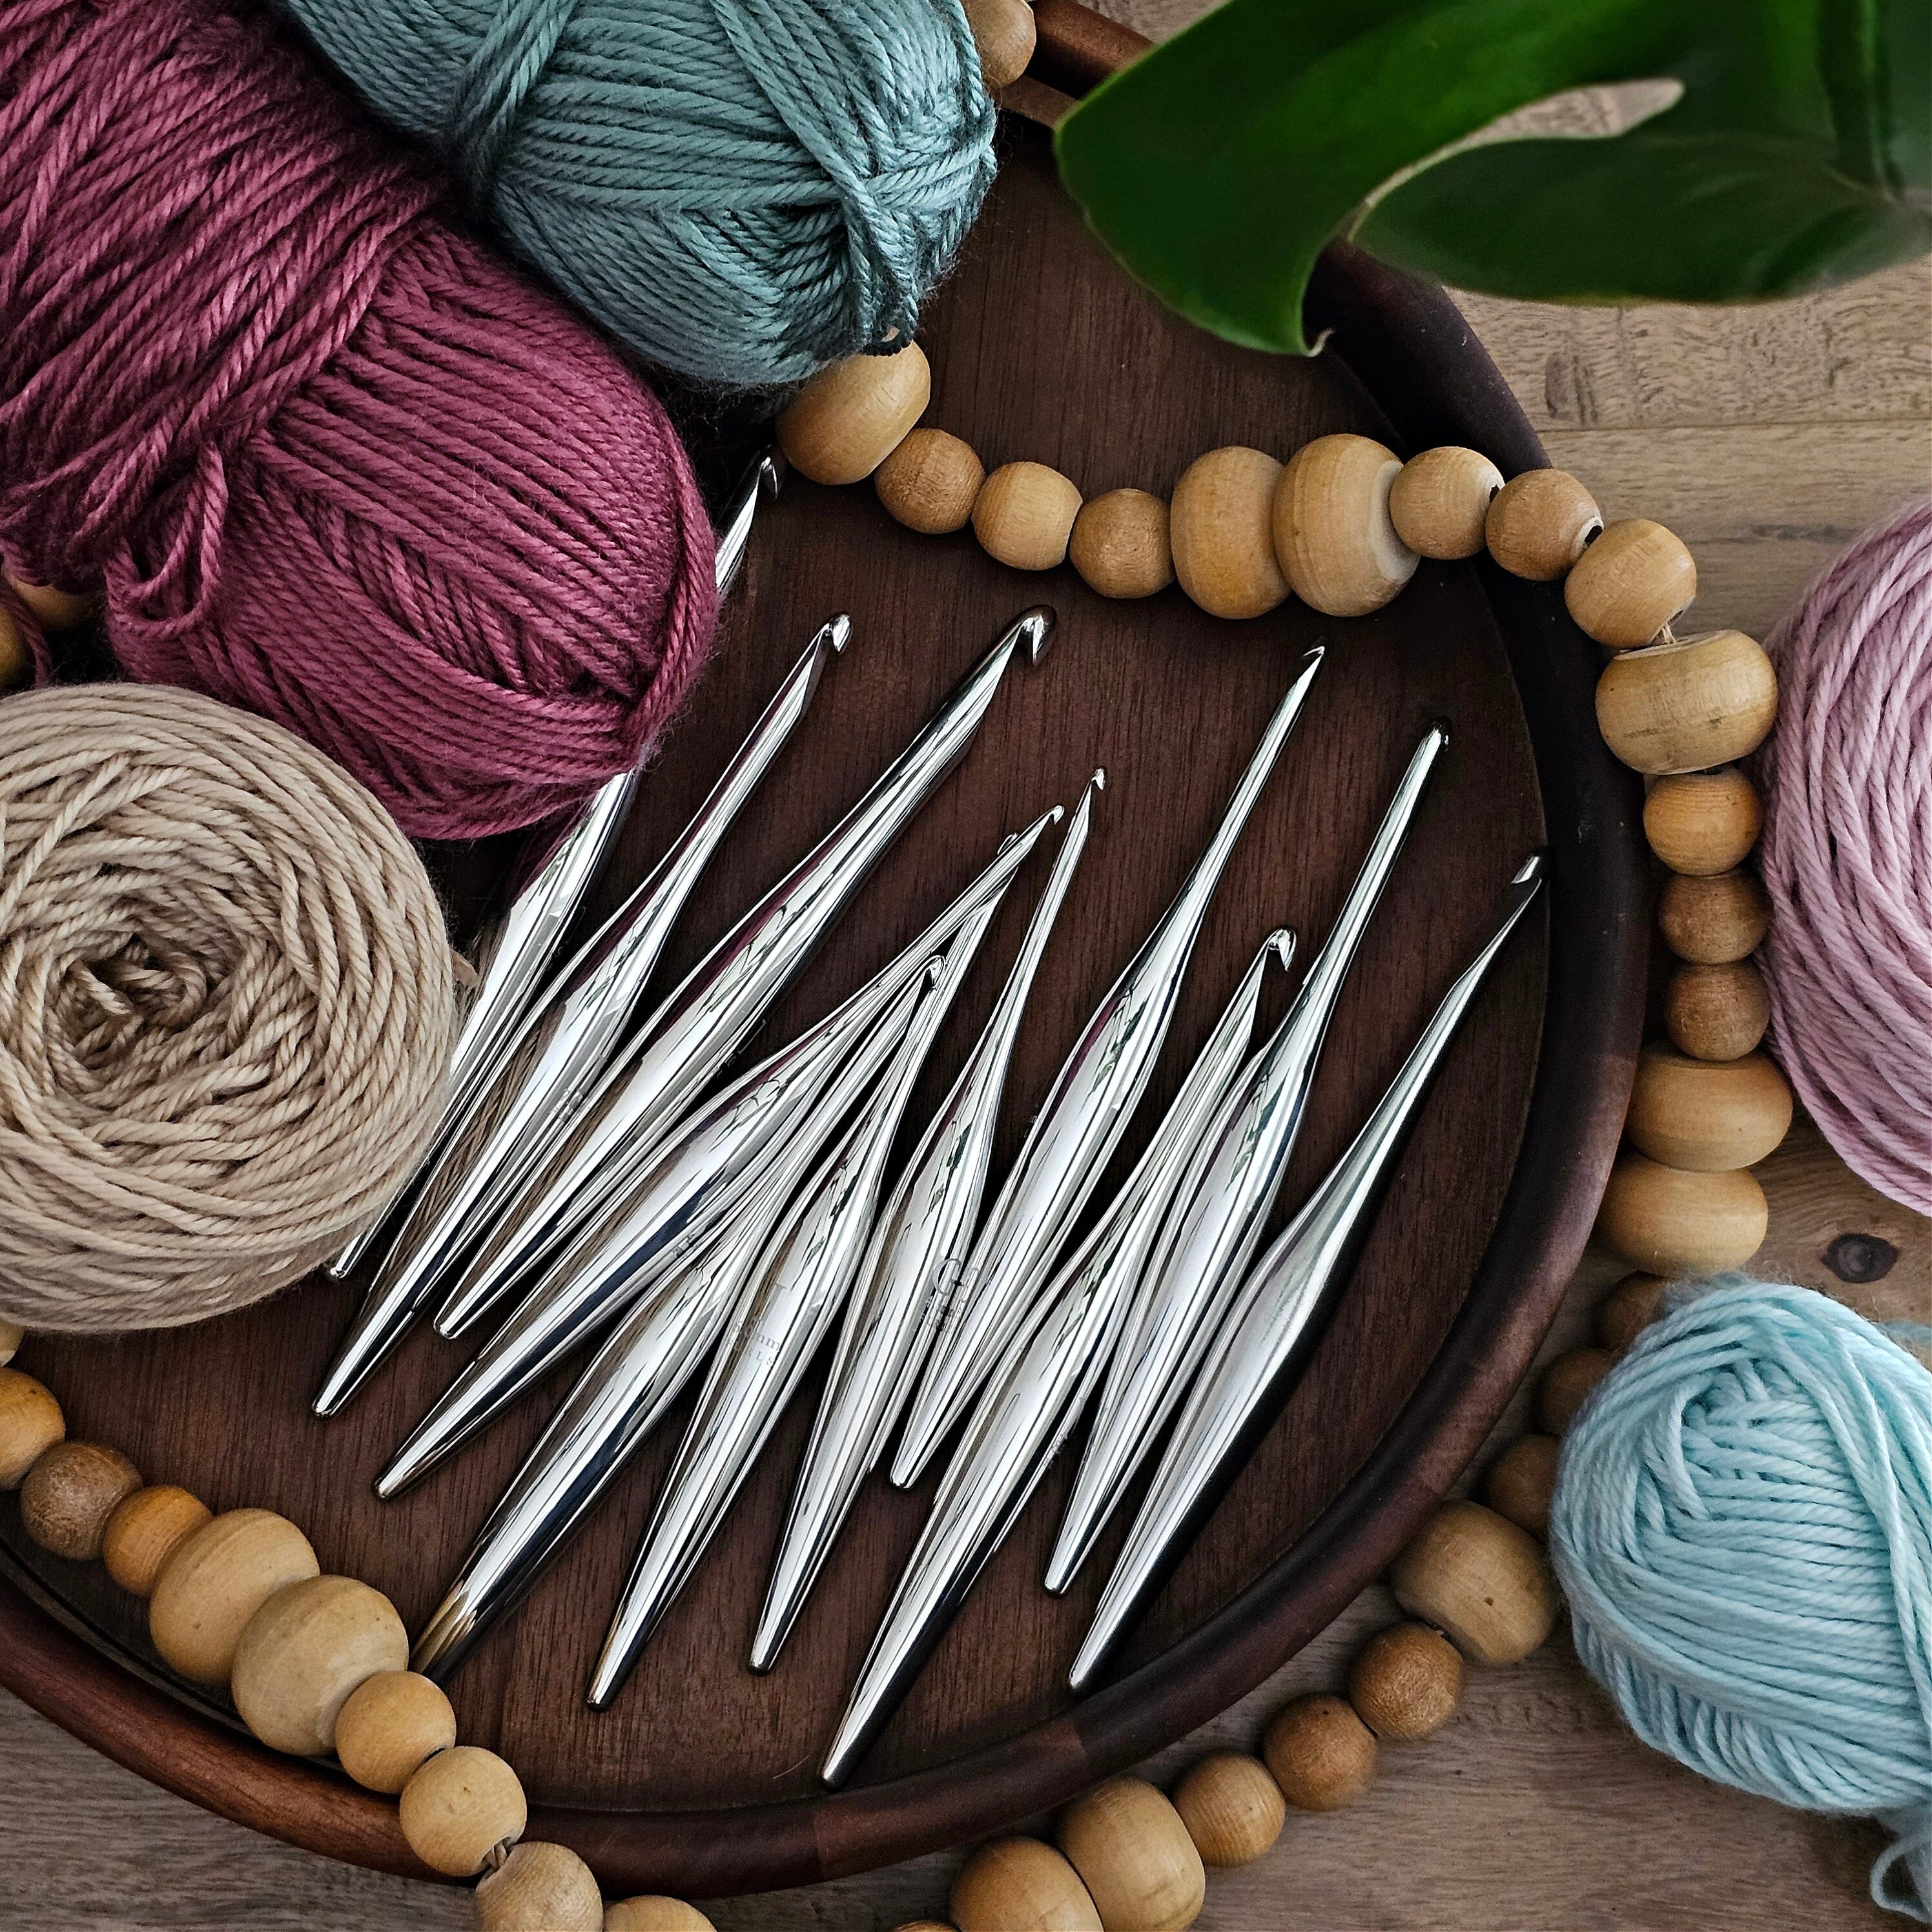
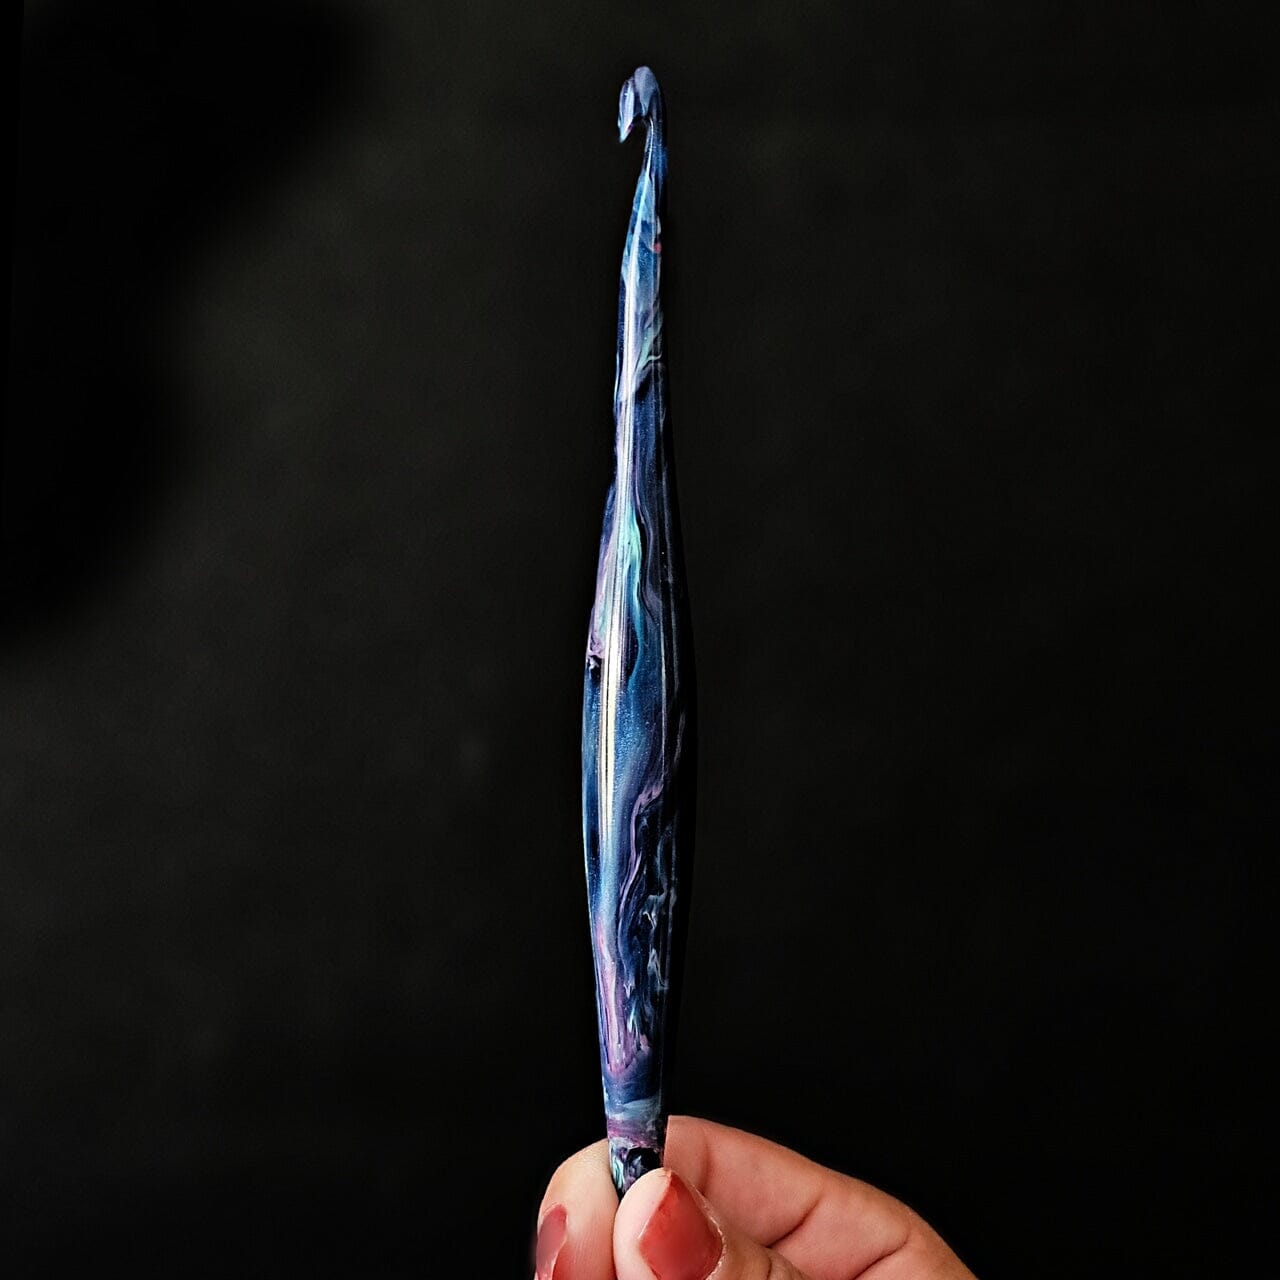
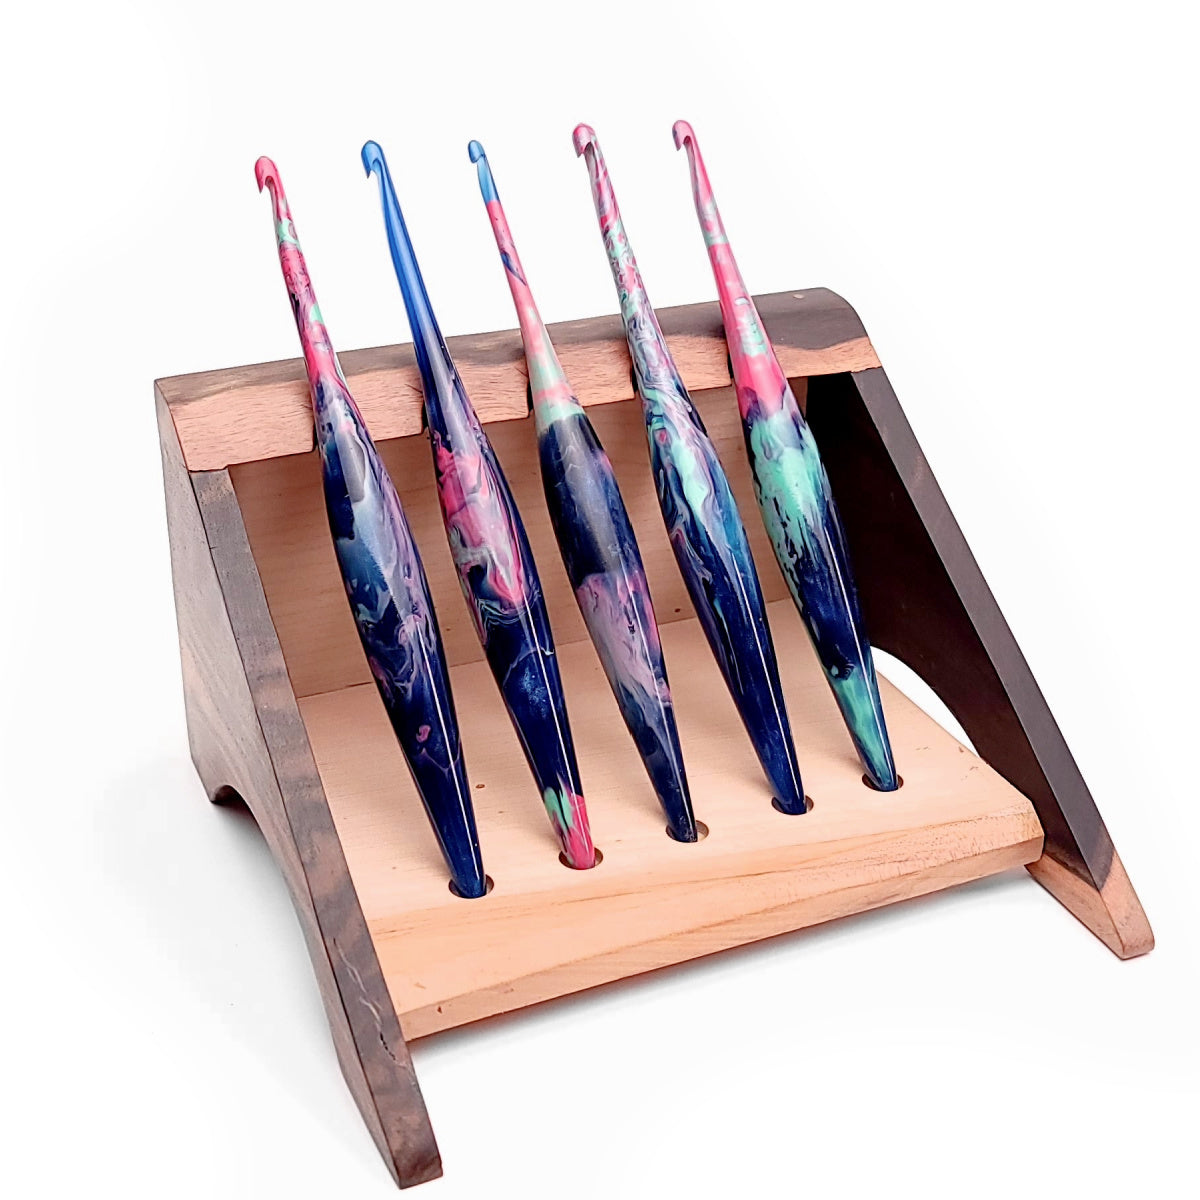
HOOK
Furls Streamline – Ergonomic Wooden Crochet Hook 5.00mm (H) – mine is in the colour: Teak
OTHER SUPPLIES
Scissors
Darning Needle
Stitch markers (optional, I use them to count my rows)

PATTERN DETAILS
Difficulty
Advanced Beginner
Gauge
15 sts x 7 rows = 4” x 4”
Finished Sizes
To fit bust measurement
XS/S/M 28 – 38”
L/XL 40 – 46”
Finished bust
XS/S/M 40”
L/XL 50”

Abbreviations
Ch – Chain
St – stitch
Sk – skip
DC – double crochet
Sl St – slip stitch
Notes before you begin
-this pattern is made up of two identical long panels.
-at the beginning of each row, the CH 2 counts as the first stitch.
-the last DC at the end of every row can be tricky to find, make sure to look for the top of the CH 2 from the previous row (your rows will always begin and end with 5 DC)
-each row is identical with the same stitches, there is no wrong side or right side of the panel.
-In part one of the pattern, you will complete both panels
-Part two will consist of putting the vest together: panels will be laid out side by side, and the back will be seamed together
-wide armholes will be created by seaming down each side.
-a diagram is included at the end of this pattern to show you exactly how to seam this vest together.
-the pattern is written for size XS/S/M, for size L/XL: see initial chain in ( ).
-the vest fits oversized and comfortable
-blocking is suggested once project is complete. (or before seaming together)

PART ONE
In part one of the Maria Vest, you will complete both panels. Don’t be intimidated by the 100+ rows for each panel, they work up very quickly. Once I hit 50 rows, I add a stitch marker to make for easier counting along the way.
Let’s start crocheting The Maria Vest.
Left and Right Panel (make 2):
Row 1: Ch 32 (46)
Row 2: Ch 2. DC in 3rd st from the hook. DC in the next 3 sts. *Ch 4. Sk 4. (3DC, Ch 1, 3DC) all in the next st. Ch. 4. Sk 4. DC in the next 5 sts. Repeat from * once more for size for L/XL. Turn.
Row 3: Ch 2. DC in the next 4 sts. *Ch 4. Sk 4. (3DC, Ch 1, 3DC) all in the CH 1 space from previous row. Ch. 4. Sk 4. DC in the next 5 sts. Repeat from * once more for L/XL. Turn.
Row 4 - 110: Repeat row 3. Sl St and fasten off. (You can continue the pattern to make this vest as long as you want)

PART TWO
In part two, we will now assemble the vest together. I blocked both panels before I seamed them together.
Finishing
Lay right and left panel side by side. Seam centre back stopping halfway between panels.
Fold in half with neck opening at top.
Sew side seams between bottom edge and 11” up each side.
See diagram below to help with the finishing.
Weave in all ends.
And you’re done!