DESCRIPTION
Hey everyone! I'm Kathy with ELK Studio and what an honor it is for me to host a Crochet-Along with Furls. I know we will have a blast crocheting the Shangri-la Sunhat!
I've made several summer hats over the years and thought why not again? The Shangri-la Sunhat is not only an elegant hat but can really provide you protection from the sun if you need it.
One part of my designs of the sun hats that I love the most is the brim. I use millinery wire to help hold the brim in place. Don't worry if you've never used it. I have a tutorial that will help to guide you all the way, plus I'll definitely be hanging out in the Furls group to answer your questions.
ABOUT OUR DESIGNER
Follow Kathy of ELK Studio on your favorite social media sites. You can find me on Facebook, Pinterest, Twitter and Instagram!
You can also register for the newsletter to stay up-to-date on the ELK Studio happenings and if you'd like to become an ELKie, join the group!
SUPPLIES

Here's what you'll need to get ready for the CAL!
Supplies:
1. Yarn – Omega Sinfonia, #2 Sport Weight, 100% mercerized cotton, 218 yards, 100 grams, 1 skein of each colorway: #861 Sand and #869 Gold
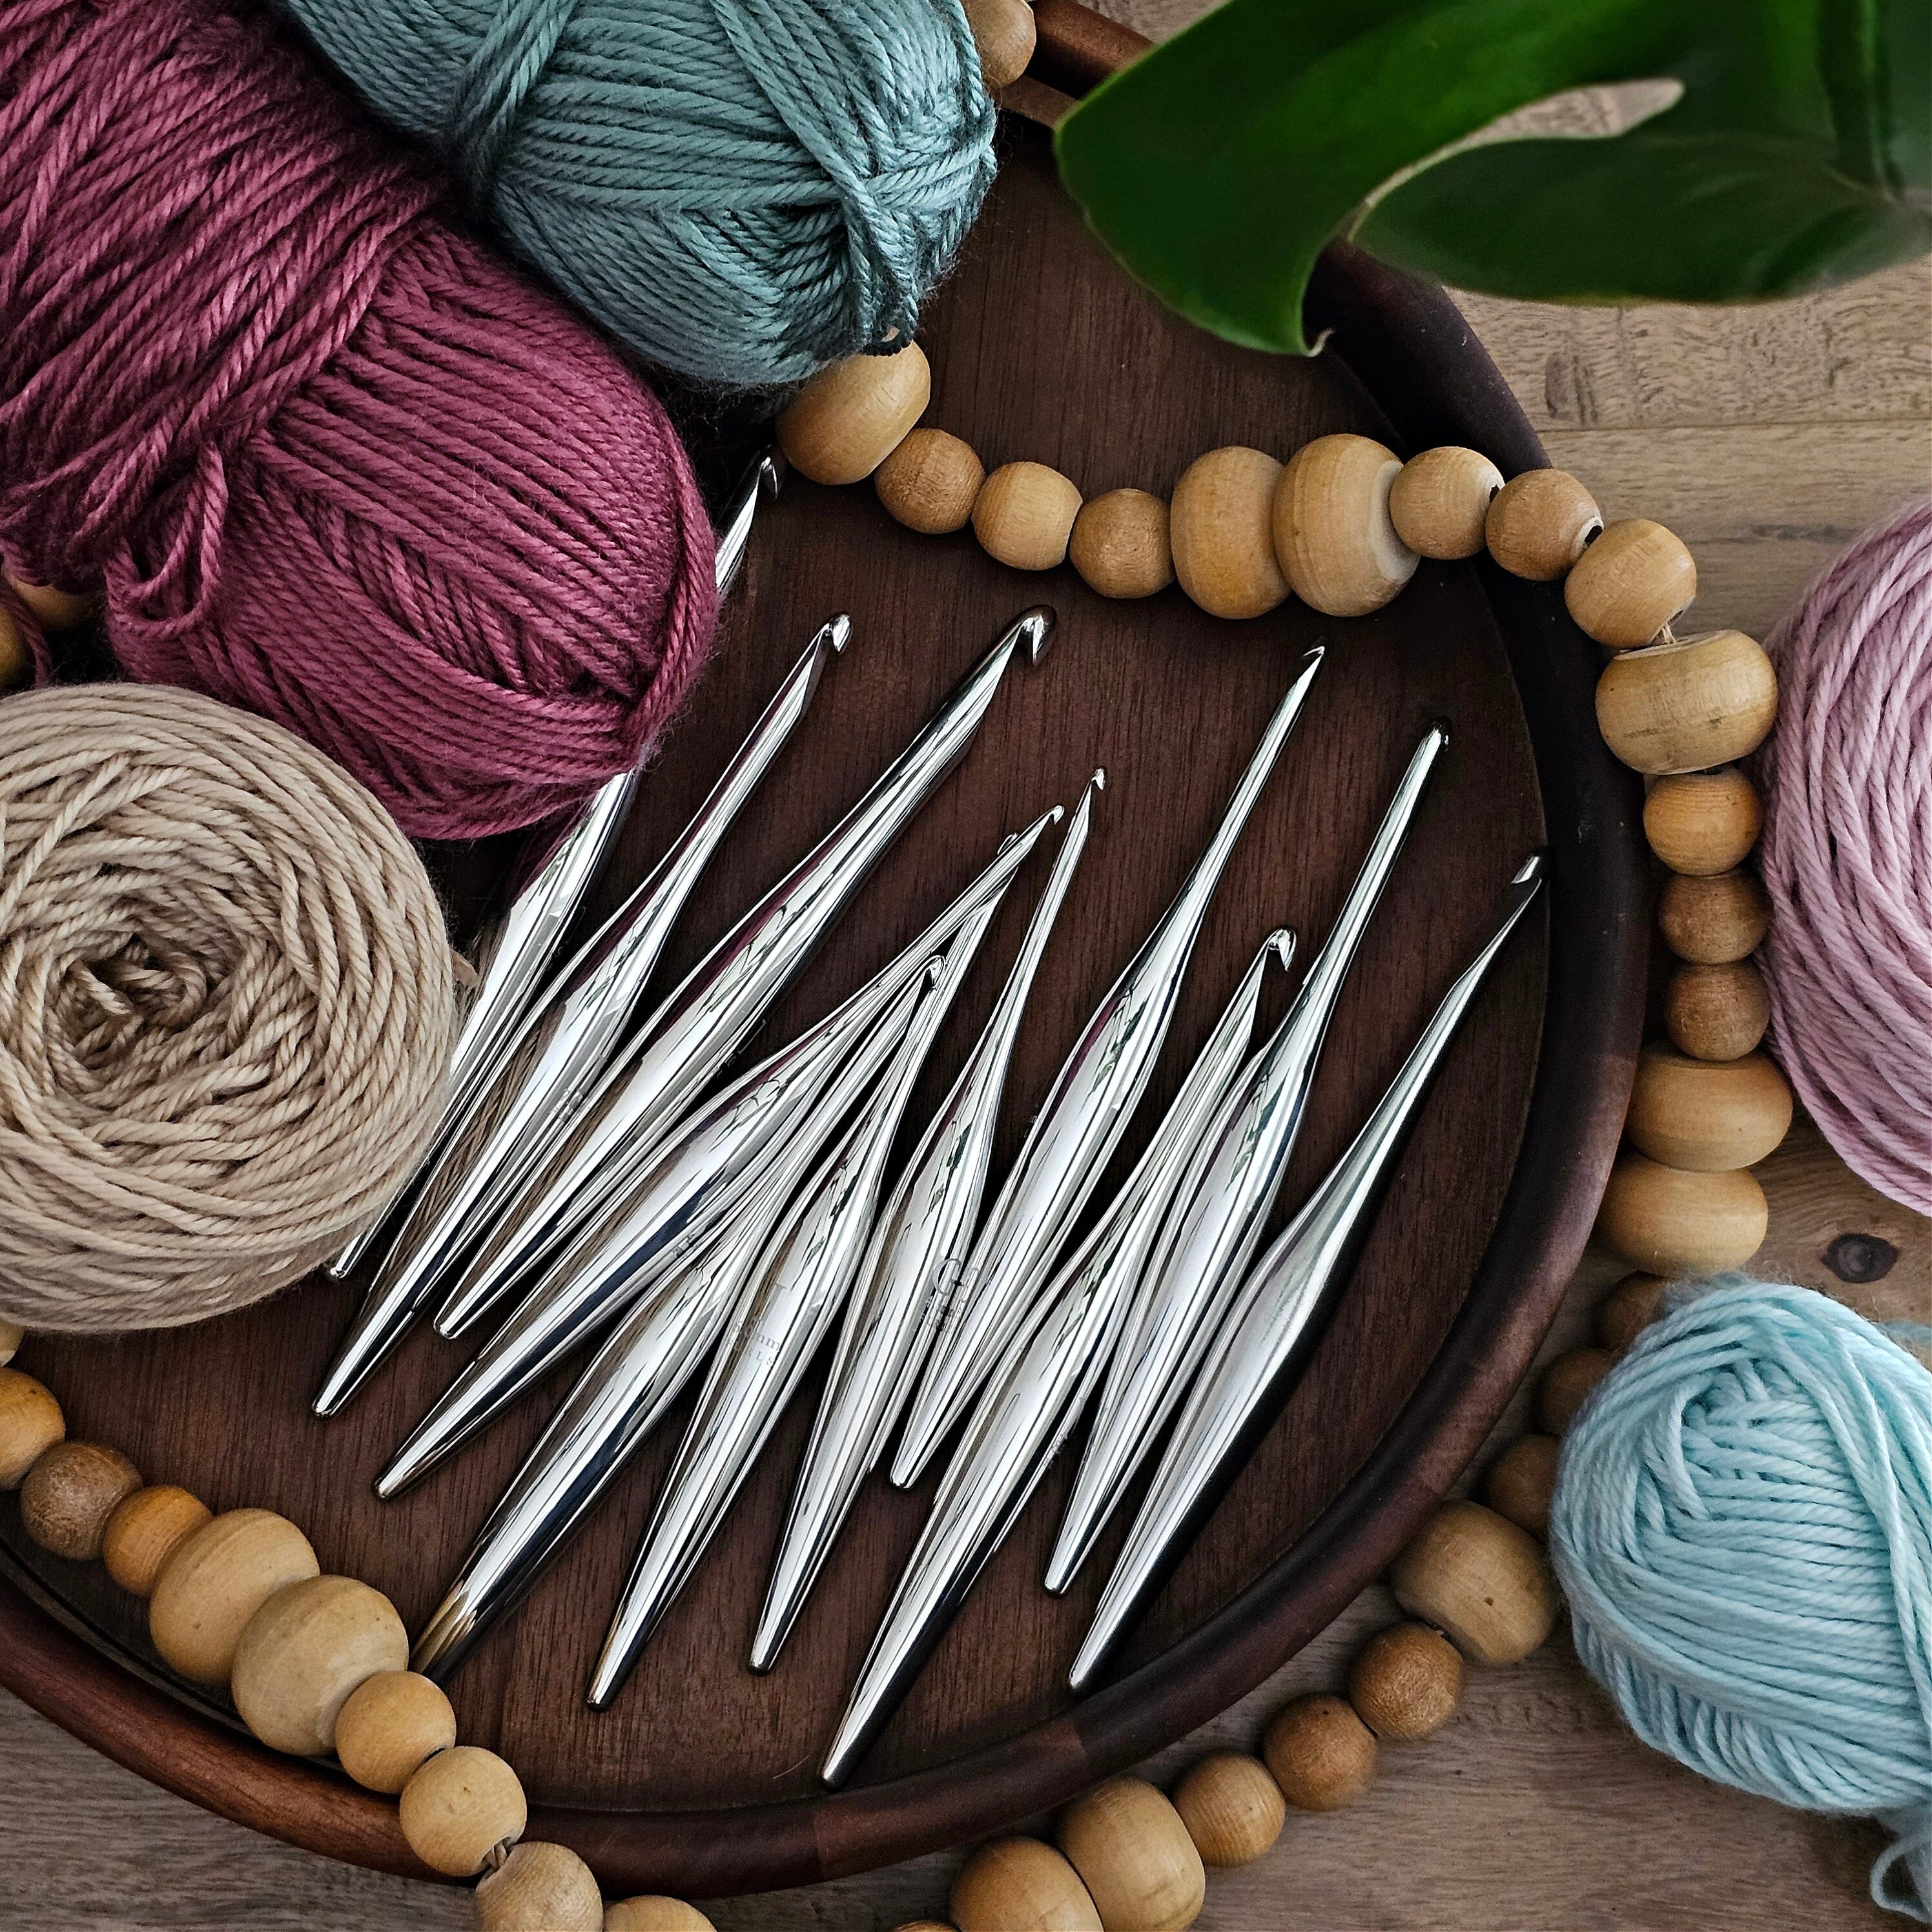
2. Hook – Furls Odyssey E/3.5mm, F/3.75mm
3. Tapestry Needle for weaving in ends
4. Millinery wire – 1.5 yards
5. Joiner to attach the ends of the millinery wire
6. Pliers to secure the joiner
Join our exclusive CAL Facebook group, Fun with Furls and Favorite this pattern on Ravelry to stay up to date
Gauge: Approximately 19½ hdc sts and 13½ rows = 4”
Sizes: Small: 22” (Medium: 23”, Large: 24”)
PATTERN DETAILS
It's time to get started with Week Two of the Shangri-la Sun Hat! Lots of you have already orders the wire and joiners you'll need to make the hat, and I'm so excited to start seeing these projects come together.

This week we will learn how to crochet the body of the hat pattern. Some of you may be familiar with the symbol (dc2tog) which means double crochet two stitches together. If you aren't, no worries because that's what you'll be learning.
There is a little twist to this special stitch this time because you'll be crocheting it over the course of a stitch while skipping a few stitches then completing the stitch. It will be fun, I promise!
I'll given you the written directions for this part of the hat so that you can begin practicing.
Special Stitch:
Double crochet 2 stitches together (dc2tog): (YO, insert your hook in indicated st, YO, pull up a loop, YO, pull through 2 loops) known as first leg of dc2tog, (YO, insert hook into next indicated st, YO, pull through 2 loops, YO, pull through remaining 3 loops.) known as second leg of dc2tog
Now look at how the instructions will be written in this excerpt I've given you in the pattern to see how it's done.
*ch 2, first leg of dc2tog in next st, skip next 3 sts, 2nd leg of dc2tog in next st, ch 2**, dc in next 3 sts, repeat from * around, ending last repeat at ** (This is an excerpt of part of the pattern to demonstrate how it is written).
Abbreviations:
ch – chain
dc – double crochet
hdc – half double crochet
rem – remaining
sc – single crochet
sl st – slip stitch
sp – space
st(s) – stitch(es)
YO – yarn over
Gauge:
Approximately 19½ hdc sts and 13½ rows = 4”
Sizes:
Small: 22” (Medium: 23”, Large: 24”)
Pattern Notes:
- Ch 1 at beginning of a round does not count as a single crochet or the first st.
- Ch 3 at beginning of a round counts as double crochet.
- Adding the Millinery Wire: Crochet over the wire just as if you were carrying yarn along the round. Continue working over the wire until you are about 2-3 inches from the end of the round. At this point, try to gauge how much wire you will need to complete the round. Cut the wire and unravel a small portion of the rayon from the wire on each end exposing the silver. Insert each end of the wire into the joiner. Use pliers to clamp the ends tight so they do not come out of the joiner. Finish crocheting the remainder of the hat as instructed. (You may not use the entire 1 ½ yards)

PART ONE
ALL SIZESBegin with F/3.75 mm hook.
Rnd 1: Using Sand, ch 4, join to first ch to form ring, ch 1 (See Pattern Notes), 9 hdc in ring, join by sl st to first st. (9 hdc)
Rnd 2: Ch 1, 2 hdc in next st and each rem st around, join by sl st to first st. (18 hdc)
Rnd 3: Ch 1, hdc in first st, 2 hdc in next st, *hdc in next st, 2 hdc in next st, repeat from * around, join by sl st to first st. (27 hdc)
Rnd 4: Ch 1, hdc in first st, hdc in next st, 2 hdc in next st, *hdc in next 2 sts, 2 hdc in next st, repeat from * around, join by sl st to first st. (36 hdc)
Rnd 5: Ch 1, hdc in first st, hdc in next 2 sts, 2 hdc in next st, *hdc in next 3 sts, 2 hdc in next st, repeat from * around, join by sl st to first st. (45 hdc)
Rnd 6: Ch 1, hdc in first st, hdc in next 3 sts, 2 hdc in next st, *hdc in next 4 sts, 2 hdc in next st, repeat from * around, join by sl st to first st. (54 hdc)
Rnd 7: Ch 1, hdc in first st, hdc in next 4 sts, 2 hdc in next st, *hdc in next 5 sts, 2 hdc in next st, repeat from * around, join by sl st to first st. (63 hdc)
Rnd 8: Ch 1, hdc in first st, hdc in next 5 sts, 2 hdc in next st, *hdc in next 6 sts, 2 hdc in next st, repeat from * around, join by sl st to first st. (72 hdc)
Rnd 9: Ch 1, hdc in first st, hdc in next 6 sts, 2 hdc in next st, *hdc in next 7 sts, 2 hdc in next st, repeat from * around, join by sl st to first st. (81 hdc)
Rnd 10: Ch 1, hdc in first st, hdc in next 7 sts, 2 hdc in next st, *hdc in next 8 sts, 2 hdc in next st, repeat from * around, join by sl st to first st. (90 hdc)
Rnd 11: Ch 1, hdc in first st, hdc in next 8 sts, 2 hdc in next st, *hdc in next 9 sts, 2 hdc in next st, repeat from * around, join by sl st to first st. (99 hdc) Flat-circle diameter measurement is 6 ¾”.
For Small, fasten off, weave in ends, and skip to Round 14 where you will add 5 stitches evenly around.
Size M and L only
Rnd 12: Ch 1, hdc in first st, hdc in next 9 sts, 2 hdc in next st, *hdc in next 10 sts, 2 hdc in next st, repeat from * around, join by sl st to first st. (108 hdc) Flat-circle diameter measurement is 7”.
For Medium, fasten off, weave in ends, and skip to Round 14 where you will add 4 stitches evenly around.
Size L only
Rnd 13: Ch 1, hdc in first st, hdc in next 10 sts, 2 hdc in next st, *hdc in next 11 sts, 2 hdc in next st, repeat from * around, join by sl st to first st. Fasten off. Weave in ends. (117 hdc) Flat-circle diameter measurement is 7 ¼”.
For Large, add 3 stitches evenly around while working Rnd 14.
Rnd 14: Join Gold, ch 1, hdc in first st, hdc in next st and each rem st around adding 5 (4, 3) sts evenly along round (as 2 hdc in one st), join by sl st to first st. Fasten off. Weave in ends. (104, 112, 120 hdc)
Round 15: Join Sand, ch 3 (See Pattern Notes), dc in next 2 sts, *ch 2, first leg of dc2tog in next st, skip next 3 sts, 2nd leg of dc2tog in next st, ch 2**, dc in next 3 sts, repeat from * around, ending last repeat at ** join by sl st to top of ch 3. (13, 14, 15 dc2tog)
Round 16: Ch 3, dc in next 2 sts, *skip ch-2 sp, (dc, ch 3, dc) in next st, skip ch-2 sp**, dc in next 3 sts, repeat from * around, ending last repeat at **, join by sl st to top of ch 3. Fasten off. Weave in ends.
Round 17: Join Gold, ch 1, hdc in first st, hdc in next 3 sts, *3 hdc in next ch-3 sp**, hdc in next 5 sts, repeat from * around, ending last repeat at **, 1 hdc in last st, join by sl st to first hdc. Fasten off. Weave in ends.
Rounds 18-20: Repeat Rounds 15-17.
Round 21: Join Sand, ch 1, hdc in first st, hdc in next st and each rem st around, join by sl st to first st. Fasten off. Weave in ends.
Rnd 22: Join Gold, ch 1, hdc in first st, hdc in next st and each rem st around, join by sl st to first st. Fasten off. Weave in ends.
You can also use the stitch diagram if it helps you.

Left-Handed Version

PART TWO
I've loved seeing all these Shangri-la sun hats come together. Now that we've finished with the body of the hat, we can start on the brim. The brim is large enough to protect your face from the sun, so you'll enjoy having enough coverage.

As I've mentioned in the first blog post, don't worry if you've never used millinery wire for a sun hat. I have a video tutorial link you can find below. It shows you how to add the wire, what you'll need to do with the joiner, and how to fasten the joiner closed.
ALL SIZES
Change to E/3.5mm Hook
Rnd 23: Join Sand, ch 1, sc in back loop only of first st, sc in back loop only next 6 sts, 2 sc in back loop only of next st, *sc in back loop only of next 7 sts, 2 sc in back loop only of next st, repeat from * around, join by sl st to first st. (117, 126, 135 sc)
Rnd 24: Ch 1, sc in first st, sc in next st and each rem st around, join by sl st to first st.
Rnd 25: Ch 1, sc in first st, sc in next 7 sts, 2 sc in next st, *sc in next 8 sts, 2 sc in next st, repeat from * around, join by sl st to first st. (130, 140, 150 sc)
Rnd 26: Repeat Rnd 24.
Rnd 27: Ch 1, sc in first st, sc in next 8 sts, 2 sc in next st, *sc in next 9 sts, 2 sc in next st, repeat from * around, join by sl st to first st. (143, 154, 165 sc)
Rnd 28: Repeat Rnd 24.
Rnd 29: Ch 1, sc in first st, sc in next 9 sts, 2 sc in next st, *sc in next 10 sts, 2 sc in next st, repeat from * around, join by sl st to first st. (156, 168, 180 sc)
Rnd 30: Repeat Rnd 24.
Rnd 31: Ch 1, sc in first st, sc in next 10 sts, 2 sc in next st, *sc in next 11 sts, 2 sc in next st, repeat from * around, join by sl st to first st. (169, 182, 195 sc)
Rnd 32: Repeat Rnd 24.
Rnd 33: Ch 1, sc in first st, sc in next 11 sts, 2 sc in next st, *sc in next 12 sts, 2 sc in next st, repeat from * around, join by sl st to first st. (182, 196, 210 sc)
Rnd 34: Repeat Rnd 24.
Rnd 35: Ch 1, sc in first st, sc in next 12 sts, 2 sc in next st, *sc in next 13 sts, 2 sc in next st, repeat from * around, join by sl st to first st. (195, 210, 225 sc)
Rnd 36: Repeat Rnd 24.
Rnd 37: Ch 1, sc in first st, sc in next 13 sts, 2 sc in next st, *sc in next 14 sts, 2 sc in next st, repeat from * around, join by sl st to first st. Fasten off. Weave in ends. (208, 224, 240 sc)
Rnd 38: Join Gold, repeat Rnd 24.
Rnd 39: Ch 1, sc in first st, sc in next 14 sts, 2 sc in next st, *sc in next 15 sts, 2 sc in next st, repeat from * around, join by sl st to first st. (221, 238, 255 sc)
Rnd 40: Repeat Rnd 24.
Rnd 41: Ch 1, sc in first st, sc in next 15 sts, 2 sc in next st, *sc in next 16 sts, 2 sc in next st, repeat from * around, join by sl st to first st. (234, 252, 270 sc)
Rnd 42: Add Millinery Wire (See Pattern Notes), ch 1, sc in first st, sc in next st and each rem st around, join by sl st to first st. Fasten off. Weave in ends.
Click HERE for the video tutorial for adding the millinery wire.


