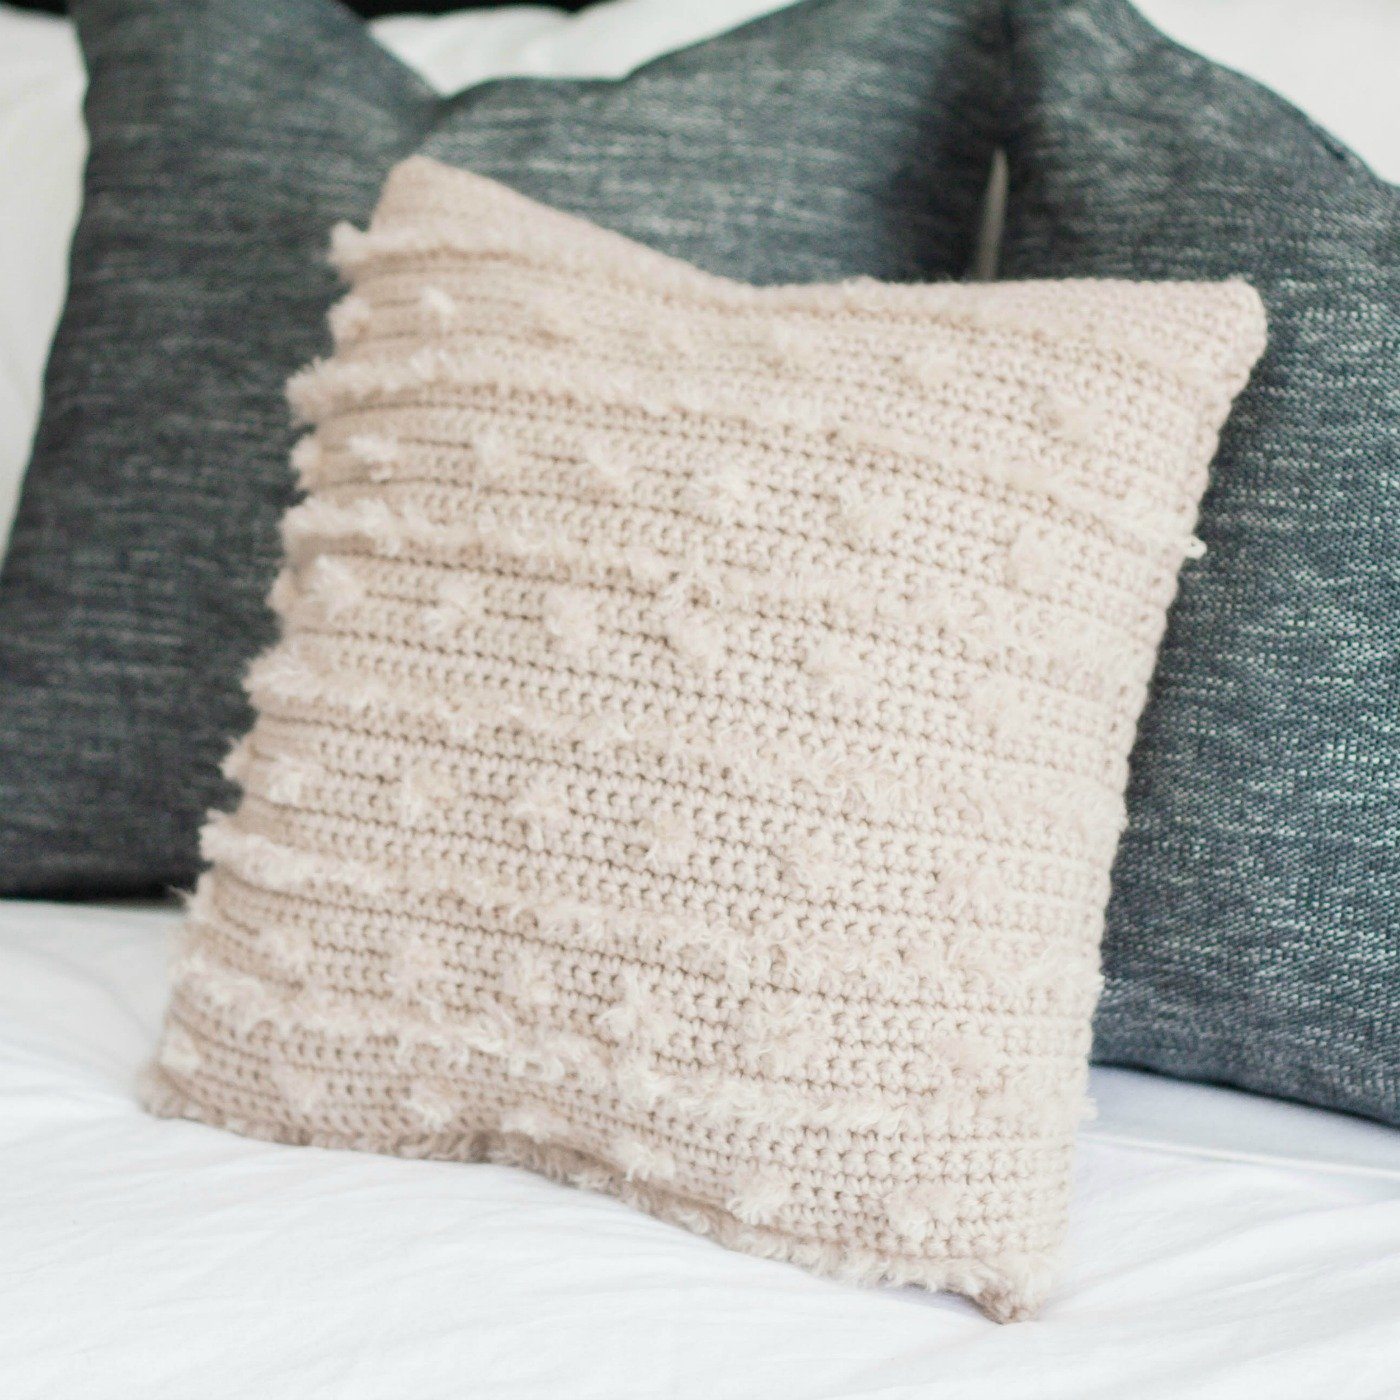
The Daley pillow is a simple yet trendy pillow cover pattern you can crochet up in a flash. The pattern is easy enough for any beginner (seriously no complicated stitches here). You can have fun and play with the fringe texture or make it just like the sample photos.

ABOUT OUR DESIGNER
Katy is the crochet designer and yarn dyer behind KT and the Squid. She taught herself to knit and crochet in high school and started designing in 2011. Her favorite things to make include garments and shawls for women. Her style is contemporary, lightweight and simple. Katy is normally a quiet person but if you get her talking about yarn, knit or crochet you’ll never get her to stop.
Keep up with Katy
Blog | Instagram | Facebook | Etsy

SUPPLIES
Yarn
We Crochet Wool of the Andes Worsted (100% wool; 110yds/50g)
9 skeins in the colorway Oyster Heather (24649)
Hook
I/5.5mm hook (or hook to obtain gauge)
Additional Materials
18” by 18” pillow form
Fine tooth comb
Scissors
Piece of cardboard (about 2”)
Glue or felting needle (optional)
PATTERN DETAILS
Size
Finished cover will be 16” by 16” to fit an 18” by 18” pillow form
Gauge
13 sc by 14 rows = 4” square (yarn is held double)
*if you have problems getting exact gauge, match sts and adjust length according to pattern instructions.
Abbreviations
Ch = chain
St(s) = stitch(es)
Sc = single crochet

PART ONE
Let’s get started! This pattern really couldn’t be easier! I love projects like this because once you’ve got the first couple rows done you can sit back, relax, maybe throw on your favorite show or podcast and crochet away.
Notes
Yarn is held double.
This pillow cover is made in one piece that is seamed.
The fringe is added after the cover is crocheted.
A zipper can be added if you’d like to be able to remove the pillow form.
Instructions
Yarn is held double
Ch 53
Row 1: Sc in the 2nd ch from hook and each ch across, turn. (52)
Row 2: Ch 1, sc in each st across, turn.
Repeat row 2 for 56 total rows (or until piece measures 32”).
Fasten off.
PART TWO
It’s time to finish up your pillow. This is the fun part! You can follow the pattern I used on my sample or have some fun and make up your own pattern. The process is still the same. If you feel your fringe might come undone you can use a felting needle just to lock into place. This will only work on non superwash wool so another option is to add just a bit of fabric glue.Instructions
Fold cover in half.

Working on one half of the cover, evenly mark 7 rows (every 2”).

To cut fringe, wrap yarn around a 2” piece of cardboard and cut all pieces to the same size. 
Working across the marked rows, loop a piece of fringe around each st across. Pull these loops tight to secure.
Add clumps of fringe (about 4 pieces) between marked rows every 2”.

Once all the fringe is added, trim them all to the same length before combing out (about ½”). If you’re unsure about length it’s best to go a bit longer, it can always be trimmed shorter later.

To comb out the fringe it’s easiest to use a fine toothed comb. You can comb it out with a darning needle but it will take much longer.

Seaming
Using preferred method, sew up the sides of the cover, insert pillow form and sew up the bottom. If you’d like, sew in a zipper so the form can be removed.
Weave in all ends.


