

WELCOME TO PART ONE OF THE MILO THE MONSTER CAL!
The wait is over, Part One of the Milo the Monster CAL is here! So go on grab your favorite beverage, your yarn and your Furls crochet hook and lets get started!

Just in case you missed the blog post where we covered what supplies you will need to make your own little monster, you can find it here.

In Part One of this CAL we will be creating the head and body, ears, horns and nose. The head and body of your monster are worked in the round as one piece. Okay, now what we've been waiting for, the pattern! Let's get started......
Finished size
10.5 inches
Abbreviations
ch-chain
sc-single cochet
inc-increase
dec-decrease
Head and Body
Rnd1: Starting at the top of your monsters head with A - Medium Grey Yarn sc x 6 in a magic ring (6). Or you can also ch x 2 and do 6sc in the second chain from your hook (6).
Rnd2: Inc x 6 (12)
Rnd3: [Sc, inc] x 6 (18)
Rnd4: [Sc x 2, inc] x 6 (24)
Rnd5: [Sc, inc] x 12 (36)
Rnd6: Sc x 36 (36)
Rnd7: [Sc x 5, inc] x 6 (42)
Rnd8-10: Sc x 42 (42)
Rnd11: Sc, [sc x 9, inc] x 4, sc (46)
Rnd12-13: Sc x 46 (46)
Rnd14: Sc x 20, insert your first safety eye in the last stitch you just did (or you can also place a stitch marker and come back and insert your safety eyes later), sc x 6, place your second safety eye in the last stitch you just did, sc x 20 (46)

Rnd15: Sc x 46 (46)
Rnd16: You will now start decreasing to create the neck area. Sc, [sc x 7, dec] x 5 (41)
Rnd17: Sc x 41 (41)
Rnd18: Sc, [sc x 6, dec] x 5 (36)
Rnd19: Sc x 36 (36)
Rnd20: Make sure that the washers are attached to the back of your safety eyes. Dec x 18 (18)
Rnd21: Dec x 9, stuff the head of your monster firmly (9)
Rnd22: Sc x 9 (9)
Rnd23: You will now start the body of your monster, and you will start to increase to create the torso. Change to B - Emerald Yarn and sc x 9 ( 9)
Rnd24: [Sc, inc] x 4, sc (13)
Rnd25: Sc x 13 (13)
Rnd26: Sc, [sc, inc] x 6 (19)
Rnd27: Sc x 19 (19)
Rnd28: Sc x 2, [sc x 2, inc] x 5, sc x 2 (24)
Rnd29: Sc x 24 (24)
Rnd30: Sc x 12, [sc, inc] x 3, sc x 6 (27)
Rnd31-32: Sc x 27 (27)
Rnd33: Sc x 3, change to A - Medium Grey Yarn and sc x 24 (27)
Rnd34: Sc x 2, [sc x 2, dec] x 6, sc (21)
Rnd35-37: Sc x 21 (21)
Rnd38: You will now start to decrease and finish off this portion of the pattern. Make sure you stuff your Monster firmly. Sc, dec x 10 (11)
Rnd39: Dec x 5, sc (6)
Rnd40: Dec x 3, fo, weave in all ends and trim them (3)
Ear (Make 2)
Rnd1: Starting at the tip of the ear with A - Medium Grey Yarn sc x 6 in a magic ring (6). Or you can also ch x 2 and do 6sc in the second chain from your hook (6).
Rnd2-3: Sc x 6 (6)
Rnd4: [Inc, sc] x 3 (9)
Rnd5: Sc x 9 (9)
Rnd6: Sc, [inc, sc] x 4 (13)

Rnd7: Sc, [inc, sc] x 6 (19)
Rnd8-9: Sc x 19 (19)
Rnd10: Sc, dec x 9 (10)
Rnd11-12: Sc x 10, fasten off at the end of Rnd12 (10)
Horn (Make 2)
Rnd1: Starting at the tip of the horn with C - Aran Yarn sc x 6 in a magic ring (6). Or you can also ch x 2 and do 6sc in the second chain from your hook (6).
Rnd2-4: Sc x 6, fasten off at the end of Rnd4 (6)
Nose
Row1: With A - Medium Grey Yarn ch x 4 (4)
Row2: Turn, sc x 3 (3)
Rnd 3: Do not turn sc x 3 down the opposite side of your work (3)
Rnd4: Sc around the entire piece x 6 (6)
Rnd5:Sc x 6, fasten off (6)

Assembly
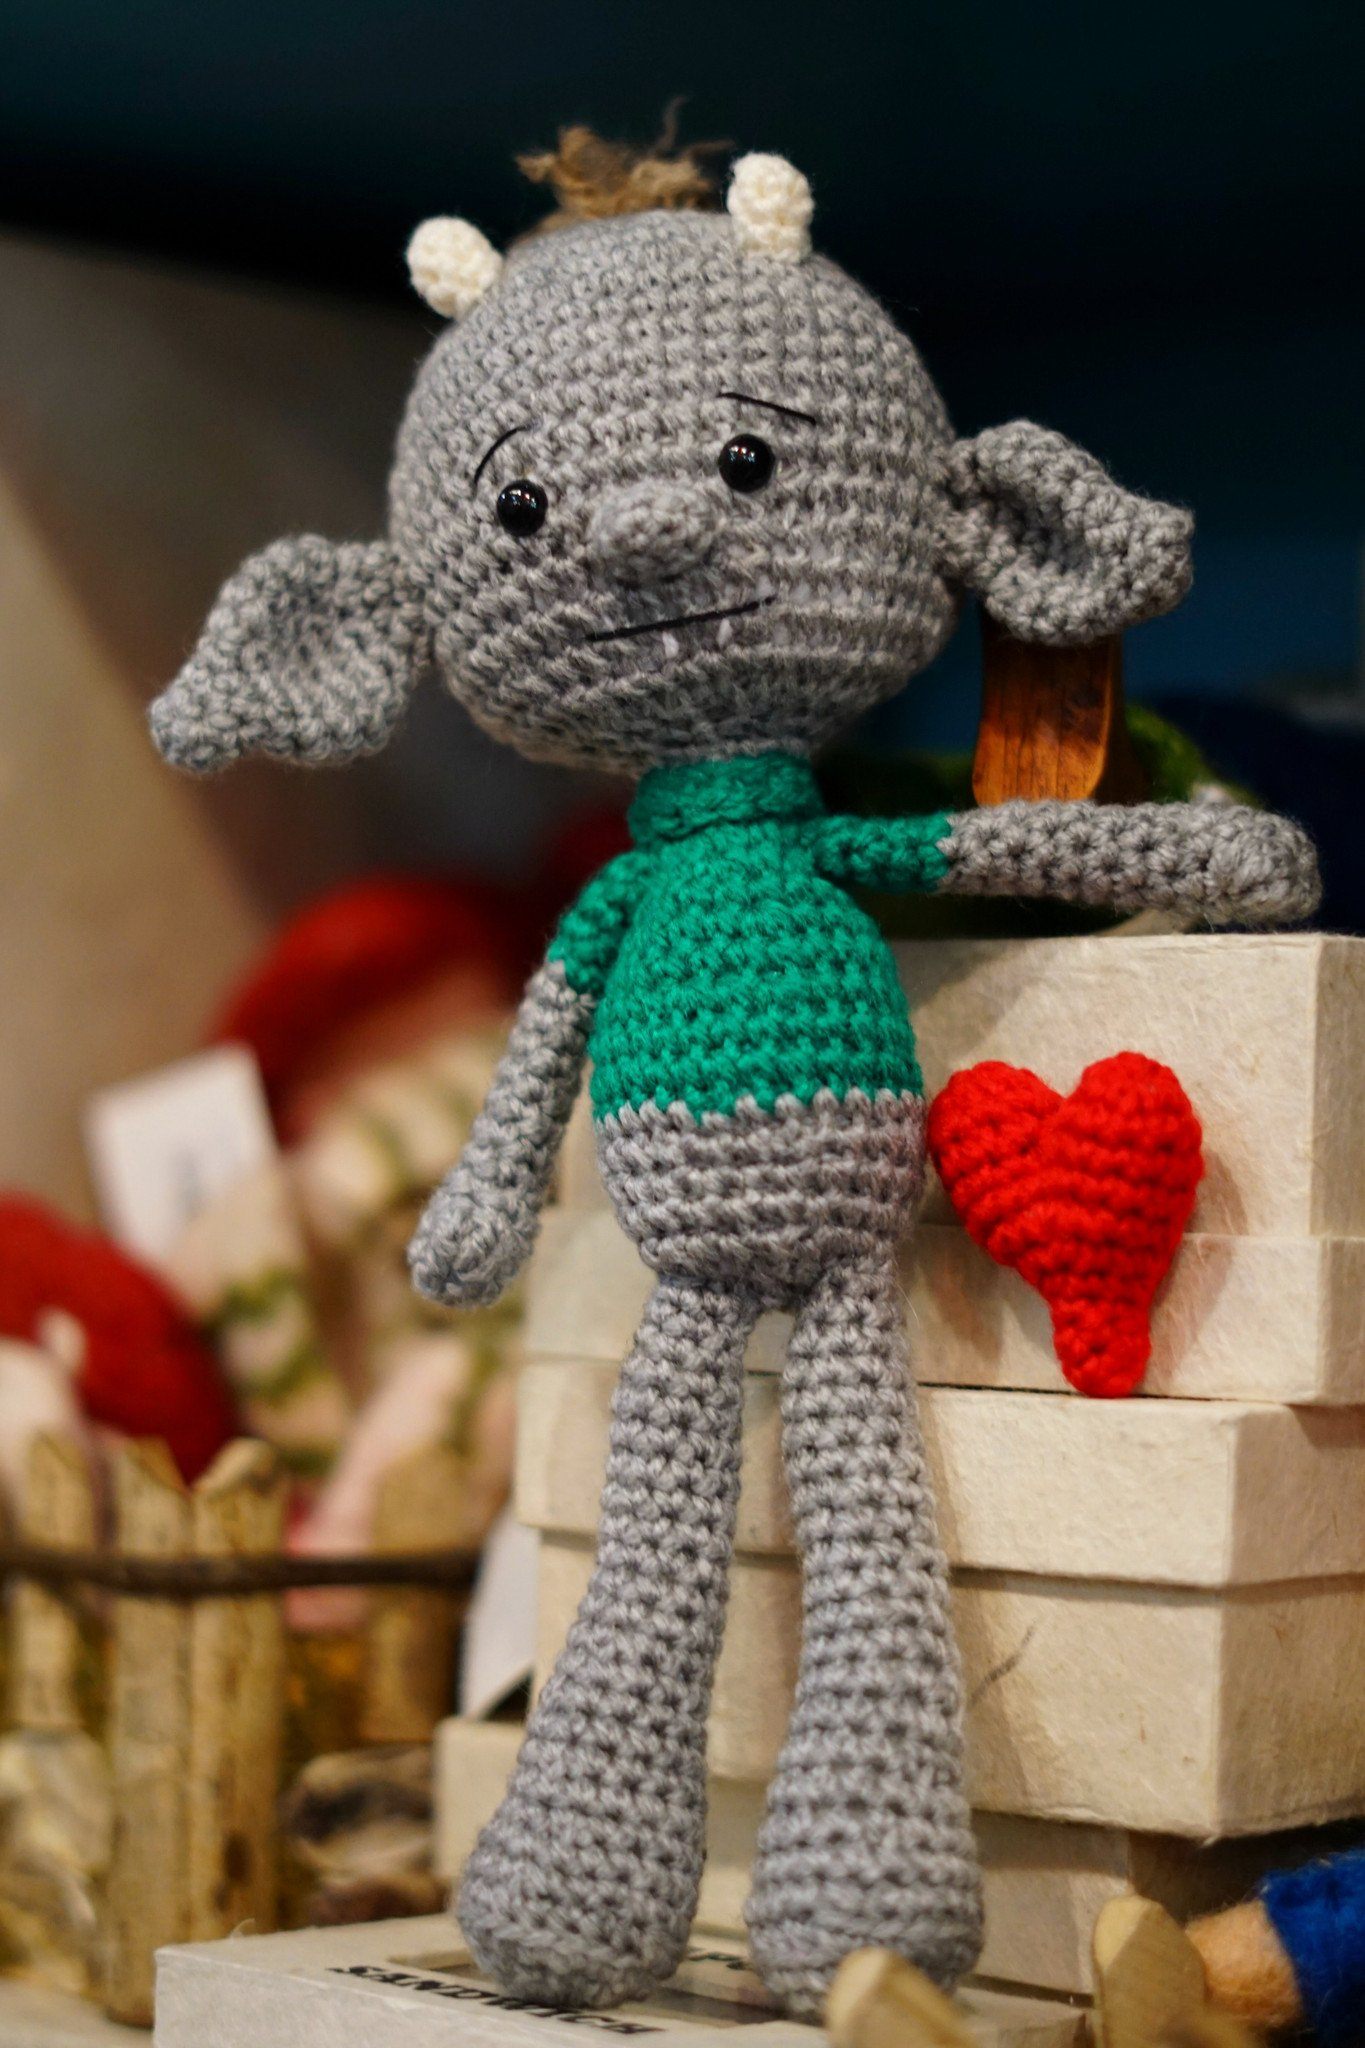
Stuff your Monster's head and body firmly and weave in all loose ends. Sew on the ears, just about level with your monsters eyes. I like to use dress making pins to keep the pieces in place before attaching them to my amigurumi.

Now sew the horns in place on top of your monsters head. Now place the nose one row down and in the middle between the eyes and sew it in place.

Use the embroidery method that we previously posted in the Molly the Magical Unicorn CAL to embroider on eyebrows and a mouth, you can find it here!

To create the hair cut strips of D-Medium Tan Yarn, and fold them in half and loop the yarn through, repeat this method to create a patch of hair on the top of your monsters head. Then trim the hair to the desired length.

And that concludes Part One of the Milo the Monster CAL! Keep your crochet hook handy, and come back here on April 22nd, 2017, for the final part of this CAL! If you have any questions about this pattern please feel free to send me a message, I would be happy to help you amidorablecrochet@gmail.com. And make sure you head on over to the Fun With Furls Facebook Group, to share photos of your little Monster and interact with other crocheters!! Happy Crocheting everyone!!
Jackie :)


