

SURPRISE! It's no April Fool's joke, this is the real deal... it's a BONUS BIRDY from the March Amigurumi CAL collection!

MATERIALS
WW yarn in white, yellow and grey
Size G or G+ hook
Stuffing
6mm plastic snap-in eyes
Yarn/tapestry needle
Sewing pins (optional)
Stitch marker (I use a small scrap of yarn)
ABBREVIATIONS
Ch = chainSc = single crochet
Slp st = slip stitch
Sk = skip
FO = finish off
Rep = repeat
Dec = decrease
PM = place marker
2x, 3x, etc = 2 times, 3 times, etc
Finished size: about 3" tall and 4" long
The head and body of the cockatoo are worked in one continuous round. To make sure you don't lose your place, mark the beginning of each new round with a stitch marker. The tail is also worked in the round but the wings, beak and feather crest are worked flat.
Assembly info follows under each component's pattern.
With white, ch 2 / magic loop
1. 6 sc in 2nd ch from hook / loop (6)
2. 2 sc in each sc around (12)
3. *2 sc in 1st sc, sc in next sc* rep *-* around (18)
4-5. sc in each sc around (18)
6. [2 sc in 1st sc, sc in next 3 sc, 2 sc in next sc, sc in next 4 sc] 2x (22)
7. *2 sc in 1st sc, sc in next 4 sc* rep *-* 4x, sc in last 2 sc (26)
8. *2 sc in 1st sc, sc in next 3 sc* rep *-* 6x, sc in last 2 sc (32)
9. sc in each sc around (32)
If you are using snap-in eyes, put them in now between rounds 5 and 6. They should be spaced about 6 stitches apart, and the right eye should be close to the beginning of the rounds (where your stitch marker was).
10. [2 sc in 1st sc, sc in next 4 sc] 6x total, 2 sc in next sc, sc in last sc (39)
11. sc in 1st 29 sc, *2 sc in next sc, sc in next 3 sc* rep *-* 2x, 2 sc in next sc, sc in last sc (42)
12. sc in 1st 30 sc, *2 sc in next sc, sc in next 4 sc* rep *-* 2x, 2 sc in next sc, sc in last sc (45)
13. sc in each sc around (45)
14. sc in 1st 6 sc, [sc dec, sc in next 3 sc] 4x, sc in last 19 (41)
15. sc in 1st 5 sc, [sc dec, sc in next 2 sc] 4x, sc in next 6 sc, [sc dec, sc in next 3 sc] 2x, sc dec, sc in last 2 sc (34)
15. sc in 1st sc, [sc dec, sc in next 3 sc] 6x, sc dec, sc in last sc (27)
16. [sc dec, sc in next 2 sc] 6x, sc dec, sc in last sc (20)
STUFF the bird firmly
17. *sc dec, sc in next 2 sc* rep *-* around (15)
18. *sc dec, sc in next sc* rep *-* around (10)
19. sc dec around
FO and close up the remaining hole, weave in (or ‘lose’) the end.
With grey, ch 2
1. 2 sc in 2nd ch from hook, TURN (2)
2. 2 sc in each sc across (4)
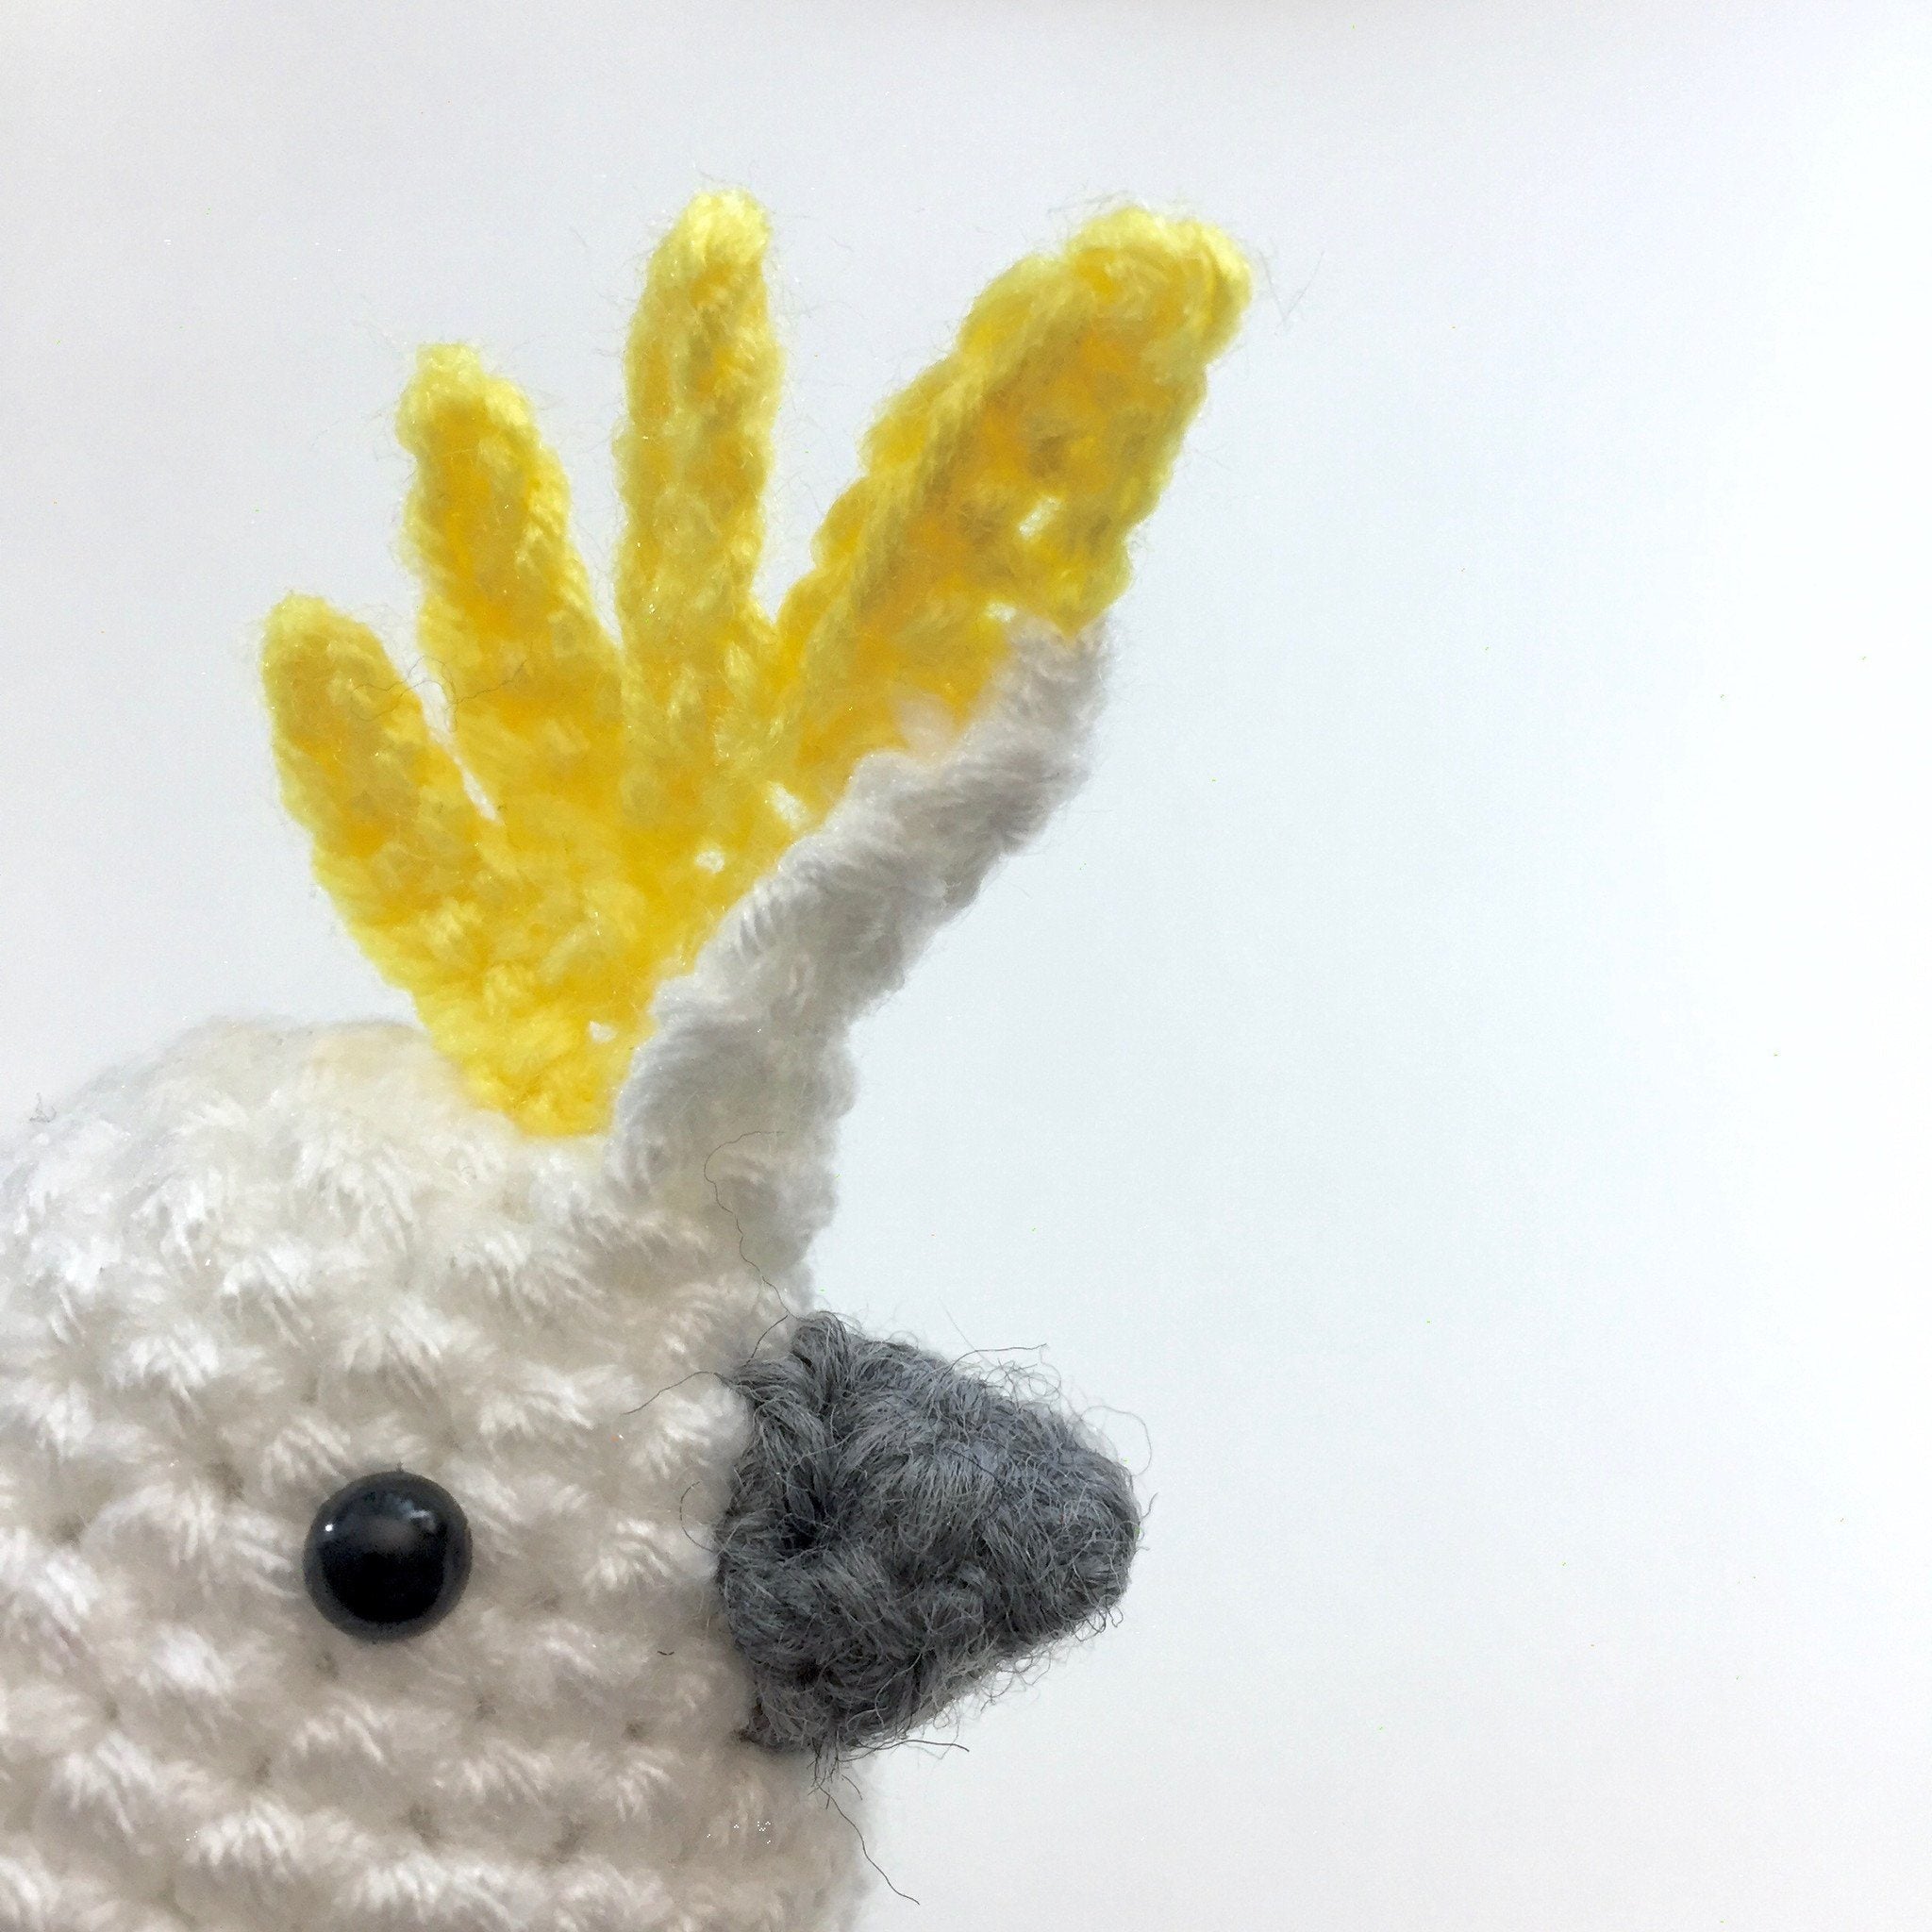
FO and whipstitch the two beak pieces together. The last row of stitches should be left open (unsewn); this is where it will go on the bird’s face.
Sew the beak over rounds 4-6 of the head, centered between the two eyes. Weave in (or ‘lose’) the ends.
Feather Crest
With yellow, ch 11, pulling the 5th ch tight
1. *slp st in 2nd ch from hook, sc in next 4 sc*. Skip the tightened 5th ch, slp st in next ch, [ch 6, rep *-*, slp st in next ch of the original ch length] 3x. FO
With white, ch 4
1. sc in 2nd ch from hook an in each ch across, TURN (4)
2. sc in 1st sc, sc dec, sc in last sc, TURN (3)
3. sc in each sc across, TURN (3)
4. sc dec, sc in next sc, TURN (2)
5. sc in each sc across, TURN (2)
6. sc dec, FO
This piece is a long triangle, like a rabbit ear. You’re going to gently fold it in half lengthwise as if it were a rabbit ear. Place the yellow feathers into the fold, then use the beginning tail to loosely secure the bottom of the white triangle piece to the last yellow feather piece as pictured.

Use the FO tail to secure the yellow feathers to the center fold of the white triangle piece.

Undo the loose securing with the beginning tail and sew the chain edge of the white triangle piece to the top middle of the cockatoo’s head, over round 2. You can also sew some of the last feather (touching the head) in place, but this is optional. The crest will be able to collapse and unfurl either way.
Wings
The wings will be in the shape of a V. The bottom point of the V will point to the tail of the bird; the top two points will be attached to the bird’s sides.
With white, ch 2
1. 5 sc in 2nd ch from hook (5)
2. 2 sc in 1st sc, TURN leaving remaining 4 sts unworked, 2 sc in 1st sc, sc in next 3 sc, TURN
3. 2 sc in 1st sc, sc in next 4 sc, TURN (6)
4. sc in 1st sc, 2 sc in next sc, sc in next 2 sc, 2 sc in next sc, sc in last sc, TURN (8)
5. sc in 1st sc, 2 sc in next sc, sc in next 4 sc, 2 sc in next sc, sc in last sc, TURN (10)
6. sc in 1st sc, 2 sc in next sc, sc in next 2 sc, slp st in next sc, TURN (6)
7. sk slp st, sc in next sc, sc dec, 2 sc in next sc, sc in next sc, TURN (5)
8. sk 1st sc, sc in next sc, 2 sc in next sc, sc dec, TURN (4)
9. sc dec, sc in next 2 sc, TURN (3)
10. sc in 1st sc, sc dec, TURN (2)
11. sc dec
FO and reattach the white to the opposite end of row 5, with the first wing on the left. Repeat rows 6-11, FO again.
Sew the inside edges of the V to round 8 of the cockatoo body. I recommend tacking the wings in place with sewing pins beforehand to make sure they line up with the rest of the cockatoo’s features (the centerline of the V should match with the beak and the crest).
With white, ch 3
1. 2 sc in 2nd ch from hook, 3 sc in last ch, turning your work so you’re working along the bottom of the ch, sc in same ch space as 1st 2 sc (6)
2. sc in each sc around (6)
3. 2 sc in each of the 1st 2 sc, sc in next sc, 2 sc in each of the next 2 sc, sc in last sc (10)
4-5. sc in each sc around (10)
6. sc in 1st 2 sc, 2 sc in next sc, sc in next 4 sc, 2 sc, leave remaining 2 sc unworked (12)
FO, whipstitch the tail to round 14 of the cockatoo body. Make sure it is centered in relation to the wings: the bottom of the V should coincide with the middle of the tail.

If you have any questions, comments or corrections regarding this pattern please feel free to contact me (littleravenfiberarts@gmail.com), I’m here to help.
Make sure to pop in to the Fun With Furls Facebook Group to share your birdie photos and admire everyone else’s crochet handiwork too!
Happy Crocheting!
Brenna


