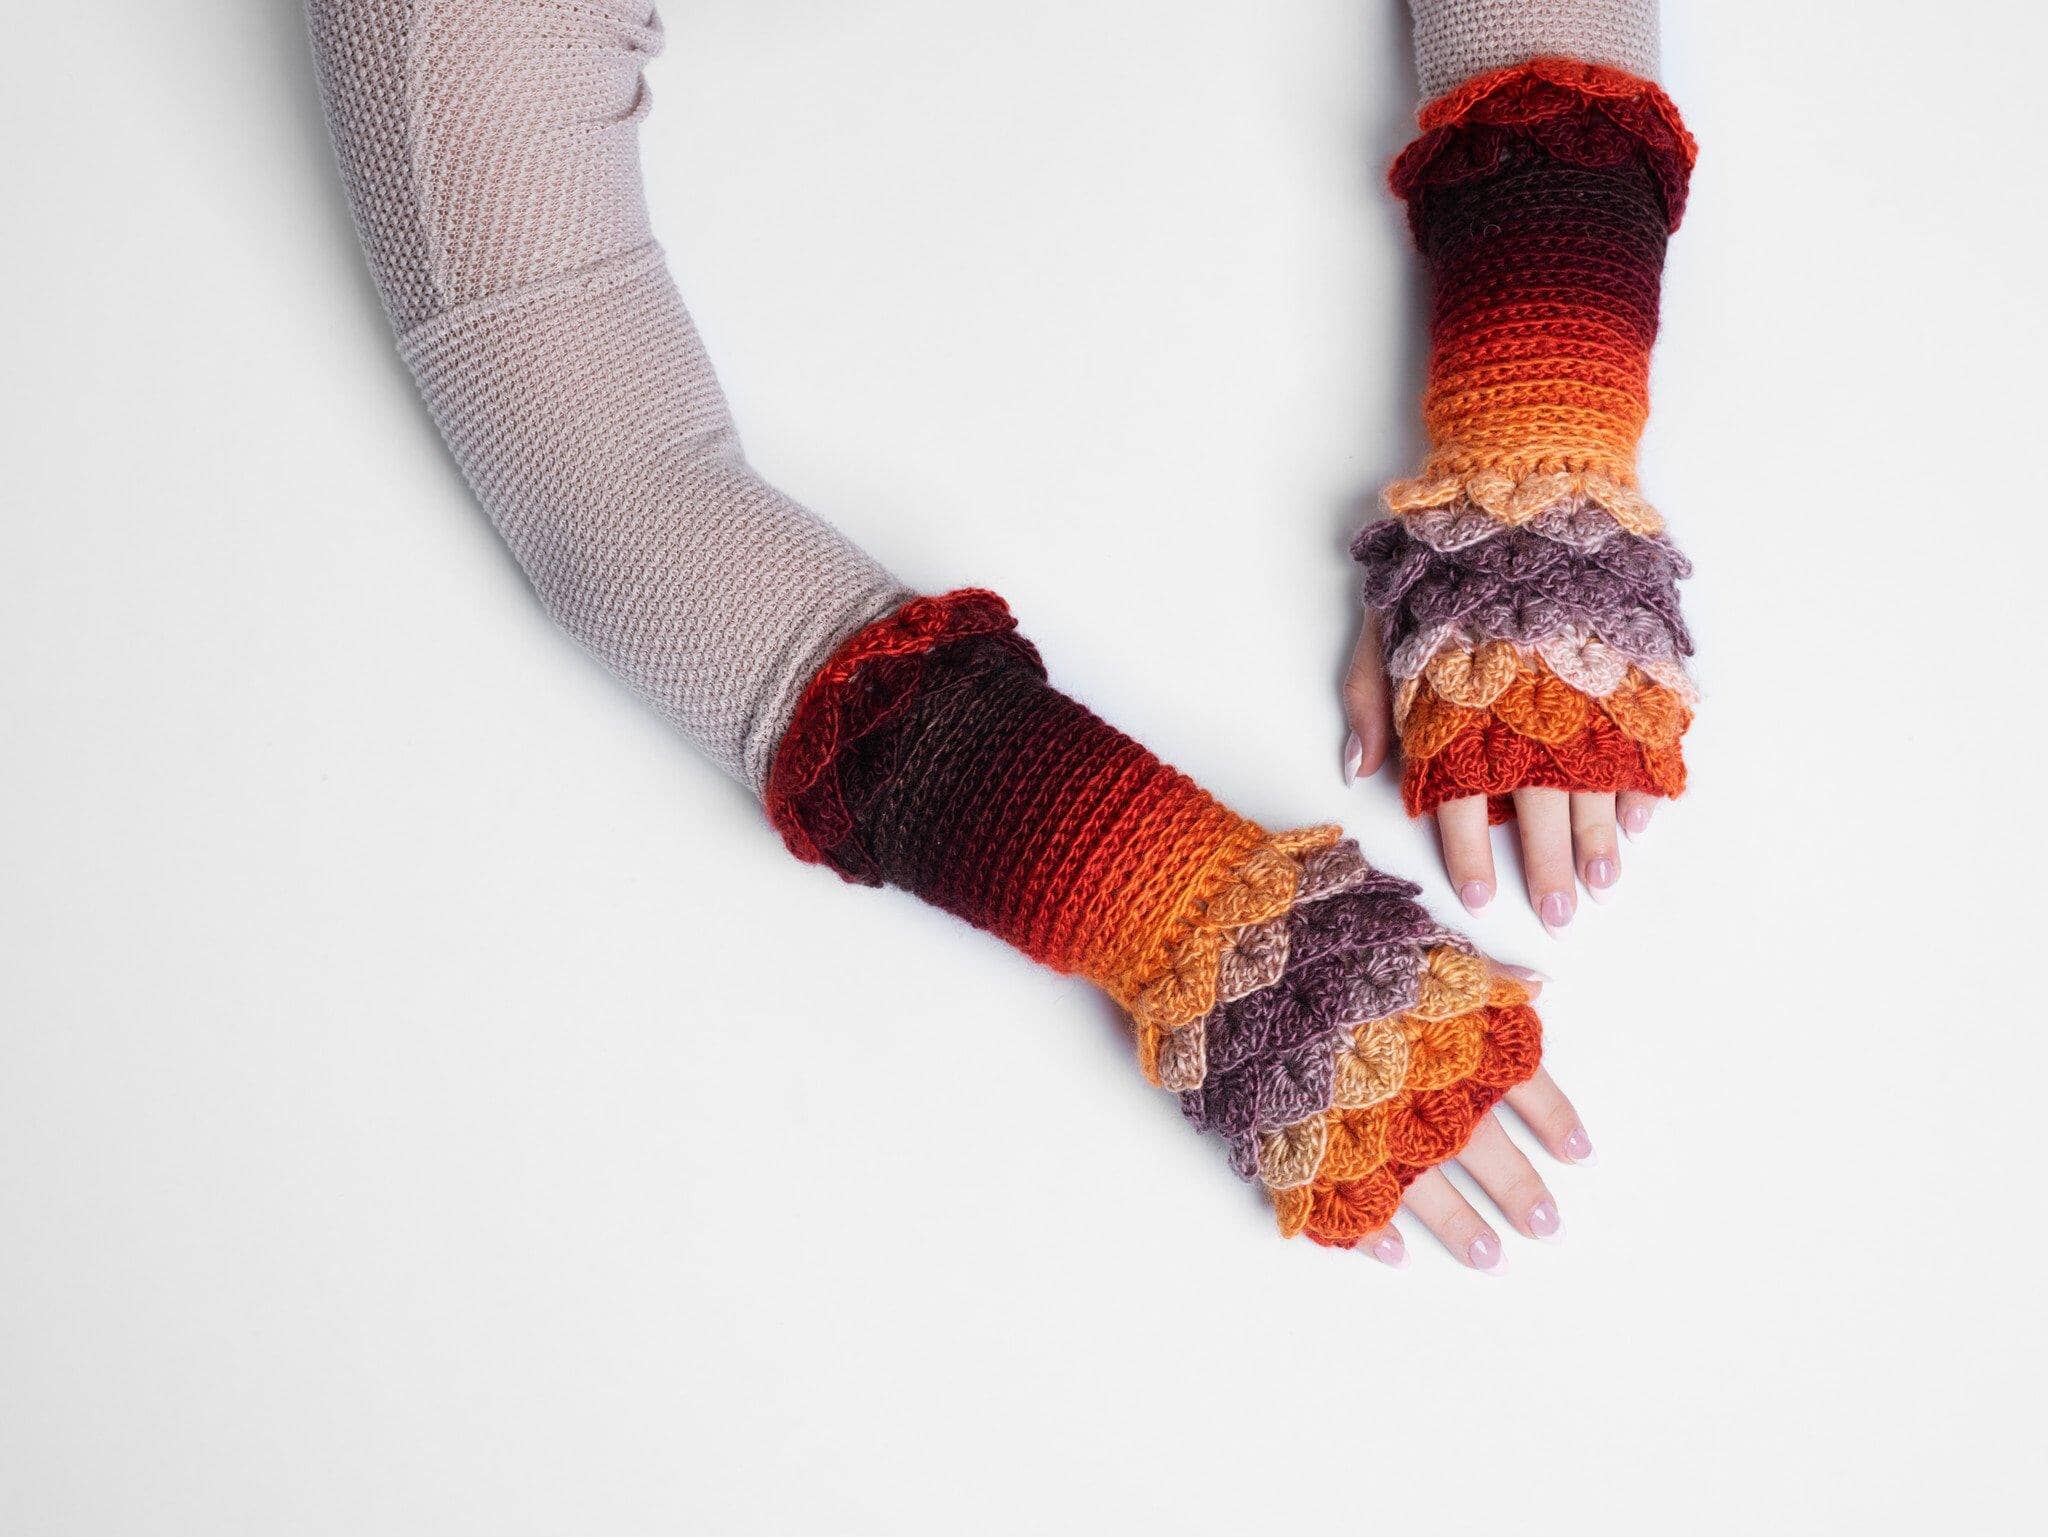
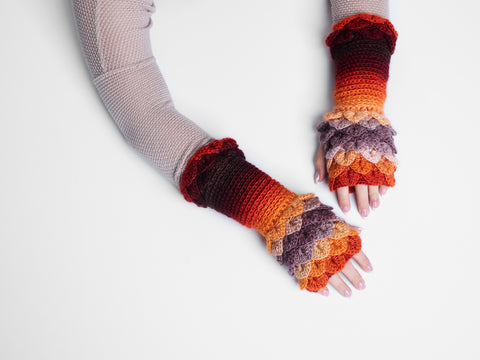
These whimsical gloves feature the unique Crocodile Stitch and a knit-look crocheted ribbed pattern. This is a quick project, ideal for a last-minute gift, and they are also popular among those who sell finished crochet items.
Updated: 9/23/2025

If you have been wanting to learn the Crocodile Stitch, this is a great chance to learn, step-by-step, with support if you have questions. The project is rated "Intermediate," but if you are an adventurous beginner and know the basic crochet stitches (slip stitch, chain and double crochet) you can tackle this with the help of our CAL!
SUPPLIES
-
Yarn: 2 skeins or 400 yards of sport (baby) weight yarn. Samples use two options of self-striping yarn from Bonita Yarns, Sunset Shades (yellows and browns) and Rainforest Shades (greens and browns).
- Alternate yarn: 2 skeins of 100% acrylic yarn for those allergic to wool or who prefer machine washable pieces.
- Furls Crochet Hook: F/3.75 mm hook
- Stitch marker
- Small embroidery needle for weaving in your ends

PATTERN DETAILS
In Part one of our CAL we will be checking our gauge swatch, choosing size (small/medium or large/extra large) and be working the entire hand section of the glove up to before wrist section.
Checking Gauge
You do need to check gauge for this project. Do I like to check gauge? Nope. Never did, never will. When I get a new pattern that I love, I just want to jump in and start crocheting the whole thing, and checking gauge first is tedious and boring and doesn’t immediately make progress on your project in any obvious way.
After many gigantic hats and skin-tight sweaters with sleeves two inches too short, I finally learned my lesson. For certain projects, there are just no short cuts. This is one of those. We must check gauge.

Gauge swatch:
With Sport weight yarn and F crochet hook in V-st (dc 1, ch 1, dc 1) pattern:
4 V-sts and 3 1/2 rows = 2”
Stitch Abbreviations:
Beginning (beg), chain (ch), double crochet (dc), double crochet two stitches together (dc2tog), front post double crochet (FPdc), single crochet (sc), slip stitch (sl), space (sp), slip stitch (st), V-Stitch (V-st), yarn over (yo)
Special Stitches:
Double Crochet Two Stitches Together (dc2tog) – [Yo, insert hook in next st, yo and pull up loop, yo, draw through 2 loops] 2 times, yarn over, draw through all loops on hook—1 st decreased
Front Post Double Crochet (FPdc) – Yo and insert hook from the front to the back around the post of the dc of previous row. Complete as for a regular dc stitch.
V-Stitch (V-st) – Work (dc 1, ch 1, dc 1) in stitch indicated.
Notes:
- The Pattern is worked in rounds from hand to arms. Fit both left and right hands.
- In the pattern, instructions are given to size Small/Medium in black font; changes for sizes Large/Extra Large ( ) and color coded in red for easy identification.
 |
Choosing your glove size: Sizes (measurements based on circumference of hand flat just under knuckles without including thumb): |
Small/Medium: 6.5 in to 7.5 in
Large/Extra Large: 7.5 in to 8.5 in
PART ONE
PATTERN INSTRUCTIONS - PART ONE
Make two, following the same directions:
Ch 36 (42), being careful not to twist chain, join with sl st in first ch to form a ring.
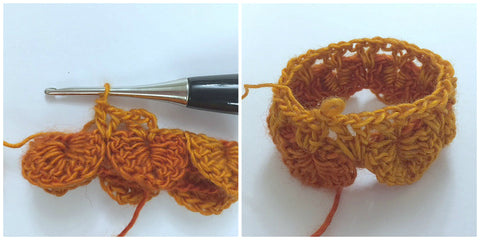
Rnd 1: Ch 4 (count as a dc and a ch-1), dc in same stitch as beg ch,* sk 2 ch, V-st (dc, ch 1, dc) in next ch, rep from * around; join with sl st in top of first dc (Pic 1). - [12 (14) V-sts]
Pic 1: Round 1 of V-Sts completed
Rnd 2: Ch 3 (count as a dc), working from top to bottom around post of first dc of first V-st, work 4 fpdc, ch 1 (Pic 2), turn work so V-st is sideways and post of second dc of V-st is on the bottom (V point of V-st will be facing right; see pic 3), working from bottom to top around post of second dc of V-st, work 5 fpdc (see Pic 4), * skip next V-st, working from top to bottom work 5 fpdc around post of first dc of next V-st, ch 1, turn work so V-st is sideways, working from bottom to top around post of second dc of V-st, work 5 fpdc, rep from * around; join with sl st in top of first dc (Pic 5). - [6, (7) scales]

Rnd 3: Sl st in first 2 sts, sl st in ch-1 sp, Ch 4 (count as a dc and a ch-1), dc in same ch-1 sp (Pic 6), yo, insert hook in next sp between scales and in ch-1 sp directly behind scales and complete a V-st (see Pic 7), * V-st in next ch-1 sp, yo, insert hook in next sp between scales and in ch-1 sp directly behind scales and complete a V-st, repeat from * around; join with sl st in top of first dc. [12 (14) V-sts]

Pic 6: Sl st in first 2 sts, sl st in ch-1 sp; first V-st of Rnd 3
Note on Rnd 3: You want to start your next round of V-sts in the first ch-1 space. If you miss this step, your scales will stack on top of each other instead of overlap.

Pic 7: When working the V-st between the scales, you will go under the connecting stitches and through the V-st of the previous row (looking at the back of your work will help you see the V-st of the previous row).

Round 3 completed.
Rnd 4: Sl st in in ch-1 sp (pic 8), working from top to bottom around post of first dc of next V-st, work 5 fpdc (pic 9), ch 1, turn work so V-st is sideways and post of second dc of V-st is on the bottom, working from bottom to top around post of second dc of V-st, work 5 fpdc (pic 10) * skip next V-st, working from top to bottom around post of first dc of next V-st, work 5 fpdc, ch 1, turn work so V-st is sideways, working from bottom to top around post of second dc of V-st, work 5 fpdc, repeat from * around; join with sl st in top of first dc (pic 11 round completed). – [6, (7) scales]

Rnd – 5 through Rnd 10: Rep Rnd 3 and Rnd 4 alternately as follows:
Rnd 5: Rep Rnd 3 – [12 (14) V-sts]
Rnd 6: Rep Rnd 4 – [6, (7) scales]
Rnd 7: Rep Rnd 3 – [12 (14) V-sts]
Rnd 8: Rep Rnd 4 – [6, (7) scales]
Rnd 9: Rep Rnd 3 – [12 (14) V-sts]
Rnd 10: Rep Rnd 4 (pic 12) – [6, (7) scales]

Pic 12: Rnd 1 through Rnd 10 completed.
Rnd 11: Ch 4, (count as dc and a ch-1), dc in same st as beg ch (pic 13), ch 3 (thumbhole), skip next scale, * yo, insert hook in next sp between scales and in ch-1 sp directly behind scales and complete a V-st (pic 14), V-st in next ch-1 sp, repeat from * around; join with sl st in top of first dc. (pic 15) [11 V-sts + 3 ch (13) V-sts + 3 ch]

Pic 13: In previous V-st rounds you sl st to first ch-1 sp before making first V-st. In Rnd 11 you DO NOT. You make your first V-st in same st as beginning chain: Ch 4, (count as dc and a ch-1), dc in same st as beg ch.

Rnd 12: Ch 3, working from top to bottom around post of first dc of first V-st, work 4 fpdc, ch 1, turn work so V-st is sideways and post of second dc of V-st is on the bottom, working from bottom to top around post of second dc of V-st, work 5 fpdc (Pic 16), skip next ch-3, working from top to bottom around post of first dc of next V-st, work 5 fpdc, ch 1, turn work so V-st is sideways, working from bottom to top around post of second dc of V-st, work 5 fpdc * skip next V-st, working from top to bottom around post of first dc of next V-st, work 5 fpdc, ch 1, turn work so V-st is sideways, working from bottom to top around post of second dc of V-st, work 5 fpdc, repeat from * around; join with sl st in top of first dc (Pic 17). – [6, (7) scales]

Rnd 13: Sl st in first 2 sts, sl st in ch-1 sp, Ch 4 (count as a dc and a ch-1), dc in same ch-1 sp, yo, insert hook in next sp between next two scales and complete a V-st (pic 18), * V-st in nex ch-1 sp, yo, insert hook in next sp between scales and in ch-1 sp directly behind scales and complete a V-st, repeat from * around; join with sl st in top of first dc. [12 (14) V-sts]

Rnd 14: Rep Rnd 4 – [6, (7) scales]
Rnd 15: Rep Rnd 3 – [12 (14) V-sts]
Rnd 16: Rep Rnd 4 – [6, (7) scales]
Rnd 17: Rep Rnd 3 – [12 (14) V-sts]
Rnd 18: Rep Rnd 4, (pic 19)– [6, (7) scales]

Pic 19: Rnd 1 through 18 (hand section) completed!
PART TWO
Stitch Abbreviations:
Beginning (beg), chain (ch), double crochet (dc), double crochet two stitches together (dc2tog), front post double crochet (FPdc), single crochet (sc), slip stitch (sl), space (sp), slip stitch (st), V-Stitch (V-st), yarn over (yo)
Special Stitches:
Double Crochet Two Stitches Together (dc2tog) – [Yo, insert hook in next st, yo and pull up loop, yo, draw through 2 loops] 2 times, yarn over, draw through all loops on hook—1 st decreased
Front Post Double Crochet (FPdc) – Yo and insert hook from the front to the back around the post of the dc of previous row. Complete as for a regular dc stitch.
V-Stitch (V-st) – Work (dc 1, ch 1, dc 1) in stitch indicated.
Part two instructions:
Rnd 19: Ch 3 (doesn’t count as dc), * dc2tog (pic 20) over next 2 sts (this will be worked in the side of the top dc on the right of the scale), dc in next ch-1 sp, dc2tog over next 2 sts (this will be worked in the side of the top dc on the left of the scale), yo, insert hook in next sp between scales by going underneath the stitches that connect the scales and in ch-1 sp directly behind scales and complete a dc, rep from * around; join with sl st in top of first dc. – [24 (28) dc]

Pic 20
Note 1: Before beginning Rnd 20, turn work inside out. Wrong side of scales will be facing you (pic 21).

Pic 21
Rnd 20: Ch 1 (doesn’t count as st), FPdc in each st around, do not join. Rnd 20 through 37 are worked in a spiral. Use a stitch marker to mark the first st of each round. – [24 (28) FPdc]
Rnd 21 – 22: FPdc in each st around [24 (28) FPdc]
Rnd 23: * FPdc in next FPdc, 2 FPdc in next FPdc, rep from * around. – [36 (42) FPdc]
Rnd 24 – Rnd 37: FPdc in each st around; at the end of rnd 38.– [36 (42) FPdc]
Rnd 38: FPdc in each st around; at the end of rnd 38, join with sl st in top of first FPdc.– [36 (42) FPdc]
Note: Before beginning Rnd 39, turn work right side out. This time the right side of the gloves or the Crocodile Stitch and ribbed arm side of work will be facing you (pic 22).

Pic 22
Rnd 39: Ch 4 (count as a dc and a ch-1), dc in same stitch as beg ch,* sk 2 sts, V-st (dc, ch 1, dc) in next st, rep from * around; join with sl st in top of first dc (Pic 23). - [12 (14) V-sts]

Pic 23
Rnd 40: Ch 3 (count as a dc), working from top to bottom around post of first dc of first V-st, work 4 fpdc, ch 1, turn work so V-st is sideways and post of second dc of V-st is on the bottom (V point of V-st will be facing right), working from bottom to top around post of second dc of V-st, work 5 fpdc (pic 24), * skip next V-st, working from top to bottom work 5 fpdc around post of first dc of next V-st, ch 1, turn work so V-st is sideways, working from bottom to top around post of second dc of V-st, work 5 fpdc, rep from * around; join with sl st in top of first dc (Pic 5). - [6, (7) scales]

Pic 24: first scale of Rnd 40 made. Check part one of November CAL if you need a refresh on the Crocodile Stitch.
Rnd 41: Sl st in first 2 sts, sl st in ch-1 sp (pic 24), Ch 4 (count as a dc and a ch-1), dc in same ch-1 sp, yo, insert hook in next sp between scales and in ch-1 sp directly behind scales and complete a V-st, * V-st in next ch-1 sp, yo, insert hook in next sp between scales and in ch-1 sp directly behind scales and complete a V-st, repeat from * around; join with sl st in top of first dc. [12 (14) V-sts]
Note: You want to start your next round of V-sts in the first ch-1 space. If you miss this step, your scales will stack on top of each other instead of overlap (pic 25).

Pic 25
Rnd 42: Sl st in in ch-1 sp, working from top to bottom around post of first dc of next V-st, work 5 fpdc, ch 1, turn work so V-st is sideways and post of second dc of V-st is on the bottom, working from bottom to top around post of second dc of V-st, work 5 fpdc * skip next V-st, working from top to bottom around post of first dc of next V-st, work 5 fpdc, ch 1, turn work so V-st is sideways, working from bottom to top around post of second dc of V-st, work 5 fpdc, repeat from * around; join with sl st in top of first dc. – [6, (7) scales]
Rnd 43: Rep Rnd 41 – [12 (14) V-sts]
Rnd 44: Rep Rnd 42 – [6, (7) scales] (pic)
Rnd 45: Ch 1 (does not count as sc), sc in same stitch and next st, sc in next ch-1 sp, sc in next 2 sts, * insert hook in next ch-1 sp and in sp between scales directly behind ch-1 st and complete a sc, sc in next 2 sts, sc in next ch-1 sp, sc in next 2 sts rep from * around; join with sl st in top of first sc. Fasten off and weave in all ends and wear your gloves proudly! – (36 [42] sc)

Sample in Merino Dream Sunset Shades (discontinued) colorway


Sample in Merino Dream Rainforest Shades (discontinued) colorway
ABOUT OUR DESIGNER
I’m Lianka Azulay, designer from Bonita Patterns, also known as “Crocodile Stitch addict.”
Bio: Lianka Azulay, born in Brazil, picked up her first crochet hook at age 7, and hasn't put it down since. She specializes in the research and use of unique stitch patterns in her designs to bring fashionable and contemporary style to crocheted pieces.


