Join Furls Crochet and Lorene Eppolite of Cre8tion Crochet for this fun CAL featuring the Elemental Triangle Cowl. The Elemental Triangle Cowl features treble crochet and double crochet clusters a long with a elegant but simple lace edging. This fun pattern will make the perfect addition to your Fall and Winter Wardrobe.
What are we making?
This month we are making the Elemental Triangle Cowl. This design is a little more on the intermediate side, but it isn't impossible for beginners either. I will do everything I can to help each of you work through any problems that might arise.
Once you get your groove going with the first few rows, you'll be able to keep trucking right along.
The cowl construction begins in the center of the triangle working in rows, and works up to the cowl portion which will be completed in turned rounds. The edging is then completed in two rows.

What do we need to get started?
Supplies:
-
YARN
2 skeins Oink Pigments Worsted Weight yarn in your choice of color, 100g/230yds, 100% Domestic Superwash Merino 4-ply (sample is made using Multipass). Or 450 yards of worsted weight yarn of your choice, such as Furls Wander.
-
MATERIALS
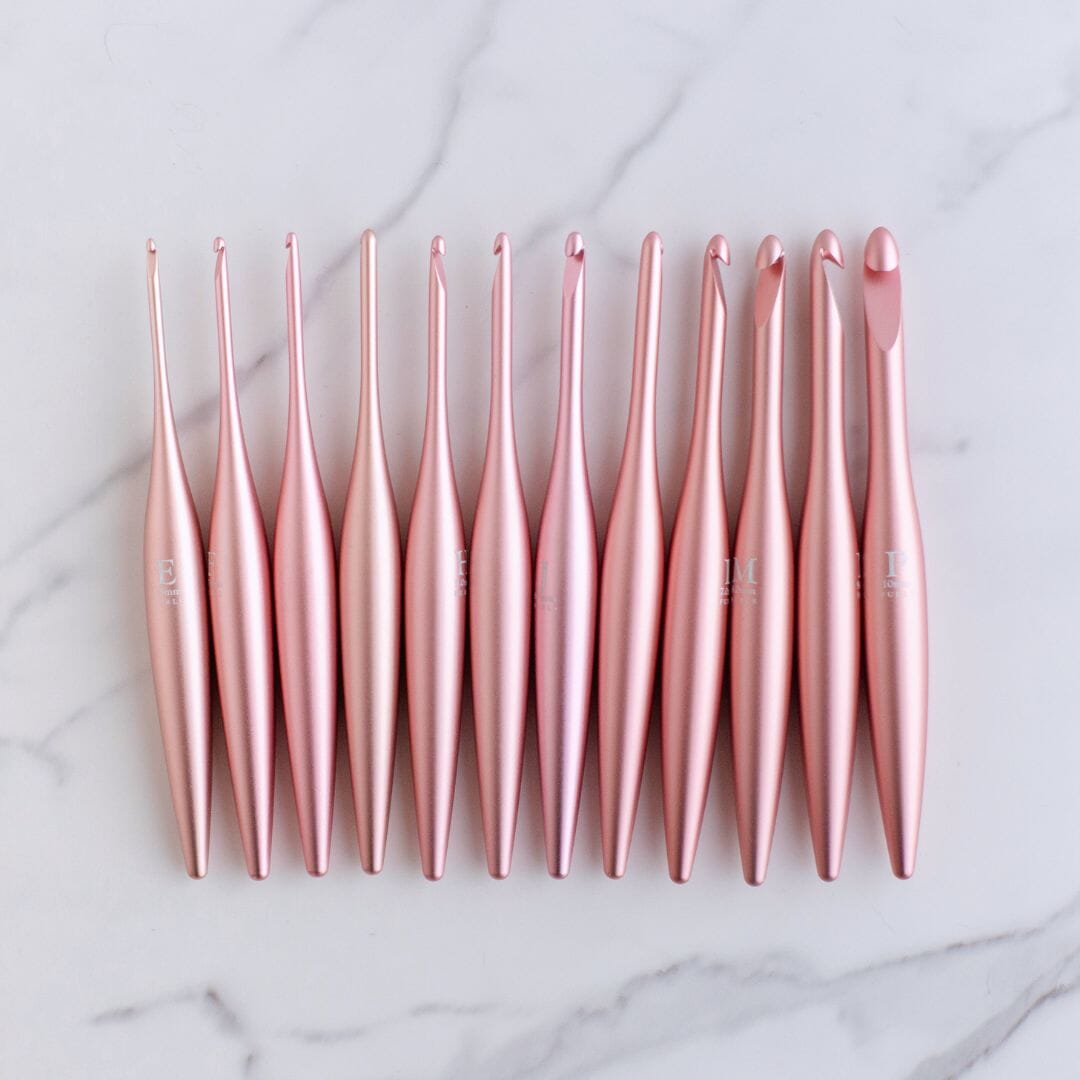
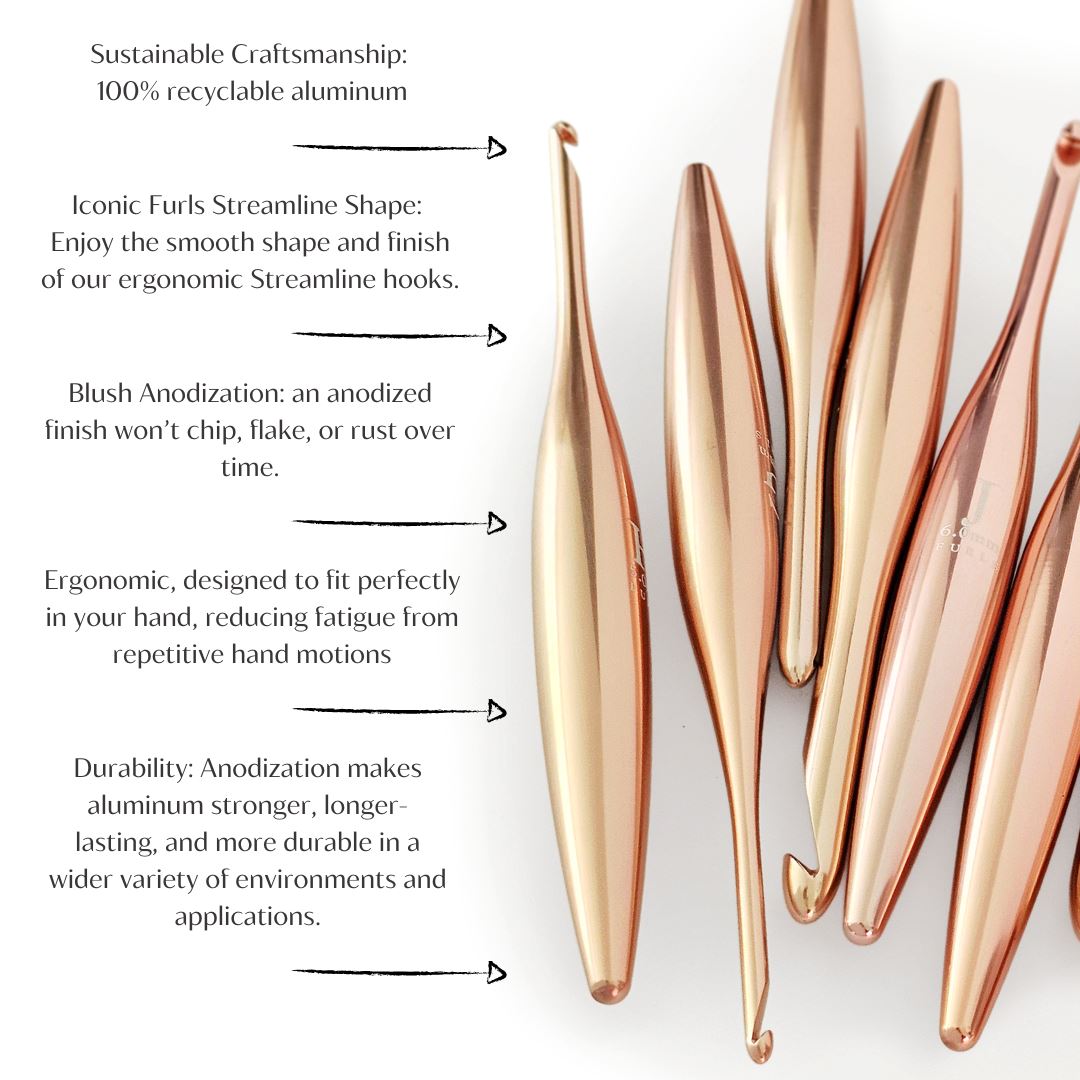
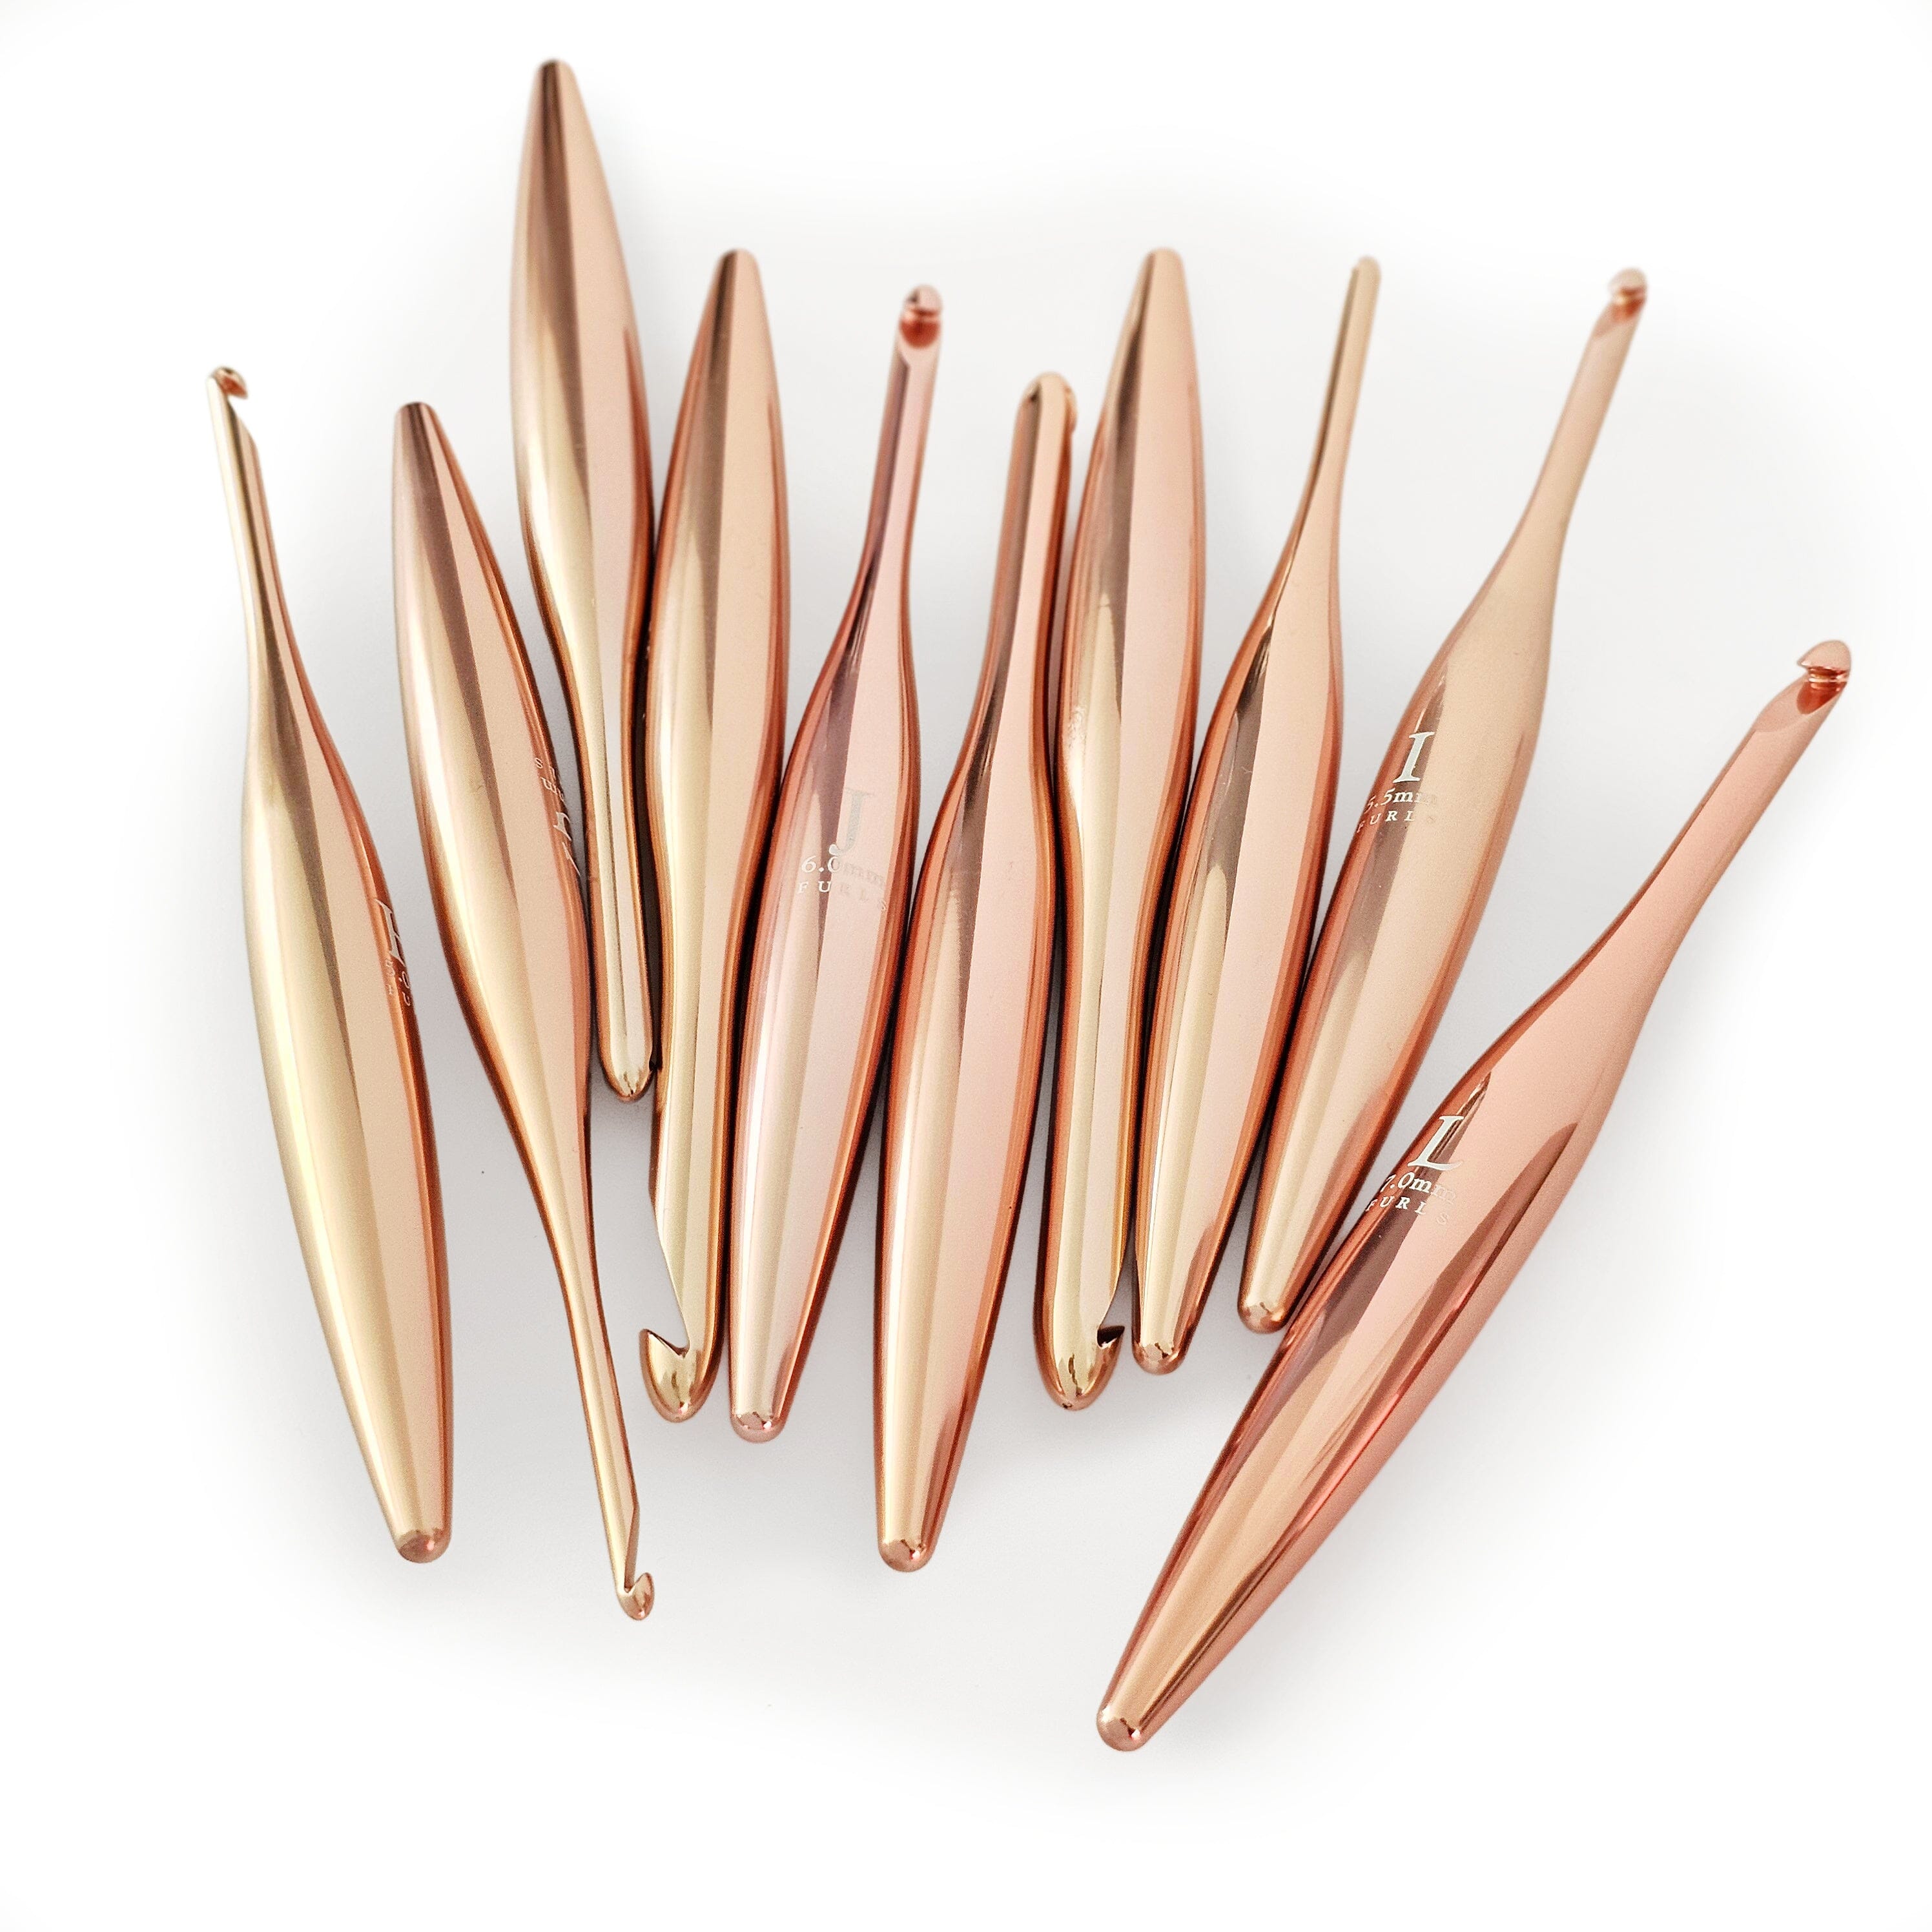
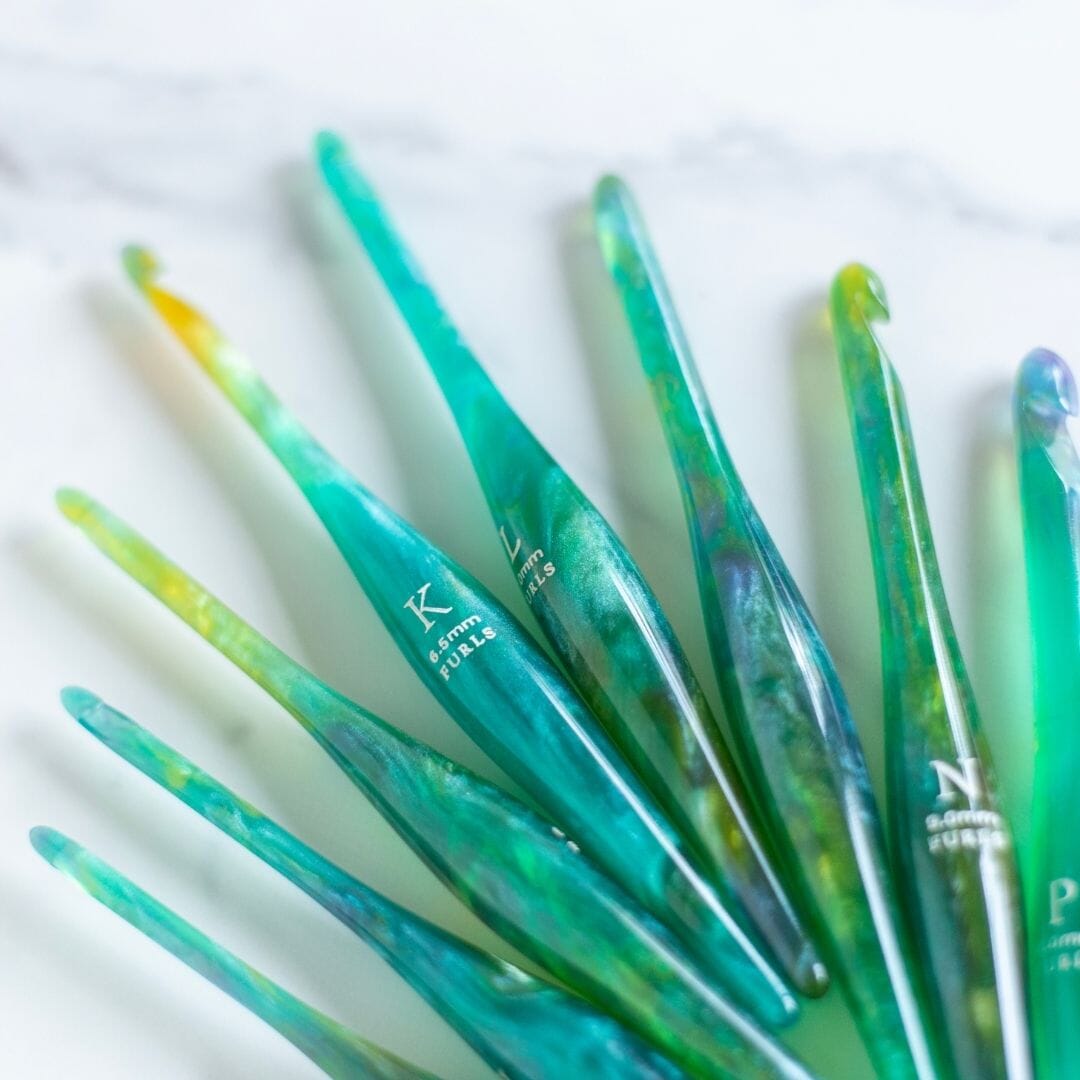
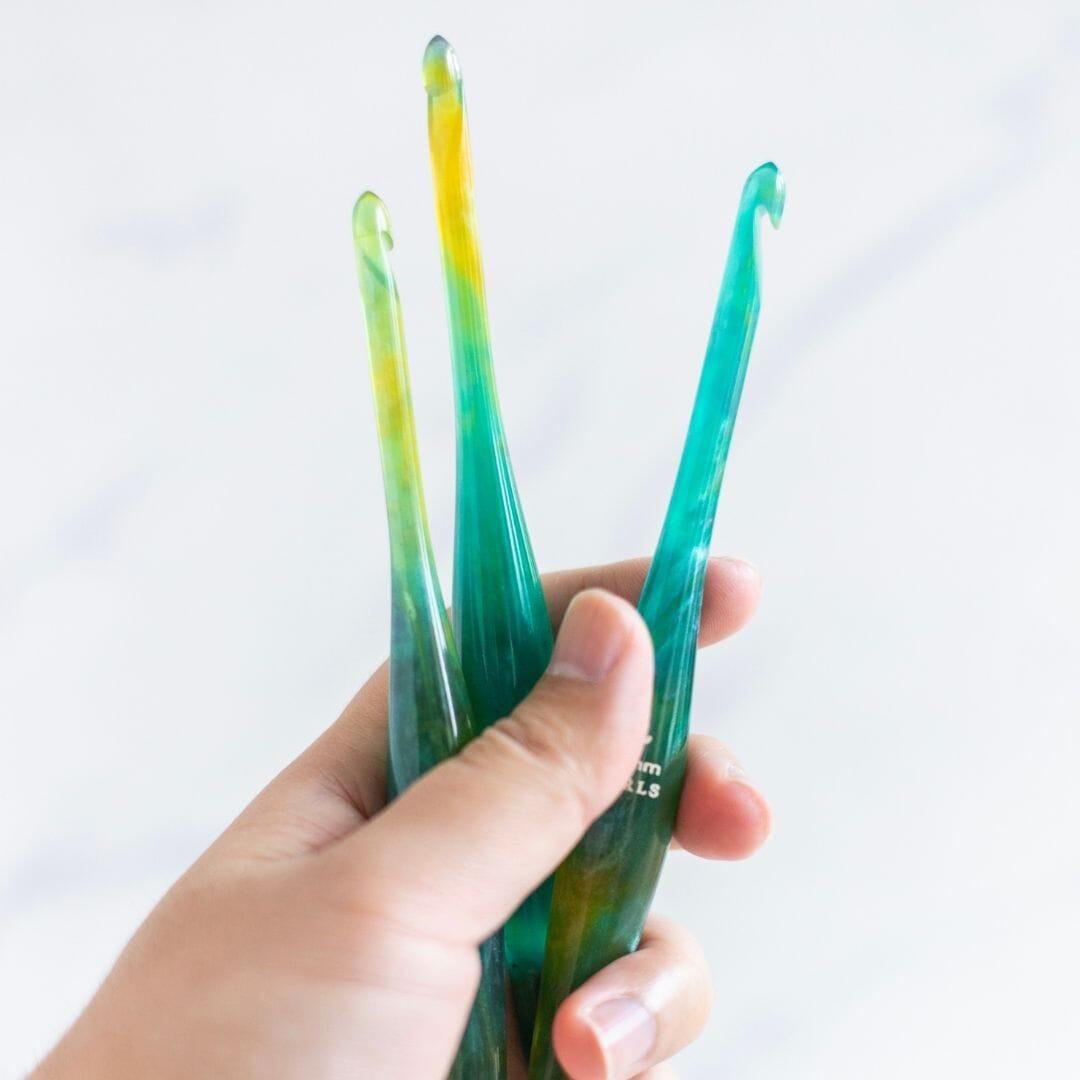
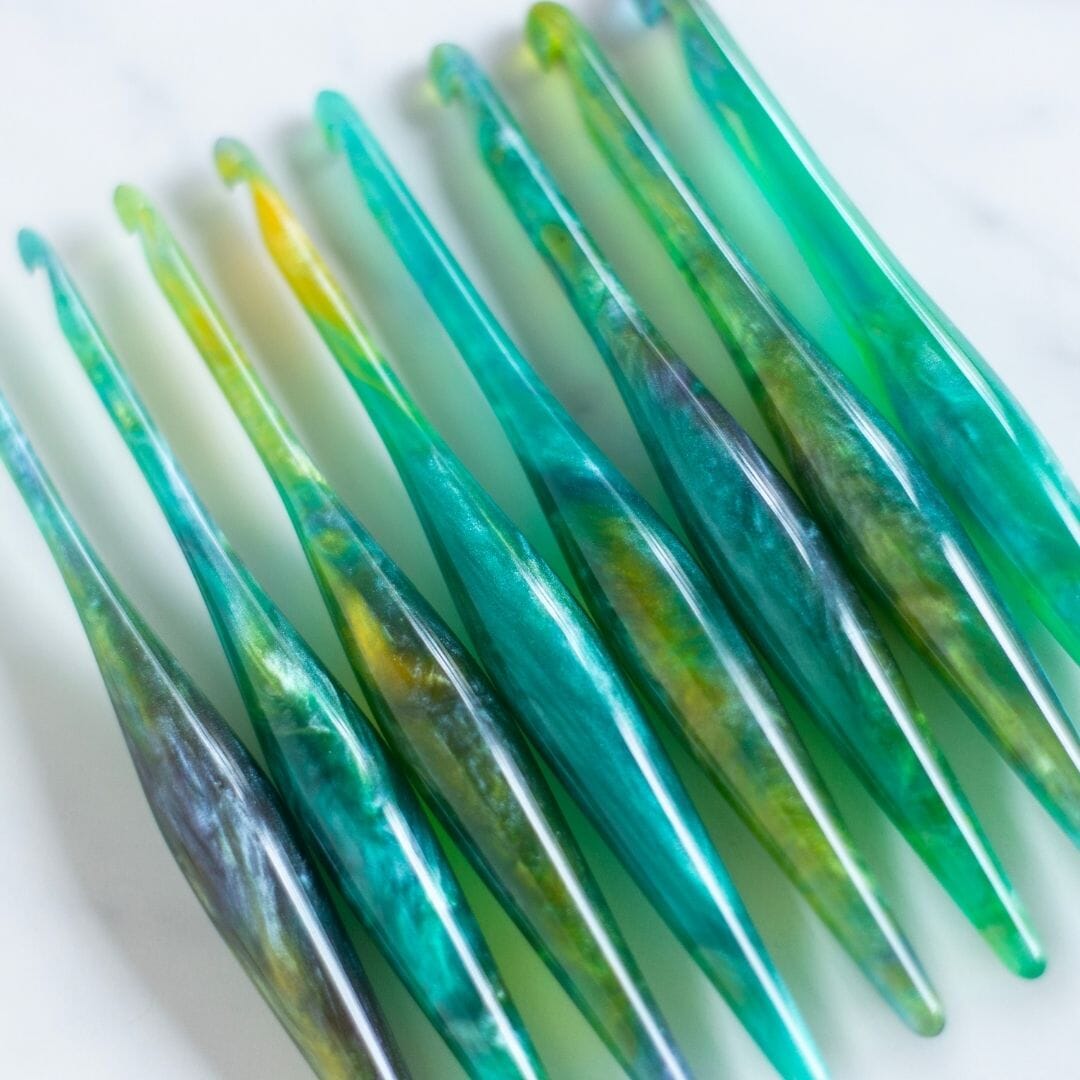
6.5mm Furls crochet hook
(1) stitch marker- optional

First you will need to gather your yarn and your hook. We are using Worsted Weight yarn from Oink Pigments, however you can use any worsted weight yarn you are comfortable with. Please keep in mind that the yarn we are using is a superwash merino, which will provide different results than a synthetic fiber, such as acrylic.
You may want to increase your hook size by half a mm to obtain the open look and increased size that blocking superwash merino fiber will provide.
This is a very forgiving project when it comes to sizing, since it is a cowl, it doesn't need to be a specific gauge. As we work through the project, if you think you would like your cowl to be wider, you can always add a couple rows to Part One to make your cowl larger. We will discuss this as we move along. In Part Two you can also add increased height to your cowl by adding a few rounds.
You will also need your favorite Furls hook in 6.5mm.
If you are not already part of our exclusive Facebook group, Fun with Furls, please request a join HERE.
What will we be working on first?
In Part One, we are going to be making the triangle portion of the cowl. In Part Two, we will be working on the cowl section, and the lace edging.
You do not need to make a gauge swatch prior to starting, but please measure your work after approx 6 rows in to be sure you are meeting gauge. Remember, we are going to be blocking our projects, which will add dimension to the final measurements. If you are using a synthetic fiber, please increase your hook size by .5 mm, which will increase your gauge slightly, but make the overall finished size (nearly) the same.

DIFFICULTY
Easy to Intermediate
SIZE(S)
One size fits all- though adjustments can be made

FINISHED MEASUREMENTS
25" from top to tip and 15" wide across top
GAUGE (pre blocked)
5 1/2 dc clusters and 5 1/2 rows = 4"
STITCH GUIDE
ch(s) - chain(s), ex sc - extended single crochet, dc - double crochet, tr - treble (triple) crochet, st(s) - stitch(es), RS - right side
SPECIAL STITCHES
3dc cluster- 3 double crochet cluster
*Yarn over (YO), insert hook in specified st, YO, pull loop through st, YO, pull through two loops on hook, repeat from * twice more, YO and pull through remaining four loops on hook
3tr cluster - 3 treble crochet cluster (good video here)
*Yarn over (YO) twice, insert hook in specified st, YO, pull loop through st, [YO, pull through two loops on hook] 2x, repeat from * twice more, YO and pull through remaining four loops on hook
NOTES
- Pattern is worked in rows, beginning at the center point in front/triangle portion of cowl. The body of the cowl (part two) will be worked in turned rounds
- Stitch counts appear at the end of each row in brackets <>. Stitch counts are represented by clusters, not individual stitches.
- When pattern specifies to stitch in top of the 3dc cluster from previous row, this will be the top of the final st of the cluster
- The Ch-4 at the beginning of each row is considered its own separate st, and not part of any cluster.
Let's get started
If you have any questions with the CAL, please feel free to tag me directly in our exclusive Facebook group, Fun with Furls.
PATTERN INTRUCTIONS- Part One
Row 1 (RS): Ch 4, 3dc cluster in 4th ch from hook. <1>

Row 1- Instructional
Row 2: Ch 4 and turn, *YO twice, insert hook in 4th ch from hook, YO, pull loop through st, [YO, pull through 2 loops on hook] 2x, repeat from * one time more, YO and pull through remaining 3 three loops on hook, ch 2, 3dc cluster in the top of the next 3dc cluster, ch 2, 3tr cluster in the top of the ch 4 from previous row. <3>

Row 2- Instructional
Row 3: Ch 4 and turn, *YO twice, insert hook in 4th ch from hook, YO, pull loop through st, [YO, pull through 2 loops on hook] 2x, repeat from * one time more, YO and pull through remaining 3 three loops on hook, ch 2, skip the next 3tr cluster from previous row, 3dc cluster in next ch-2, ch 1, 3dc cluster in top of the next 3dc cluster, ch 1, 3dc cluster in the next ch-2, ch 2, skip next 3tr cluster from previous row, 3tr cluster in the top of the ch 4 from previous row. <5>

End of Row 3
Rows 4-17: Ch 4 and turn, *YO twice, insert hook in 4th ch from hook, YO, pull loop through st, [YO, pull through 2 loops on hook] 2x, repeat from * one time more, YO and pull through remaining 3 three loops on hook, ch 2, skip the next 3tr cluster from previous row, 3dc cluster in next ch-2, *ch 1, 3dc cluster in top of the next 3dc cluster, repeat from * for every 3dc cluster from previous row, ch 1, 3dc cluster in the next ch-2, ch 2, skip next 3 tr cluster from previous row, 3tr cluster in the top of the ch 4 from previous row. <each row adds two 3dc clusters, you will have 33 clusters at the end of row 17>

End of Row 4

SPECIAL STITCHES
Ex-sc- Extended Single Crochet
YO, insert hook in st, YO and pull through st (3 loops on hook), YO and draw through one loop, YO and draw through remaining loops.
NOTES for Part Two
- You can now make adjustments to the overall size of your cowl. At the end of Row 17, the sample cowl measures 26” across the top. The sample cowl has one more (modified) repeat (Row 18) and then the joining round is crocheted (Row 19).
- The pattern below includes instructions for the sample cowl, which measures 15” across (after blocking). If you would like your cowl to have a wider opening, please keep in mind that each repeat row will add approximately 1 ½” of width, and approximately 1” of length, to the finished cowl.
- If you wish to make your cowl wider (thus also making the center point longer), simply repeat row 17 as desired. Please repeat row 17 in multiples of 2 to ensure that edging works out. Keep in mind, this will affect the amount of yarn used. You may need to purchase more yarn, or decrease the amount of cowl rows to compensate for making the cowl wider. If you add rows, your st counts will be different for the remainder of the pattern. Each added row will add two additional clusters.
- Pay attention to the changes in the first cluster in subsequent rows.

Row 18: Ch 3 and turn, *YO, insert hook in 3rd ch from hook, YO, pull through stitch, YO, pull through two loops on hook, repeat from * one time more, YO and pull through remaining three loops on hook. Ch 1, 3dc cluster in next ch-2, *ch 1, 3dc cluster in top of the next 3dc cluster, repeat from * for every 3dc cluster from previous row, ch 1, 3dc cluster in the next ch-2, ch 1, 3dc cluster in the top of the ch-4 from previous row. <35>
Row 19: Ch 3 and turn, *YO, insert hook in 3rd ch from hook, YO, pull through stitch, YO, pull through two loops on hook, repeat from * one time more, YO and pull through remaining three loops on hook. Ch 1, *3dc cluster in the top of the next 3dc cluster, Ch 1, repeat from * to end, (for the last cluster you are now working into the top of the cluster, and not the ch 3 as in previous rows) sl st into the top of the first cluster to join into round. Be sure your RS is facing out when you sl st to join. If you added extra rows in Part One, please be sure that you are joining on an odd row, to ensure that the edging works out as desired. Remember your st count will change if you added rows, each row adds two clusters. Mark the last ch 1 before join. <35>
NOTE:
- You will now be working in turned rounds
Round 20: Do not remove the st marker until you are instructed to in the edging rows. Ch 3 and turn, *YO, insert hook marked ch space, YO, pull through stitch, YO, pull through two loops on hook, repeat from * one time more, YO and pull through remaining three loops on hook (figure 1), Ch 1, *3dc cluster in the top of the next 3dc cluster, Ch 1, repeat from * to end, sl st into the top of the first cluster to join. <36>

Figure 1 (stitch marker NOT shown)
Rounds 21-32: Ch 3 and turn *YO, insert hook in the same cluster of your ch-3 (in essence these sts will be placed behind or before the ch-3 you just made), YO, pull through stitch, YO, pull through two loops on hook, repeat from * one time more, YO and pull through remaining three loops on hook. Ch 1, *3dc cluster in the top of the next 3dc cluster, ch 1, repeat from * to end, sl st into the top of the first cluster to join <36>.
NOTE:
- If you added rows to your triangle section, you will want to add the same number of rows to your cowl portion. You can also add rows as you like to make the cowl section taller. BE SURE YOU END ON A right side/ or even numbered row.
Fasten off and weave in all ends.
EDGING
Row 1: Turn cowl so that point is towards you and you are looking at the join, or marked st. Attach yarn by sl st into the ch-1 space directly to the left of the marked st (figure 1A) Ch 1 and ex-sc in the same ch-1 space. *Ch 5, ex-sc directly before the next 3tr cluster (figure 1B) Repeat (figure 1C) from * until the cluster directly before the first cluster in Row 1 (this will be the chain that goes around the tip of the triangle), ch 7 (figure 1D) (you will now be working on the opposite side of the triangle), ex-sc in the space before the next 3tr cluster, *ch 5, ex-sc directly before the next 3tr cluster, repeat from * to space directly before the marked st (figure 1E). Do not join this round. Mark the second ch-5 space, stitched after the center ch-7. <34 ch-5 spaces and one ch-7 space. You will have 4 more ch-5 spaces for every 2 rows added to the triangle portion>
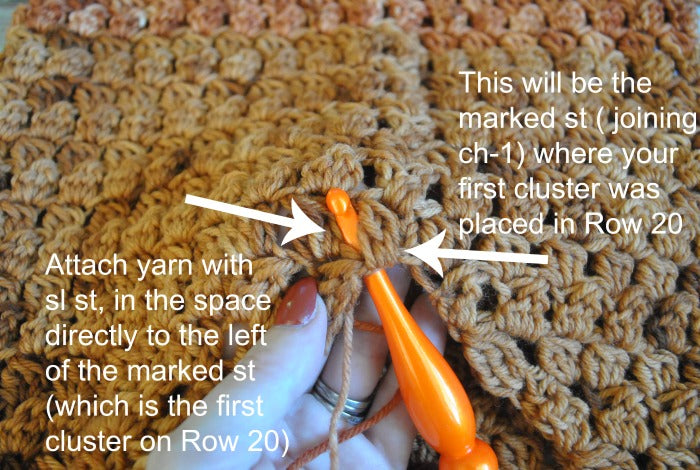
Figure 1A

Figure 1B

Figure 1C

Figure 1D

Figure 1E
Row 2: Ch 1 and turn, ex-sc in the first ch-5 space, *[3dc, ch 2, 3dc] in the next ch-5 space, ex-sc in the next ch-5 sp, repeat (figure 2A) from * until you reach the marked space, [4dc, ch 2, 4dc] in the marked space, ex-sc in the next ch-5 space, [5dc, ch 2, 5dc] in the next/center ch-7, ex-sc in the next ch-5 sp, [4dc, ch 2, 4dc] in the next ch-5, ex-sc in the next ch-5, * [3dc, ch 2, 3dc] in the next ch-5 space (figure 2B), ex-sc in the next ch-5 space, repeat from * until the last ch-5 space, sl st into the first ex-sc to join.

Figure 2A

Figure 2B
Fasten off. Weave in all ends and wet block your finished cowl.
Did you enjoy this pattern: Browse our other free crochet patterns: