

Have you ever finished a crochet project only to find it doesn't quite fit as expected? Maybe the hat is too snug or the sweater is more of a dress. If this sounds familiar, it’s time to talk about crochet gauge. Understanding and mastering gauge can be the key to creating projects that look and fit just right. Let’s break it down!

Gauge ain't nothing but a number...
Crochet patterns usually give a suggested hook size that matches the designer’s personal gauge, but your crochet gauge (your personal gauge) might vary enough to make a sizing difference, which is why gauge swatches are recommended and so important! Sure, you want to get started on that project, but wouldn’t you rather spend half an hour testing your gauge and getting it right, than crocheting for a month only to discover your sweater is too large or small? The time it takes to gauge swatch is worth the investment!
Since crochet is a handmade product, it makes sense that your results bear the proof that it was handmade! Take time to customize your gauge for best results!
What is Crochet Gauge?
First things first: what is crochet gauge? Simply put, gauge is the number of stitches and rows you get per inch or centimeter. It's a crucial part of crochet patterns because it ensures your finished piece turns out the right size. Imagine making a blanket that's supposed to fit a queen-sized bed, but because your gauge is off, it only covers a twin. Not fun, right?
How to Measure Gauge
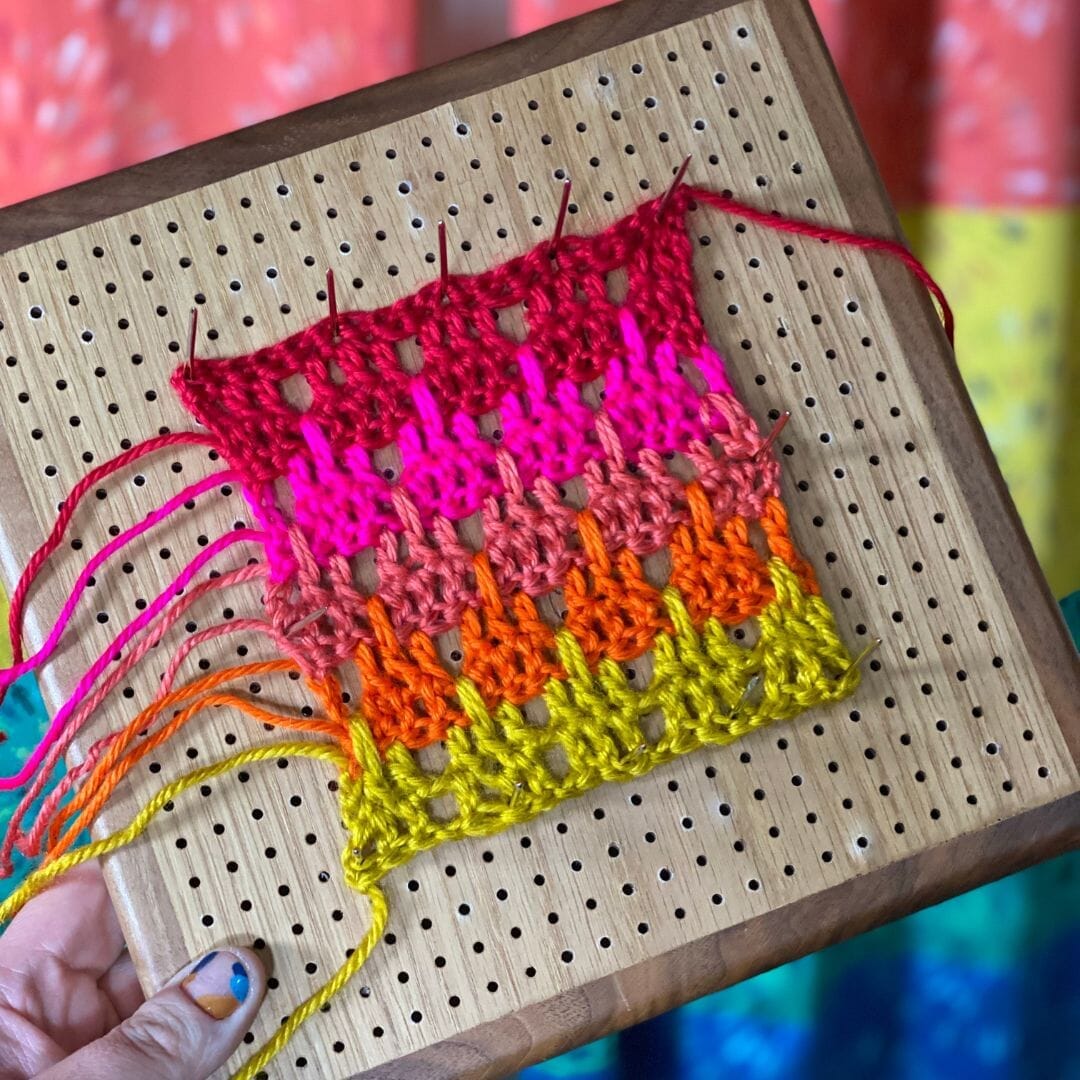
Measuring gauge is pretty straightforward. Start by making a gauge swatch, usually a 4x4 inch square (or whatever is recommended in your pattern – sometimes instructions for a gauge swatch are included). This is your practice piece to see how your stitches measure up. Once your swatch is ready, grab a ruler or measuring tape. Count the number of stitches across an inch, then count the rows within that inch. Do this for both width and height.
We recommend making a 6x6" swatch or larger so you can get a really good average and account for turning chains. It can be helpful to measure across 4 inches and divide by 4 to get an average.
Measure Stitches Per Inch: Measure the stitches across 4 inches, then divide by 4 to get the "stitches per inch."
Measure Rows Per Inch: Measure the rows across 4 inches, then divide by 4 to get the "rows per inch."
A little tip: block your swatch before measuring, unless the pattern specifies otherwise. Blocking means wetting and pinning your swatch flat to dry, ensuring your stitches are settled and true to size. Again, this prolongs your project, but helps guarantee your results are satisfactory after all your hard work!
Factors Affecting Gauge
Several things can affect your gauge. One of the biggest factors is your hook size. Per inch, a larger hook will produce fewer, larger stitches, while a smaller hook will make more, smaller stitches. Yarn weight also plays a significant role. Thicker yarns create bigger stitches, and thinner yarns create smaller ones.
The crochet swatches below were all crocheted from the same weight of yarn (Wander yarn), but with different sized hooks. Each swatch is 25 stitches wide. See the difference that changing the hook size makes to the size of the swatch and stitches!
Learn How to Measure a Crochet Hook
Your personal tension—how tightly or loosely you hold the yarn—can dramatically affect your gauge too. If you tend to crochet tightly, your stitches will be smaller and denser. Conversely, a looser hold will result in larger, more open stitches. Lastly, always check the pattern for gauge specifications. Designers often provide the gauge they used, which helps you match their project dimensions.
Adjusting Gauge
So, what if your gauge doesn’t match the pattern? Don’t worry, adjusting is easy. If your gauge is too tight (too many stitches per inch), try using a larger hook. If it’s too loose (too few stitches per inch), switch to a smaller hook. Sometimes, adjusting your tension by holding the yarn differently can help too.
If you need to adjust your gauge height (the rows per inch), you might need to adjust how high you pull up your first loop in each stitch - this is called "the golden loop" and it's the move that determines how tall your stitches are. If your rows are too tall, you will count fewer rows per inch, but if your rows are too short, you will count too many rows per inch. To fix tall stitches, try pulling your loops shorter (increase tension when pulling up a loop). To fix short stitches, relax a bit and pull a bit more yarn out when you pull up a loop. To learn more about The Golden Loop and fixing row tension, check out this video.
When substituting yarn, choose a similar weight to what the pattern calls for. Different yarns, even in the same weight category, can behave differently, so always make a new swatch when changing yarns. And remember, swatching multiple times might be necessary. It’s a small investment of time to ensure your project turns out perfectly.
Troubleshooting Common Gauge Issues
What if your gauge is inconsistent? This can happen if your tension changes as you crochet. Try to relax and maintain a steady rhythm. If your gauge still doesn’t match the pattern, don’t fret. You might need to adjust your hook size or tension again.
If you’re seeing deviations in your pattern, double-check your measurements. Sometimes it helps to measure over a larger section of your swatch to get a more accurate reading. And remember, an incorrect gauge can impact the fit and look of your final project. It’s worth taking the time to get it right.
Expert tip: Check your gauge periodically throughout your project, especially if it's a larger piece. This helps to catch any shifts in tension as they occur, saving you from major headaches later.
Understanding crochet gauge might seem a bit tedious at first, but it’s a game-changer for creating beautiful, well-fitted projects. So grab your hooks, make those swatches, and happy crocheting!


