

Here in the frozen wastes of Wisconsin we’ve happily marked the Return of the Robins, a sure sign that spring is right around the corner and that we might start packing up our sidewalk salt and snow shovels. In celebration of this we’ll be making the (drumroll please) American Robin!
Updated 3/18/2025

MATERIALS
- Knit Picks Wool of the Andes Superwash Bulky in (A) Coal, (B) Briar Heather, (C) Persimmon Heather and (D) Semolina
- Furls Streamline Metal Crochet Hook size G (4.0mm) or G+ (4.5mm)
- 6mm black safety eyes
- Yarn/tapestry needle
- Stuffing
- Stitch marker (I use a small scrap of yarn)
- Sewing pins (optional)
- Scissors

ABBREVIATIONS
Ch = chain
Sc = single crochet
Slp st = slip stitch
Sk = skip
Dec = decrease
Rep = repeat
PM = place marker
2x, 3x, etc = 2 times, 3 times, etc
Finished size: about 3" tall and 4" long

Notes
The head and body of the robin are worked in one continuous round with color changes, noted within the lines of the pattern. To make sure you don't lose your place, mark the beginning of each new round with a stitch marker. The tail is also worked in the round but the wings and beak are worked flat.
Assembly info follows under each component's pattern.
Troubleshooting
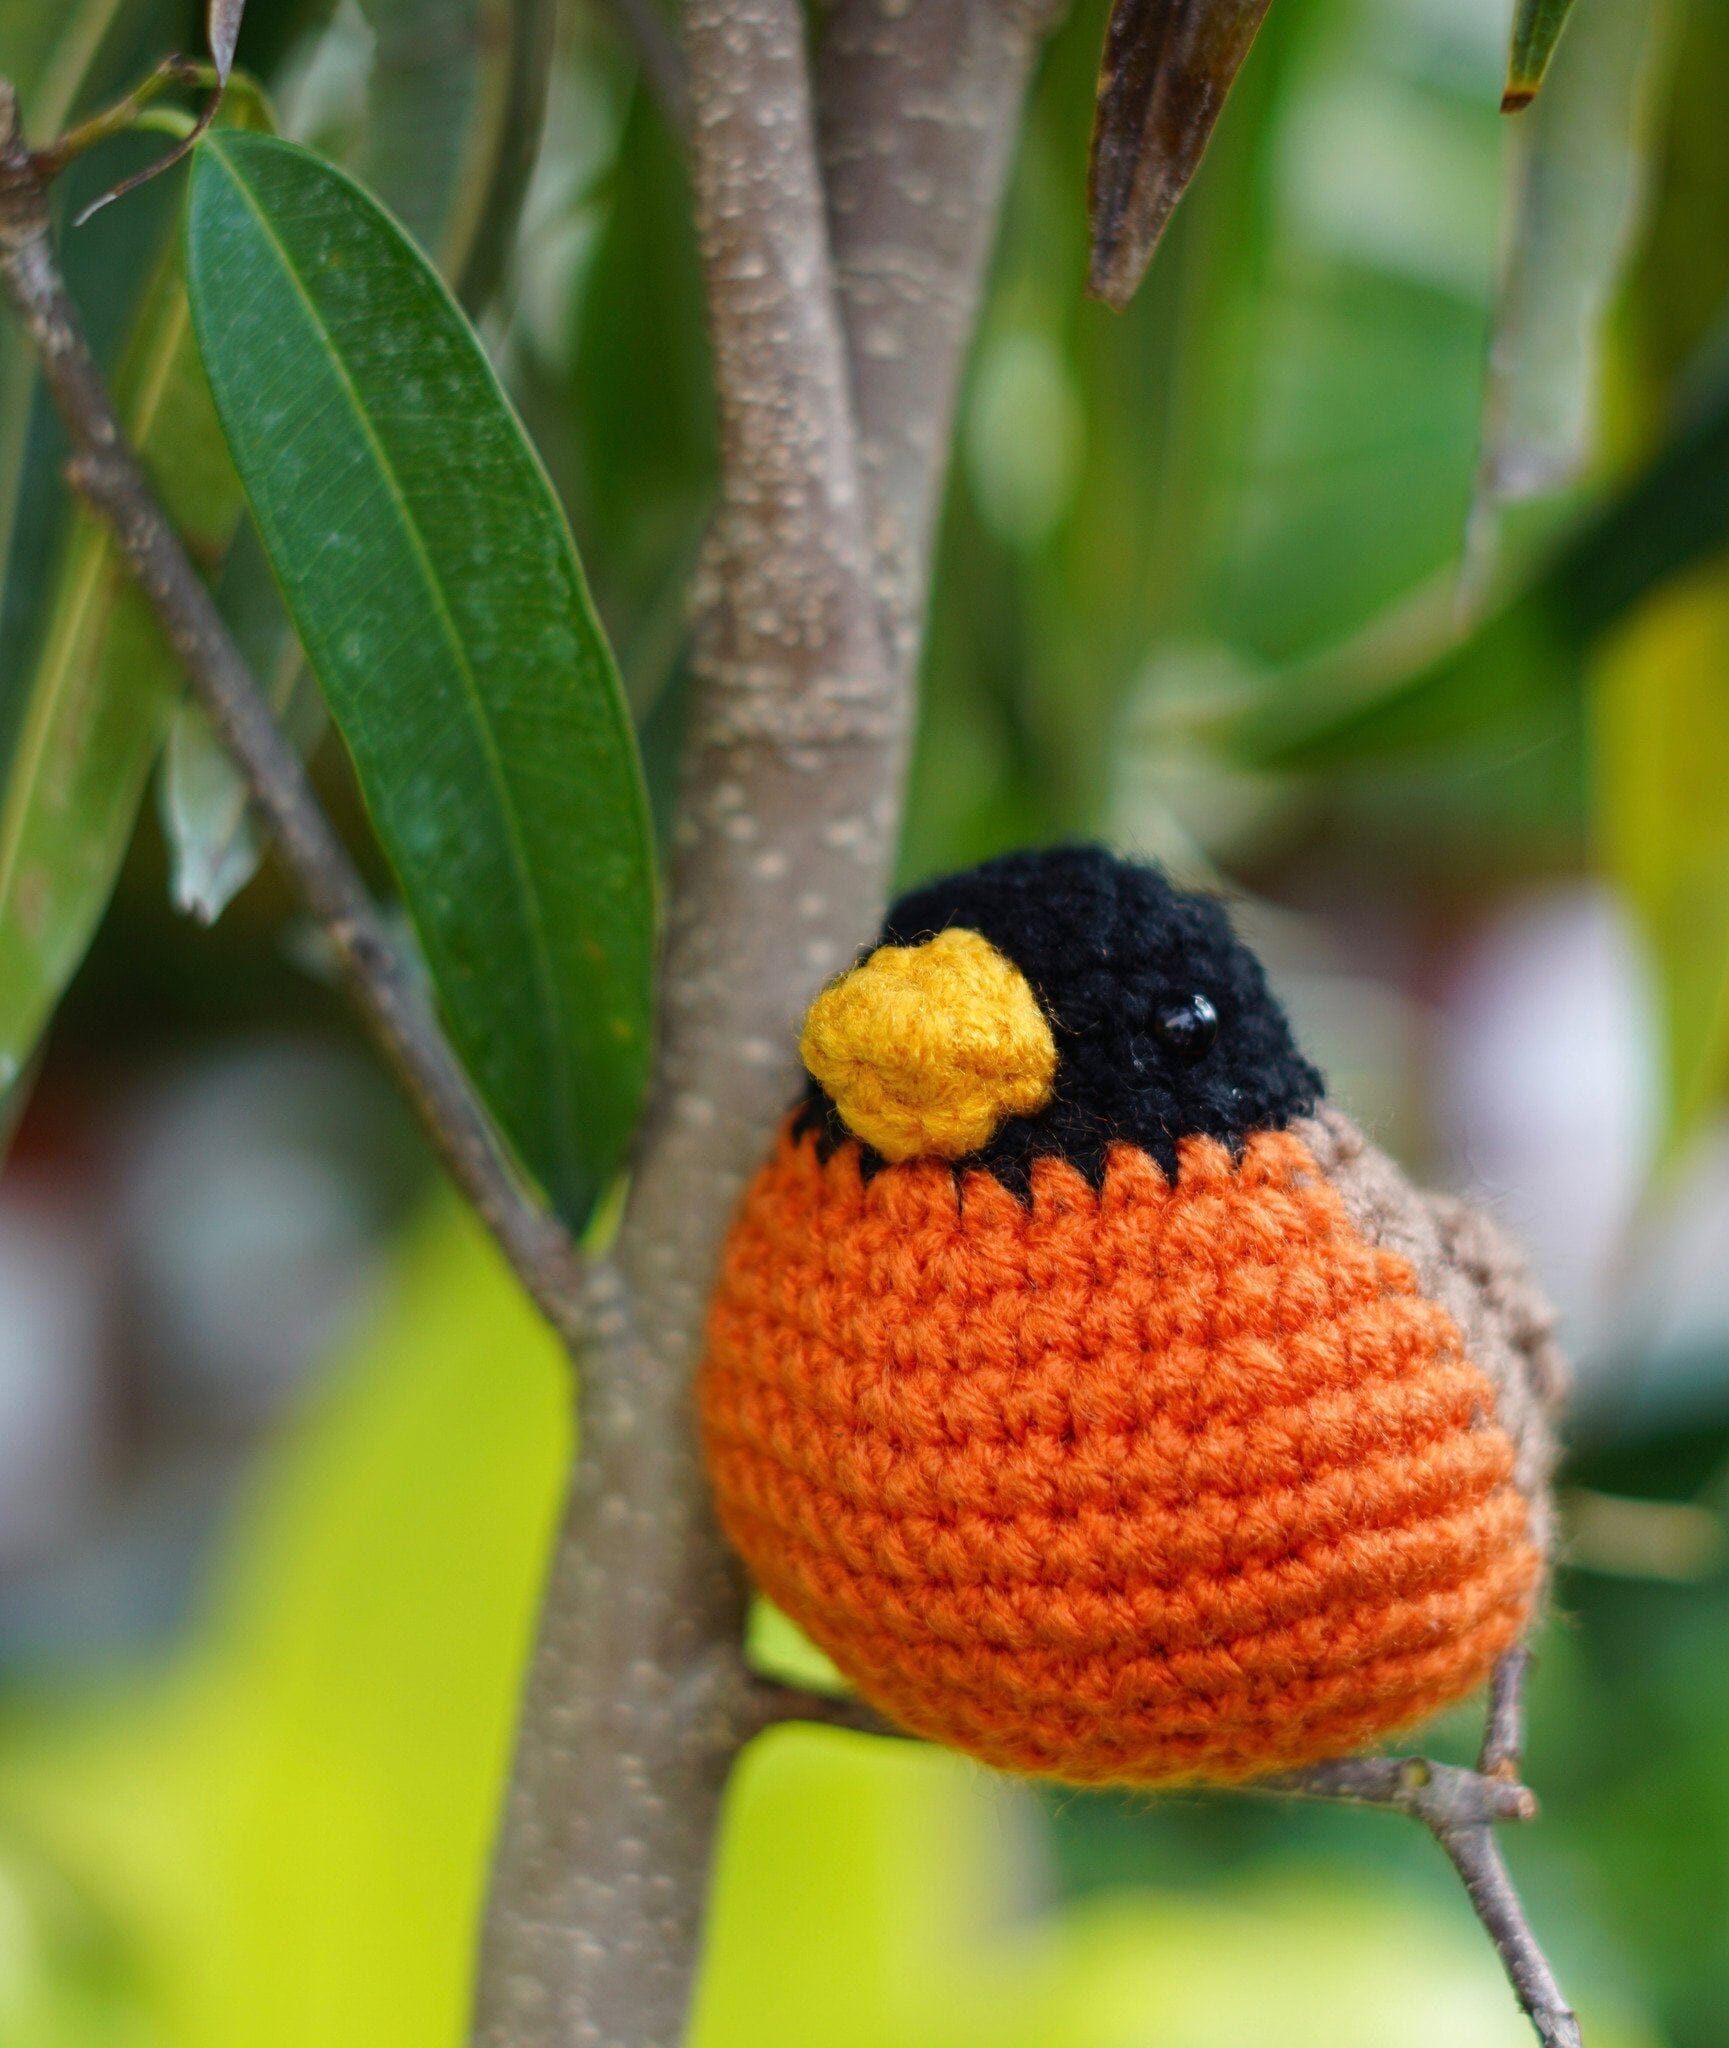
COLOR CHANGE WOES? Everybody's stitches tend to spiral differently when working in the round. If you're following the color changes and not getting the same result, just follow the base pattern for the shape of the bird and wing the color changes. Here are some photo references to help out:


On we go!
Head / body
With color A, ch 2 / magic loop
1. 6 sc in 2nd ch from hook / loop (6)
2. 2 sc in each sc around (12)
3. *2 sc in 1st sc, sc in next sc* rep *-* around (18)
4-5. sc in each sc around (18)
6. 2 sc in 1st sc, sc in next 3 sc, 2 sc in next sc, sc in next 4 sc, 2 sc, CHANGE to B, sc in next 3 sc, 2 sc in next sc, sc in last 4 sc (22)
7. 2 sc in 1st sc, sc in next sc, CHANGE to C, sc in next 3 sc, 2 sc, sc in next 4 sc, 2 sc in next sc, CHANGE to B, sc in next 4 sc, 2 sc in next sc, sc in last 6 sc (26)
8. 2 sc in 1st sc, sc in next 2 sc, CHANGE to C, sc in next sc, *2 sc in next sc, sc in next 3 sc* rep *-* 2x, 2 sc in next sc, sc in next sc, CHANGE to B, sc in next 2 sc, rep *-* 2x, sc in last 2 sc (32)
9. sc in 1st 3 sc, CHANGE to C, sc in next 16 sc, CHANGE to B, sc in last 13 sc (32)
If you are using snap-in eyes, put them in now between rounds 4 and 5. The eyes should be positioned above the first and last Persimmon-colored stitches of round 7.
10. 2 sc in 1st sc, sc in next 2 sc, CHANGE to C, sc in next 2 sc, *2 sc in next sc, sc in next 4 sc* rep *-* 3x, CHANGE to B, rep *-* 2x more, 2 sc in next sc, sc in last sc (39)
11. sc in 1st 3 sc, CHANGE to C, sc in next 22 sc, CHANGE to B, sc in next 4 sc, *2 sc in next sc, sc in next 3 sc* rep *-* 2x, 2 sc in next sc, sc in last sc (41)
12. sc in 1st 2 sc, CHANGE to C, sc in next 24 sc, CHANGE to B, sc in next 4 sc, *2 sc in next sc, sc in next 4 sc* rep *-* 2x, 2 sc in next sc, sc in last sc (44)
13. sc in 1st sc, CHANGE to C, sc in next 26 sc, CHANGE to B, sc in last 18 sc (44)
14. sc in 1st sc, CHANGE to C, sc in next 5 sc, [sc dec, sc in next 3 sc] 4x, sc in next 2 sc, CHANGE to B, sc in last 17 sc (40)
15. sc in 1st sc, CHANGE to C, sc in next 4 sc, [sc dec, sc in next 2 sc] 4x, sc in next 2 sc, CHANGE to B, sc in next 4 sc, [sc dec, sc in next 3 sc] 2x, sc dec, sc in last sc (33)
16. sc dec, CHANGE to C, sc in next 3 sc, [sc dec, sc in next 3 sc] 3x, CHANGE to B, repeat brackets 2x, sc dec, sc in last 2 sc (27)
17. sc dec, CHANGE to C, sc in next 2 sc, [sc dec, sc in next 2 sc] 3x, CHANGE to B, [repeat brackets] 2x, sc dec (19)
STUFF the bird firmly
18. sc in 1st sc, CHANGE to C, sc in next sc, [sc dec, sc in next 2 sc] 2x, sc dec, CHANGE to B, sc in next 2 sc, [repeat brackets] 1x, REMOVE MARKER and sc dec (15)
19. PM, CHANGE to C, sc in 1st sc, [sc dec, sc in next sc] 2x, sc dec, CHANGE to B, sc in next sc, sc dec, sc in next sc, sc dec (10)
20. CHANGE to C, [sc dec] 2x, CHANGE to B, sc dec
FO and close up the remaining hole, weave in (or ‘lose’) the end.


Beak pieces (make 2)
With color D, ch 2
1. 2 sc in 2nd ch from hook, TURN (2)
2. 2 sc in each sc across (4)
FO and whipstitch the two beak pieces together. The last row of stitches should be left open (unsewn); this is where it will go on the bird’s face.

Sew the beak over rounds 4-6 of the head, centered between the two eyes. Weave in (or ‘lose’) the ends.
With color B, ch 2
1. 5 sc in 2nd ch from hook (5)
2. 2 sc in 1st sc, TURN leaving remaining 4 sts unworked, 2 sc in 1st sc, sc in next 3 sc, TURN
3. 2 sc in 1st sc, sc in next 4 sc, TURN (6)
4. sc in 1st sc, 2 sc in next sc, sc in next 2 sc, 2 sc in next sc, sc in last sc, TURN (8)
5. sc in 1st sc, 2 sc in next sc, sc in next 4 sc, 2 sc in next sc, sc in last sc, TURN (10)
6. sc in 1st sc, 2 sc in next sc, sc in next 2 sc, slp st in next sc, TURN (6)
7. sk slp st, sc in next sc, sc dec, 2 sc in next sc, sc in next sc, TURN (5)
8. sk 1st sc, sc in next sc, 2 sc in next sc, sc dec, TURN (4)
9. sc dec, sc in next 2 sc, TURN (3)
10. sc in 1st sc, sc dec, TURN (2)
11. sc dec
FO and reattach color B to the opposite end of row 5, with the first wing on the left. Repeat rows 6-11, FO again.

Sew the inside edges of the V to round 8 of the robin body. I recommend tacking the wings in place with sewing pins beforehand to make sure they line up with the rest of the robin’s features (the centerline of the V should line up with the beak when viewed from above).

With color B, ch 3
1. 2 sc in 2nd ch from hook, 3 sc in last ch, turning your work so you’re working along the bottom of the ch, sc in same ch space as 1st 2 sc (6)
2. sc in each sc around (6)
3. 2 sc in each of the 1st 2 sc, sc in next sc, 2 sc in each of the next 2 sc, sc in last sc (10)
4-5. sc in each sc around (10)
6. sc in 1st 2 sc, 2 sc in next sc, sc in next 4 sc, 2 sc, leave remaining 2 sc unworked (12)
FO, whipstitch the tail to round 14 of the robin body. Make sure it is centered in relation to the wings: the bottom of the V should coincide with the middle of the tail.

Did you enjoy this free crochet patterns? Here are our other realistic amigurumi bird patterns in this series (all free crochet patterns!):
As always, If you have any questions, comments or corrections regarding this pattern please feel free to contact me (littleravenfiberarts@gmail.com), I’m here to help.
Make sure to pop in to the Fun With Furls Facebook Group to share your birdie photos and admire everyone else’s crochet handiwork too!
Happy Crocheting!
Brenna


