The Entrelac Check Pillow is a bold piece of home décor. The modern checkered design offers limitless color options. This is a great pattern to learn the Entrelac method of Tunisian crochet. For week one of the Entrelac Check Pillow, you will be gathering your supplies, making your gauge swatch, and beginning the center of your pillow panels. Each week be sure to complete the instructions for both the front and the back panels.

ABOUT OUR DESIGNER
Emily Davies is the maker and designer behind Hooked Hazel. Her love for yarn began at a young age, and has only grown over the years. She loves to design patterns that are accessible to all skill levels. She lives in Kansas, and the vast plains landscape serves as a frequent inspiration for her designs. Her blog features free patterns ranging from accessories to garments to home items.
Follow Emily
Web | Instagram | Facebook | Pinterest
SUPPLIES
Size 6.00 mm Furls Tunisian Crochet Hook
Scissors
2 Skeins Lion Brand Heartland Grand Canyon
2 Skeins Lion Brand Heartland Great Smokey Mountains
Or worsted weight Equivalent, 540 yards MC and 270 yard CC
Pillow insert – 19” x 19”
PATTERN DETAILS
Finished Size
19” x 19”
Gauge
8 TSS x 7 rows = 1.75”
Notes
- Pattern uses the Entrelac method of Tunisian crochet.
- Squares are first worked from the center out, with the corners filled in.
- Front and back panels are the same.
- In the sample, Grand Canyon (beige) is the MC and Great Smokey Mountains (grey) is the CC.
Skill Level
Intermediate
Abbreviations
ch chain
slst slip stitch
FwdP forward pass
RetP return pass
Tss tunisian simple stitch
YO yarn over
MC main color
CC contrast color

PART ONE
Let's get this pattern started!
Center Square
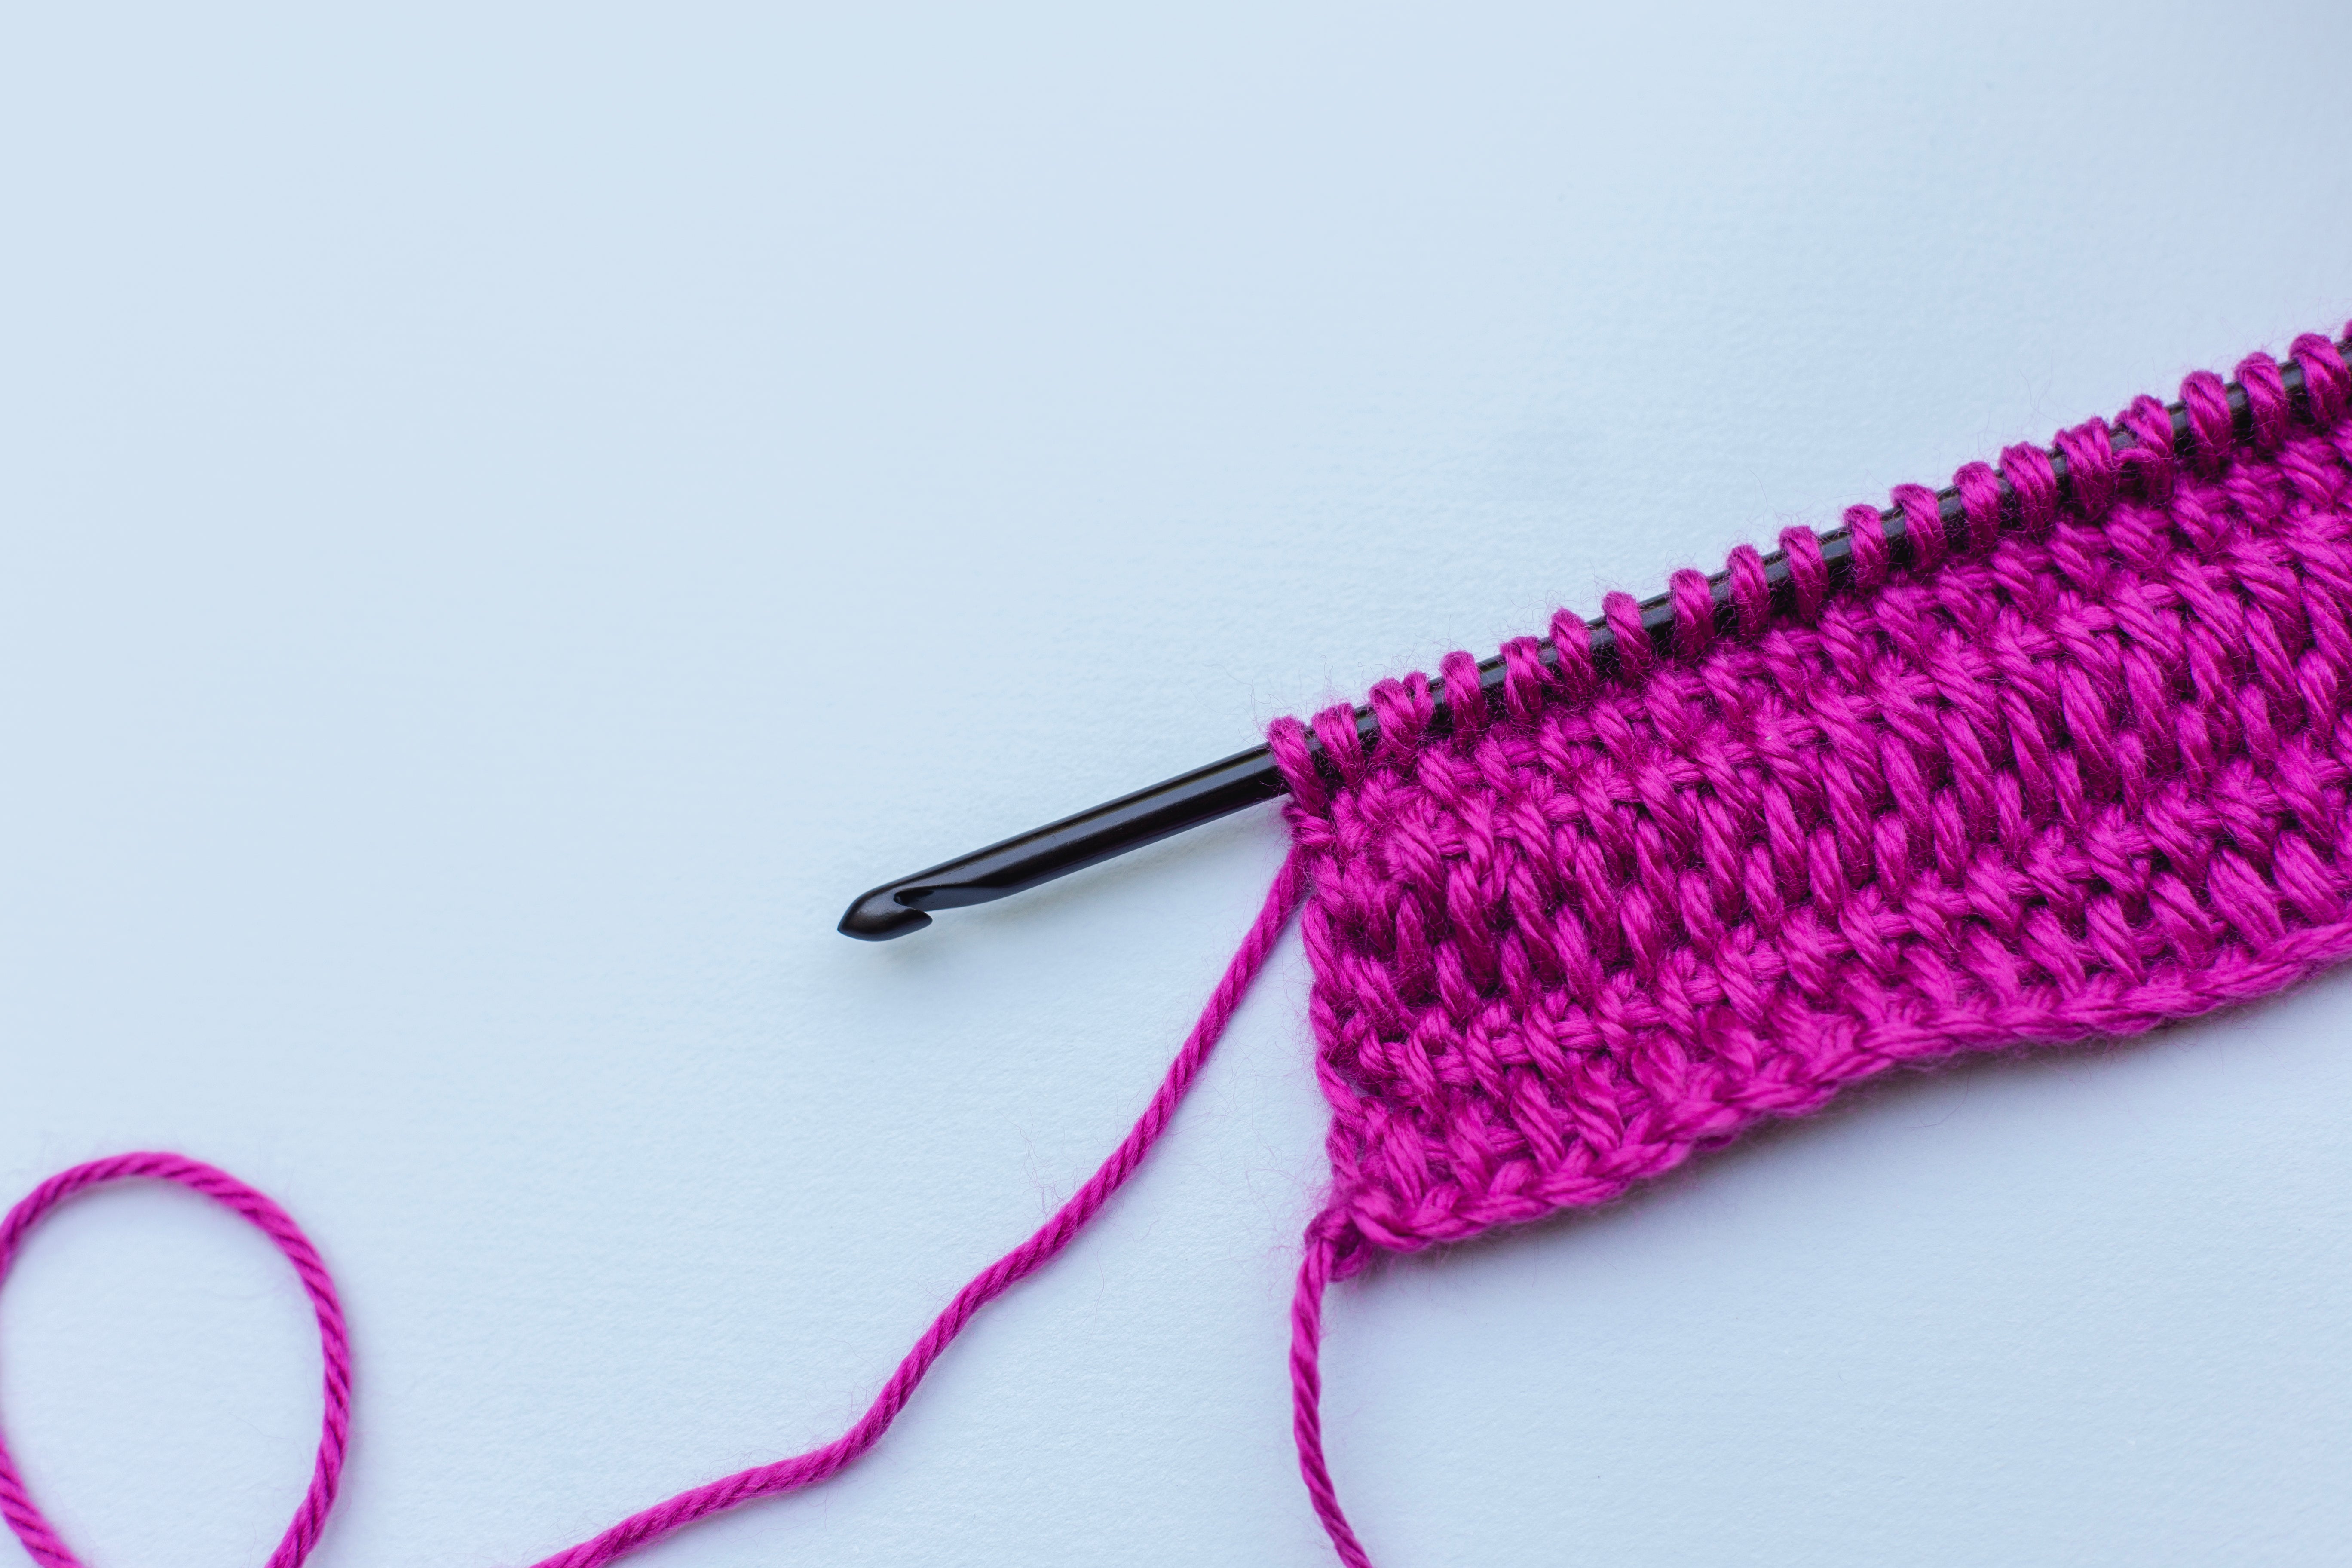
With MC, ch 8.
Row 1 (RS): FwdP: Insert hook in 2nd ch from hook and draw up a loop, *keeping loops on hook, insert hook in next ch and draw up a loop; repeat from * across (8 loops on hook).
RetP: YO and draw through 1 loop on hook, **YO and draw through 2 loops on hook; repeat from * until only 1 loop remains on hook.
Rows 2–6: Tss across.
RetP: Work same as Row 1 RetP.
Slst bind off.
Fasten off.
First Round of Squares

With RS facing, using MC, join yarn in any corner of the center square.
Corner Square
Row 1 (RS): Ch 7.
FwdP: insert hook in 2nd ch from hook and draw up a loop, *keeping loops on hook, insert hook in next ch and draw up a loop; repeat from * across ch, insert hook in same corner as joining and draw up a loop. (8 loops on hook)
RetP: Ch 1, *YO and draw through 2 loops on hook; repeat from * until only 1 loop remains on hook.
Rows 2–6: Tss across; insert hook in edge of previous square and draw up a loop. (8 loops on hook)
RetP: Work same as Row 1 RetP.
Row 7: Slst bind off, slst in next corner of previous square—1 loop remains on hook.
Repeat Rows 1–7 three more times to make a total of 4 squares around the center square.
Fasten off.

PART TWO
For part two of the Entrelac Check Pillow, we will continue working on the pillow panels. Be sure to complete the below instructions for both the front and the back panel.
Second Round of Squares
With RS facing, draw up a loop of CC in lower outer corner of any square of previous round.
First Square (Corner Square)
Row 1 (RS): Ch 7. FwdP: Insert hook in 2nd ch from hook and draw up a loop, [keeping loops on hook, insert hook in next ch and draw up a loop] 6 times (7 loops on hook), insert hook in same corner as joining and draw up a loop.
RetP: Ch 1, *YO and draw through 2 loops on hook; repeat from * until only 1 loop remains on hook.
Rows 2–6:
FwdP: Tss across; insert hook in edge of previous square and draw up a loop. (8 loops on hook)
RetP: Work same as Row 1 RetP.
Row 7: Slst bind off, slst in next corner of previous square—1 loop remains on hook.

Second Square (Side Square)
Row 1 (RS):
FwdP: Tss along edge of square, insert hook in corner of square in previous round and draw up a loop. (8 loops on hook)
RetP: *YO and draw through 2 loops on hook; repeat from * until only 1 loop remains on hook.
Rows 2–6: Tss across; insert hook in edge of previous square and draw up a loop.
RetP: Work same as Row 1 RetP.
Row 7: Slst bind off, slst in next corner of previous square—1 loop remains on hook.
Repeat first and second squares three more times to make a total of 8 squares all the way around outer edge of previous round of squares. Fasten off.

Third Round of Squares
With right side facing, draw up a loop of MC in lower outer corner of any corner square of previous round.
First Square (Corner Square)
Work same as first square of second round.
Second and Third Squares (Side Squares)
Work same as second square of second round.
Repeat first, second, and third squares three more times to make a total of 12 squares all the way around outer edge of previous round of squares. Fasten off.
Fourth Round of Squares
With right side facing, draw up a loop of MC in lower outer corner of any corner square of previous round.
First Square (Corner Squares)
Work same as first square of second round.
Next Squares (Side Squares)
Work each square same as second square of second round until you reach the next corner square of previous round.
Repeat first and next squares all the way around outer edge of previous round of squares for a total of 16 squares. Fasten off.
Fifth Round of Squares
With right side facing, draw up a loop of CC in lower outer corner of any corner square of previous round.
First Square (Corner Squares)
Work same as first square of second round.
Next Squares (Side Squares)
Work each square same as second square of second round until you reach the next corner square of previous round.
Repeat first and next squares all the way around outer edge of previous round of squares for a total of 20. Fasten off.
Repeat for other panel.

PART THREE
For week four of the Entrelac Check Pillow, we will now be working in rows and filling in the corners of both panels to create squares. Then, we will finish our pillow with a slip stitch seam.

First Row
With RS facing, draw up a loop of MC in upper outer corner of any of the four corner squares of previous round.
FwdP: Tss along edge of square, insert hook in corner of square in previous round and draw up a loop. (8 loops on hook)
RetP: *YO and draw through 2 loops on hook; repeat from * until only 1 loop remains on hook.
Rows 2–6: Tss across; insert hook in edge of previous square and draw up a loop.
RetP: Work same as Row 1 RetP.
Row 7: Slst bind off, slst in next corner of previous square—1 loop remains on hook.
Repeat rows 1 – 7 four additional times for a total of 5 squares. Bind off.
Second Row
With RS facing, draw up a loop of MC in first st of previous row.
FwdP: Tss along edge of square, insert hook in corner of square in previous round and draw up a loop. (8 loops on hook)
RetP: *YO and draw through 2 loops on hook; repeat from * until only 1 loop remains on hook.
Rows 2–6: Tss across; insert hook in edge of previous square and draw up a loop.
RetP: Work same as Row 1 RetP.
Row 7: Slst bind off, slst in next corner of previous square—1 loop remains on hook.
Repeat rows 1 – 7 three additional times for a total of 4 squares. Bind off.
Third Row
With RS facing, draw up a loop of CC in first st of previous row.
FwdP: Tss along edge of square, insert hook in corner of square in previous round and draw up a loop. (8 loops on hook)
RetP: *YO and draw through 2 loops on hook; repeat from * until only 1 loop remains on hook.
Rows 2–6: Tss across; insert hook in edge of previous square and draw up a loop.
RetP: Work same as Row 1 RetP.
Row 7: Slst bind off, slst in next corner of previous square—1 loop remains on hook.
Repeat rows 1 – 7 two additional times for a total of 3 squares. Bind off.
Fourth Row
With RS facing, draw up a loop of MC in first st of previous row.
FwdP: Tss along edge of square, insert hook in corner of square in previous round and draw up a loop. (8 loops on hook)
RetP: *YO and draw through 2 loops on hook; repeat from * until only 1 loop remains on hook.
Rows 2–6: Tss across; insert hook in edge of previous square and draw up a loop.
RetP: Work same as Row 1 RetP.
Row 7: Slst bind off, slst in next corner of previous square—1 loop remains on hook.
Repeat rows 1 – 7 one additional times for a total of 2 squares. Bind off.
Fifth Row
With RS facing, draw up a loop of MC in first st of previous row.
FwdP: Tss along edge of square, insert hook in corner of square in previous round and draw up a loop. (8 loops on hook)
RetP: *YO and draw through 2 loops on hook; repeat from * until only 1 loop remains on hook.
Rows 2–6: Tss across; insert hook in edge of previous square and draw up a loop.
RetP: Work same as Row 1 RetP.
Row 7: Slst bind off, slst in next corner of previous square—1 loop remains on hook.
Fasten off.
Repeat all steps for other three corners.
Finishing/Assembly
Weave in all ends on both panels. If necessary, you can block your panels using your preferred method.
With rs facing out, lay the front and back panels on top of one another. Using your cc, slst the two panels together, working one slst into each st around. When you have three sides seamed together, put you pillow insert in the pocket created by the panels. Slst the remaining side closed.
Fasten off and weave in ends.