

Changing Tides Beach Cover Part Three
Whew... almost done! Have you been having fun? I sure hope so. I'm so proud of you all for doing some complex stitching, assembly and shaping.
If you have been following along, you will have completed Week Two and Week Three of the cover already, as well as gotten your supply list on Week One. I also created a photo tutorial for the assembly of the top portion of the Changing Tides Beach Cover.

At this point, you have finished the top panels, assembled them together, created the waistband and finished the bottom of this design. Now is time to move on to finishing. We are going to add a front edge, again using some short rows for shaping, add a button hole, finish off the bottom hem and edge our armholes.
For this portion you will need a button and two stitch markers. You can use any size button you'd like, you'll just need to adjust the button hole to make sure the button will work with the buttonhole. The pattern calls for a buttonhole that would fit a 3/4" - 1" button (just be sure not to make your chain too tight when making the button hole).
Also, make sure your button fits in the buttonhole PRIOR to sewing it on :)

As I discussed in last weeks blog post, you could make the bottom portion of your cover any length you want, you just want to make sure that you end on an odd number row.
Now that we are all on the same page... let's get started.
Pattern
Once you have completed the last row (in the bottom, chevron lace, section) you will begin to work up the unfinished/ inside row edge/long side of the cover (this will be the left side of the cover, when worn). You will need to change to your Blackberry I/5.5mm hook. You will use this hook to complete the edging of the body.
Row 1: Ch 1, edge the chevron lace rows in the same fashion you edged the sides of the top, deep chevron, panels (3 sc in one row, 2 sc in the next row). If you followed the pattern as written, you will have 75 sts when you reach the end of the chevron lace section. If you did a different amount of chevron lace rows than your st count will be different, however, it is not vital in this section of the pattern. Once you've edged all the chevron lace rows, you will edge the sc waistline, with 1 sc per sc row. If you followed the pattern as written, this will be an additional 10 sts. You will then add 6 sc sts on the top portion (these will be worked into the beginning chains of the panel. Mark the last st completed (will be referred to as MS throughout). <91 sts IF you followed the pattern as written. St counts may change if you made alternations to the pattern and are not vitally important for the rest of the pattern. I am giving them as a reference, for those who need it)>
Row 2: Ch 1, turn, sc in each st to end (move MS up to this row, will be the first st in row) <91>
Row 3: Ch 1, turn, sc in each st until 6 sts before MS <85>
Row 4: Ch 1, turn, sc in each st to end <85>
Row 5: Ch 1, turn, sc in each st until 3 sts before MS <88>
Row 6: Ch 1, turn, sc in each st to end <88>
Row 7: Ch 1, turn, sc each st to marked st, remove marker. Continue placing sc sts around the rest of the top panel. When you reach the (chain) sts for the back section of your cover, sc along those 4 (4, 5, 5, 6, 7) sts only, fasten off.
Rows 8-14: With RS facing; Attach yarn by sl st in the bottom corner of the opposite side (this will be the right side when worn). Repeat Rows 1-7, but do not fasten off at the end of last row.
Now you will mark for your buttonhole (optional). I recommend lining the buttonhole up with the top of the sc/waistband row. Place the stitch marker on the last row completed, across from the top row of the waistband on the right side (when worn). This doesn't have to be exact.
Row 15: Ch 1 and turn, sc in each st until one st before MS; ch 3 and skip 3 sts (this will be the stitch before the MS, the MS and the st after the MS), sc in each st to end. If you are using a smaller or larger button, be sure to modify for size. Skip and chain less sts for a smaller button, or skip and chain more sts for a larger button. Fasten off
Row 16: Starting in the opposite (left) bottom corner, with wrong side facing, attach yarn by sl st, sc in each st till you reach the back, sl st into the first back st.
Row 17: Ch 1, turn, sc in every st along the long side. When you reach the bottom corner, you will place sc sts in the beginning edging rows, then sc next dc, [sc3tog over next sp, dc2tog and next sp], sc next dc, sc next sp, sc in each of next 3-dc, 2sc in next ch-3, sc in each of next 3-dc, *[sc next sp, sc next dc] 2x, [sc3tog over next sp, next dc3tog and next sp], [sc next dc, sc next sp] 2x, sc in each of next 3-dc, 2sc in next ch-3, sc in each of next 3-dc, repeat from * until 7sts remain, sc next sp, sc next dc, [sc3tog over the next sp, sc2tog and next sp], sc last 2dc, then place sc sts in the ending edging rows. Continue back up the other long side with sc st, place 1 sc in each of the 3-ch for the button hole, sc across the 4 (4, 5, 5, 6, 7) sts of the back, sl st into the next st, fasten off.
Finishing Armholes:
Switch to your Strawberry H/5.mm hook
Row 1: Working into the wrong side of your arm holes (from the inner side of the garment), attach yarn by sl st in the st directly before the 3 (4, 5, 6, 7, 8) underarm sts, For sizes sm, med and large ONLY; sc these 3, 4 or 5 sts together (sc3tog, sc4tog or sc5tog depending on size). For sizes 1x, 2x and 3x ONLY; sc the next 3, 3 or 4 sts together (sc3tog, sc3tog or sc4tog depending on size), sc the next 3, 4 or 4 sts together (sc3tog, sc4tog or sc4tog depending on size). Do not work the rest of the sts around.
Row 2: Ch 1 and turn, crochet around armhole as follows; sc in top of the decrease st(s) you just completed in row 1, sc in each of the next 6sts, sc2tog (over the both dc3togs from the row below), *sc in each of the next 12 sts, sc2tog (over the both dc3togs from the row below), repeat from * until 6 sts remain, sc in each of the remaining 6 sts, sl st into the top of the first sc to join.
Repeat rows 1 and 2 for second armhole.
Weave in all ends.
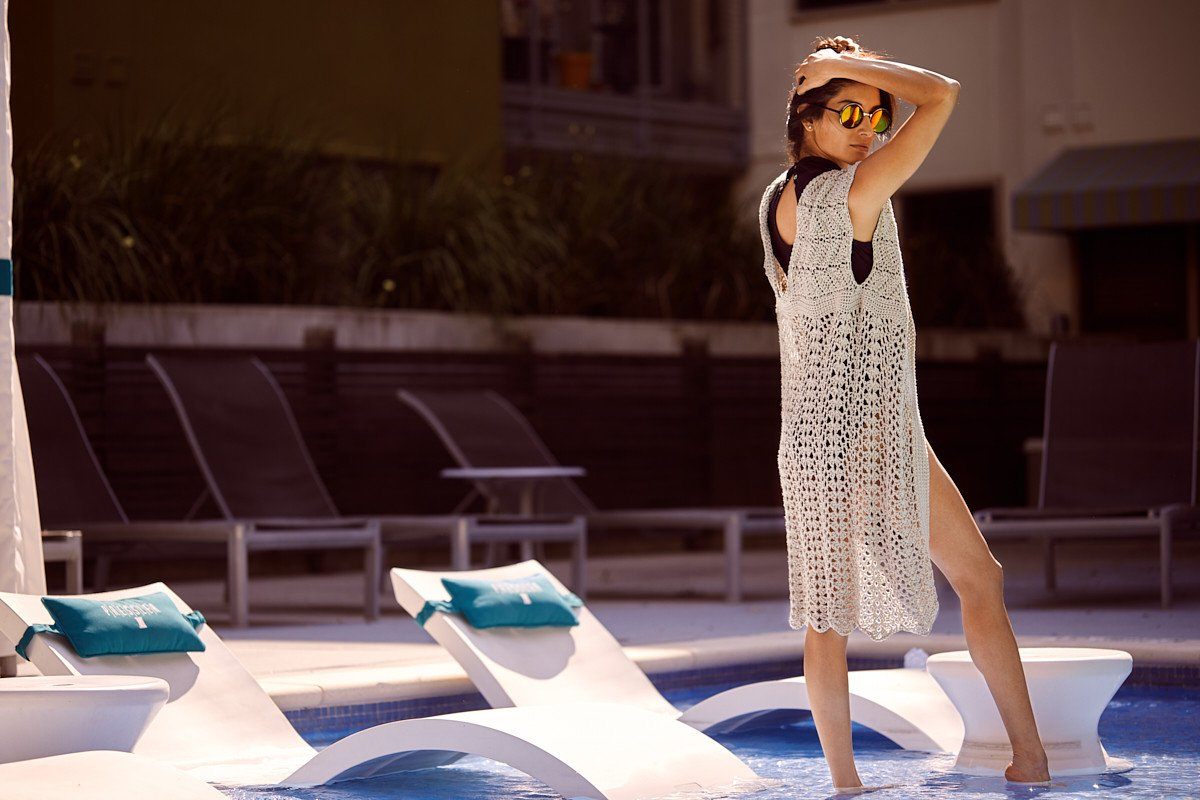
This completes all the stitching for your Changing Tides Beach Cover. Add your button to the corresponding st on the opposite side of the buttonhole and enjoy your new garment.
I hope you enjoyed making this design with me. Be sure to join us back here next week for our July CAL with Kathy Lashley of ELK Studio.
Don't forget to upload all your finished projects to our Ravelry listing for the Changing Tides Beach Cover and/or to our facebook page, Fun with Furls.


